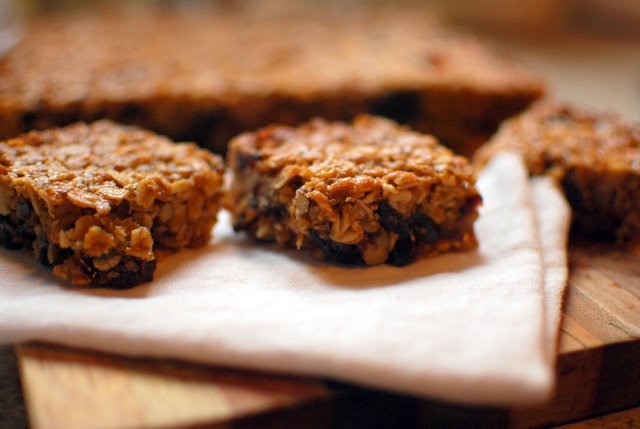
made by Miranda My friend Karen made these for me for Christmas and I really really really love them. The original recipe is from Smitten Kitchen (a favorite blog of ours). That recipe has some room for customizing, giving you options for fruit, nut and sweetener additions. I have made them more than a few times now and THIS is my favorite combination. I cut them up into bars and individually wrap them and freeze them- this way I have no excuse to not eat breakfast.
You will need:
1 2/3 cups oats
1/2 cup brown sugar
1/3 cup oat flour (to make this I grind oatmeal in a food processory or krupps coffee grinder)
1/2 tsp salt
1/4 tsp cinnamon
1 cup dried cranberries
1 cup shredded coconut
1/2 cup chopped pecans
1/2 cup chopped walnuts
1/3 cup peanut butter
2 Tbsp coconut oil
1 tsp vanilla
5 Tbsp butter
1/4 cup maple syrup
2 Tbsp corn syrup
1 Tbsp water
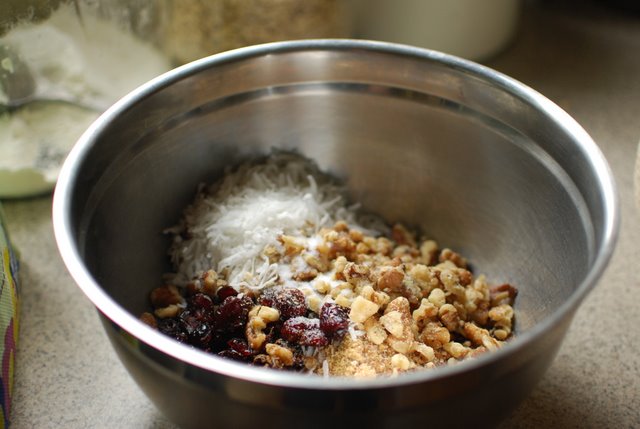
Preheat oven to 350 F. Grease an 8x8 or 9x9 pan and line with parchment (This is for removing and cutting them later). Toss together the dry ingredients in a large bowl.
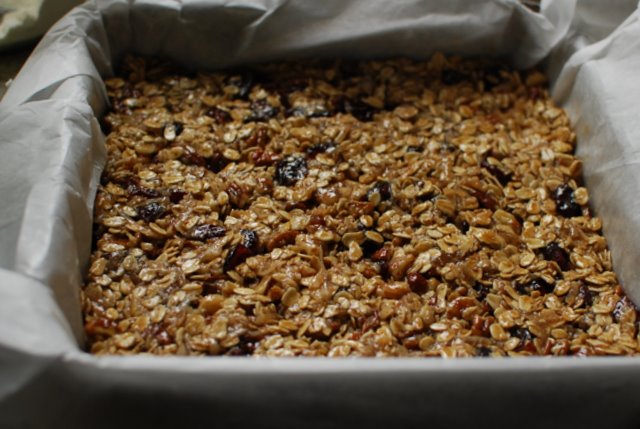
Put the rest of the ingredients in a microwave safe bowl and heat until butter, pb and coconut oil are melted. Add wet ingredients to dry and stir well to combine. Press firmly into your prepared pan and bake about 40-45 minutes or until the top is nicely browned. Cool completely in pan, then use parchment paper to lift out bar onto cutting board to cool even further. Using a large serated knife and a sawing motion, carefully cut them into bars so they dont crumble. (if you are having trouble, it may be helpful to refridgerate first). Sooooo yummy!
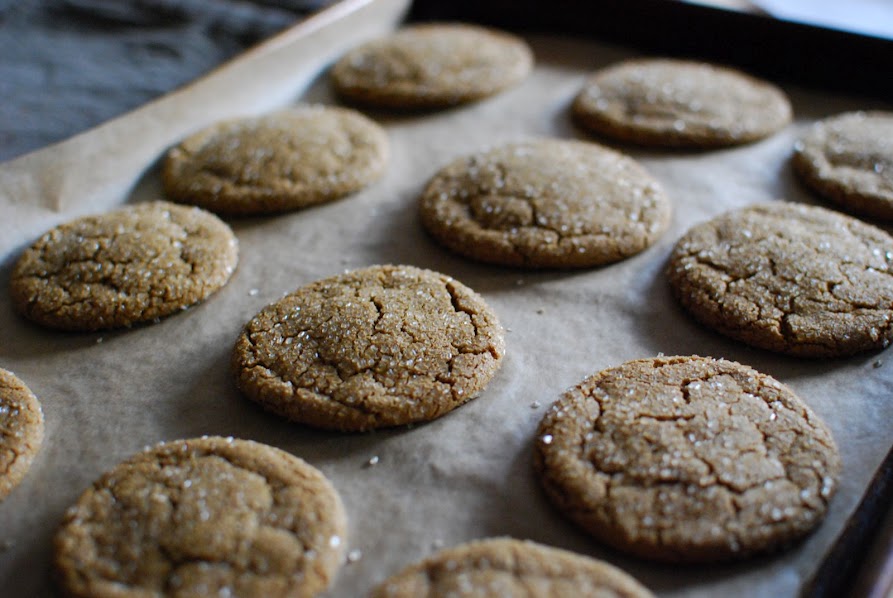
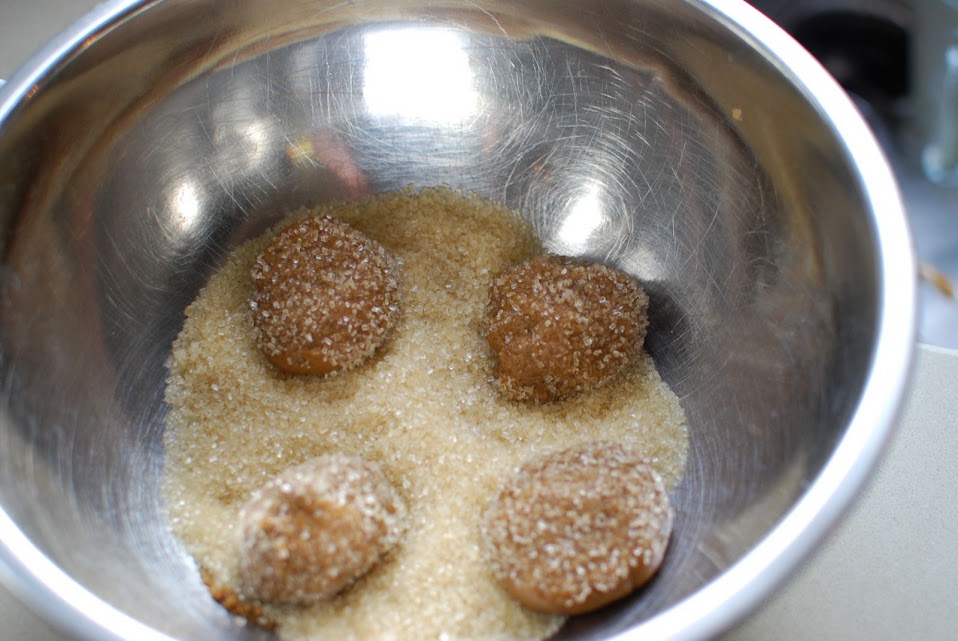
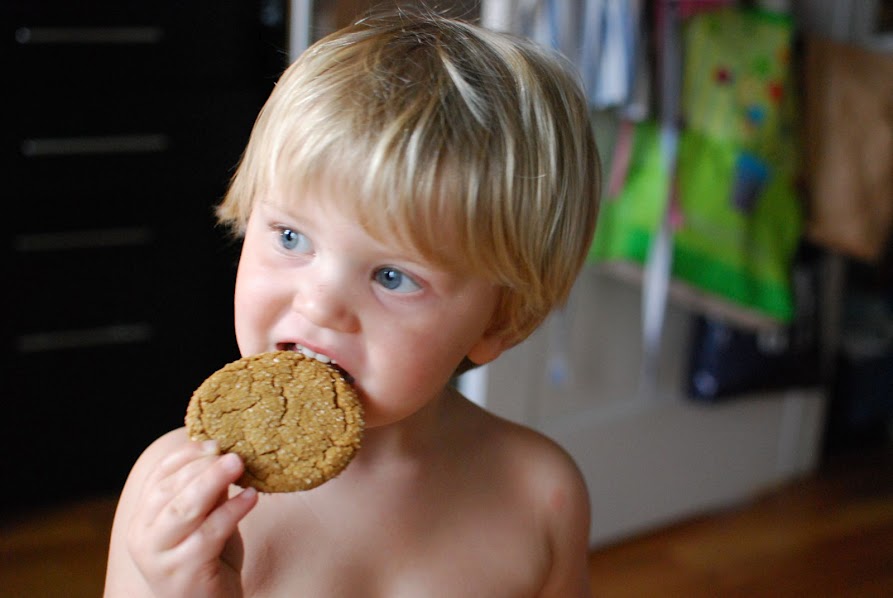
made by Emily If you like ginger snap flavor you'll love these chewy gems! I found this recipe and had a few ingredient sub's since I didn't have the right molasses they called for nor oil, and then proceeded to read it wrong and added the white sugar to the cookie mix instead of saving it for rolling the dough balls in before baking! Argh! I was cursing because I finally get around to baking (I'm still learning to manage my time with a 2 month old and a 2 year old) and then I totally fudged it up! However, this story has a "sweet" ending. They're great! Not so great if you're like me trying to lose baby weight, but this is a keeper recipe in my book. You'll Need:
2 1/4 c. all purpose flour
1/4 tsp salt
2 tsp baking soda
2 tsp ground cinnamon
1 1/2 tsp ground ginger
1/2 tsp ground cloves
1 large egg
1/2 cup vegetable oil
3 T butter, melted
1/3 cup + 1 T. blackstrap molasses (but I used a brand called Grandma's "robust")
1 cup packed light brown sugar
1/2 c. granulated sugar+1/2 cup sugar separate for rolling the dough balls in just before baking (I used Sugar in the Raw that is large crystal sugar but you can use regular granulated sugar)
To Make:
Preheat oven to 375F. In a large bowl, sift together the flour, salt, baking soda, cinnamon, ginger, and cloves.
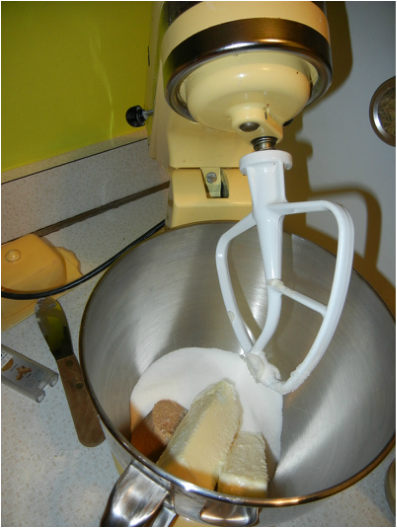
Using a mixer with paddle attachment, mix together the egg, oil, butter, molasses, brown sugar and granulated sugar (this was my mistake) at medium speed. Add the dry ingredients to the mixing bowl and mix at low speed to incorporate, scraping down the bowl as needed. Don't over-mix.
Place the extra 1/2 c. of sugar in a bowl and roll 1 1/2" balls of dough in the sugar until completely covered.
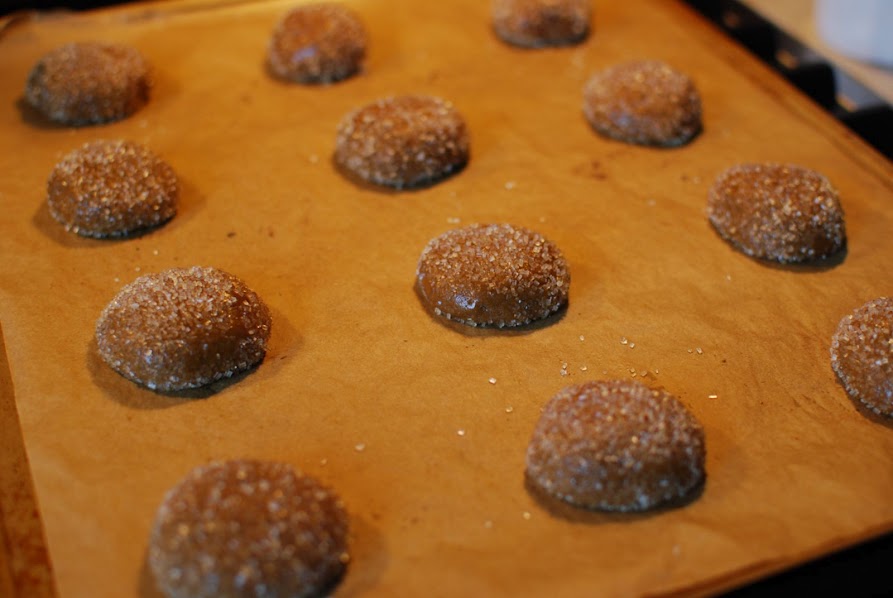
Then arrange 2 inches apart on the un-greased baking sheet. Use parchment paper if you have it for easy clean up. Bake for 8 minutes.
They'll look a little puffy but cracked on top when removed from the oven. Leave them on the baking sheet for 5 minutes before removing carefully and letting cool the rest of the time on a wire rack. Store in an airtight container up to 5 days, but I don't think they'll last that long!
*Note about blackstrap molasses: this makes the cookie darker and gives richer flavor than regular molasses, and supposedly full of vitamins and minerals!
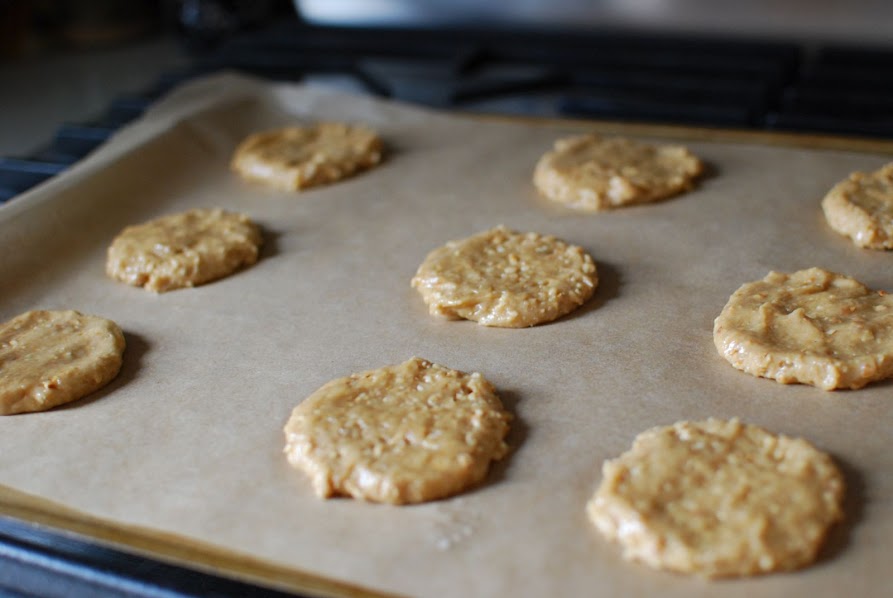
made by Rachel I saw this recipe in the latest Cook's Illustrated and only decided to make them because my husband LOVES peanut butter. But to my surprise I ate almost all of them because they were so good! Funny story, I made the cookies and was plating them to serve for some company when I realized there was 3 Tbs of butter sitting on the counter...I forgot to add it to the recipe! The great part is the cookies were awesome without it - makes you wonder what you could leave out that could make your recipes a little healthier! So if anyone makes them WITH the butter please let me know if they are like to-die-for so I know whether or not to skip it next time.
To make the cookies, you will need:
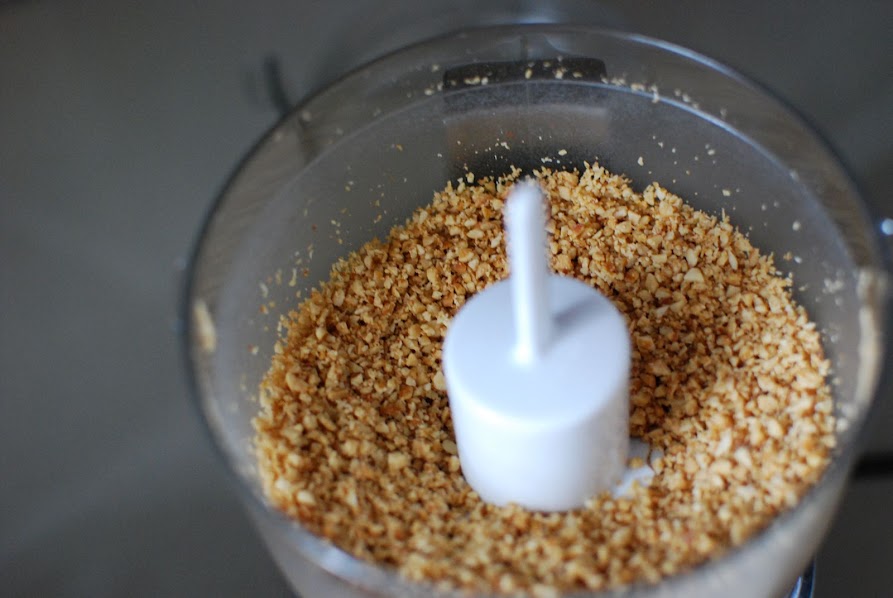
1 1/4 cups raw peanuts, toasted and cooled (I toasted them in a skillet for a few minutes on medium heat)
3/4 cup flour
1 tsp baking soda
1/2 tsp salt
3 Tbs unsalted butter, melted (optional, apparently, because I forgot this and they still turned out great!)
1/2 cup creamy peanut butter (I recommend JIFF)
1/2 cup sugar
1/2 cup brown sugar
3 Tbs milk (I used 2%)
1 egg
To make the filling, you will need:
3/4 cup creamy peanut butter
3 Tbs unsalted butter
1 cup confectioners sugar
Pre-heat the oven to 350F. Roast/toast your peanuts in the oven or in a skillet and let them cool. Once they are cool, stick them in the food processor for a couple pulses until they are finely chopped.
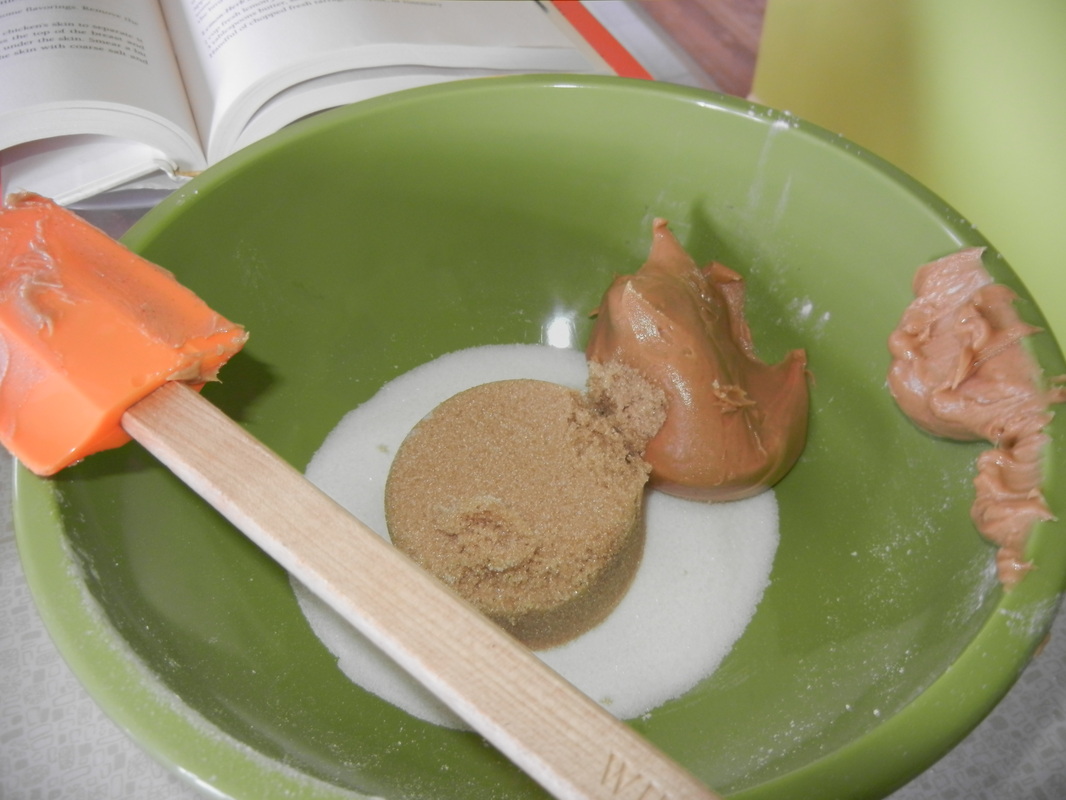
Mix the flour, baking soda and salt together. In another bowl, mix the butter, peanut butter, sugars, egg and milk. Add the flour mixture to the peanut butter mixture and stir until combined. Stir in the peanuts until evenly combined.
 Proof that I was too concerned with taking pictures to notice that I forgot the butter! Line a baking sheet with parchment paper and use a tablespoon to scoop the dough into balls on the baking sheet, then wet your fingers and flatten each dough ball to about 2 inches wide. Bake the cookies until golden, about 15 minutes then cool on a wire rack. They will be crispy and thin - don't worry! This will taste perfect with the creamy filling. The Cook's Illustrated recipe said to let the cookies cool completely before putting the filling on, but I wonder how it would be if you didn't wait until they were totally cool because my cookies did not necessarily STAY in a sandwich when I packed them up later...just a thought.
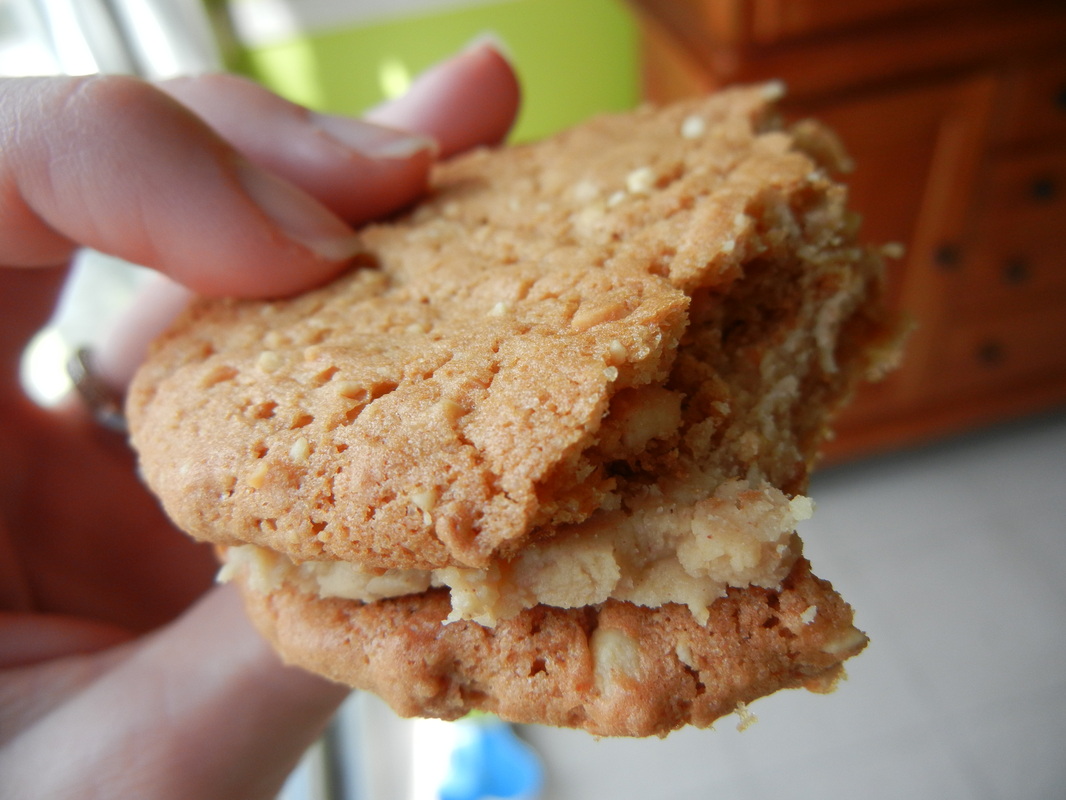
To make your filling, microwave the peanut butter and butter until melted and warm. Stir in the confectioners sugar and mix well. Put about a tablespoon of filling in between two cookies and let the filling set for a few minutes before eating. TAAAAASTY!!
If you make these and either use the butter or put the filling on them when warm please let me know how it turns out!
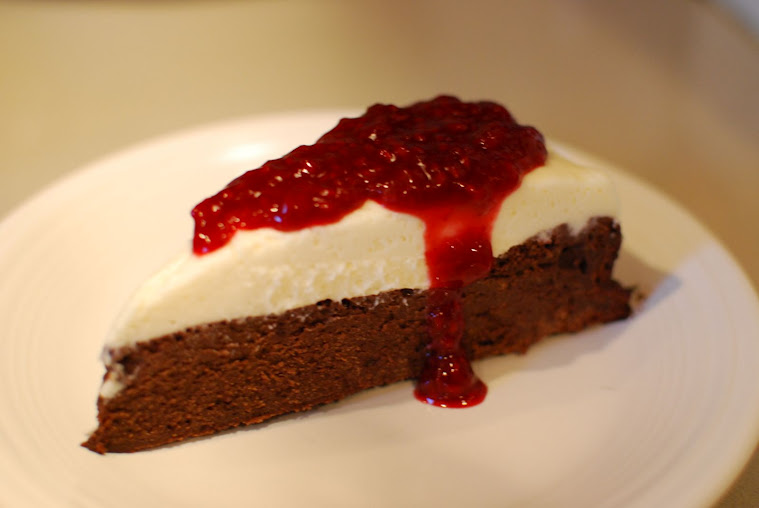
By Emily, Mandy & Rachel Emily and Mandy made this when they saw each other a few weeks ago and I made it for Valentine's and both were a big hit. This cake is SUPER rich and really delicious. Beware, there are a lot of steps so make sure you have some time before you get started! For the cake:
16 oz semi sweet chocolate (like baker's squares)
1 cup unsalted butter
6 eggs
1 tsp vanilla
For the white chocolate topping:
1 cup white chocolate chunks/chips
1 cup whipping/heavy cream
8 oz cream cheese, room temp
1/3 cup powdered sugar
For the raspberry sauce:
2 cups fresh or frozen raspberries
1/2 cup sugar (you can start with less and add more to your liking)
To make:
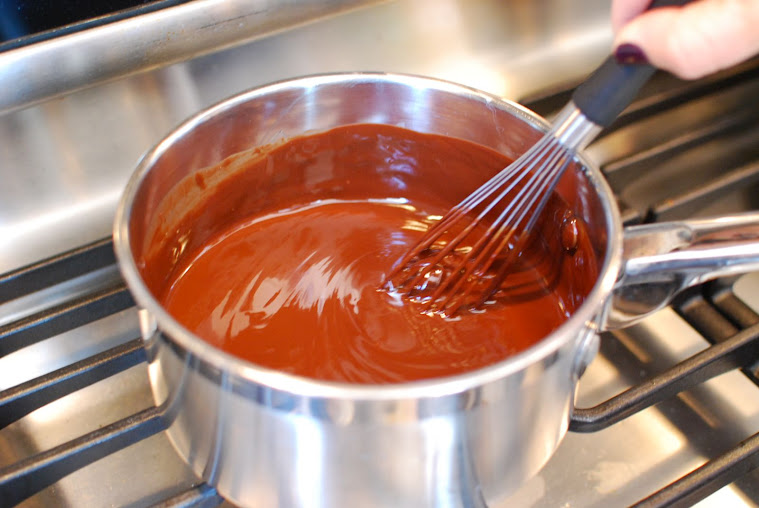
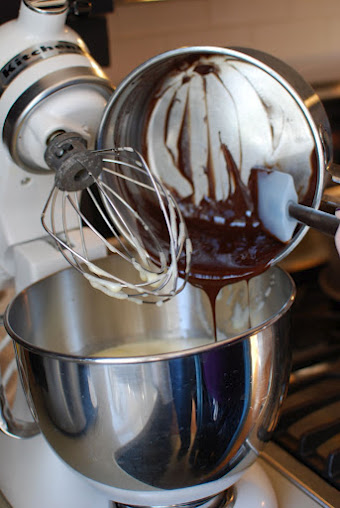
In a sauce pan over medium low heat, melt the semi-sweet chocolate and butter until completely melted. Stir constantly so the chocolate doesn't burn. Once the chocolate is melted, remove the pan from the heat and set aside until the chocolate cools (half hour).
Pre-heat your oven to 400F. Line the bottom of a spring form pan with parchment paper and grease the sides (if you don't have parchment you can grease the bottom too).
Next, beat your eggs with your mixer for about 5 min - they should triple in volume. Fold the eggs into the cooled, melted chocolate until completely combined. Stir in the vanilla and pour into the prepared spring form pan. Bake for 15 to 20 min - no more! The center should be jiggly and the edges should be set. If you bake it too long it will dry out. Cool the cake on a wire rack for an hour, then in the fridge for another hour or so (should be completely chilled before putting the white chocolate topping on it).
After the cake has chilled in the fridge, start your white chocolate topping. Melt the white chocolate chips with 3 tablespoons in a sauce pan over medium low heat, again stirring constantly until completely melted.
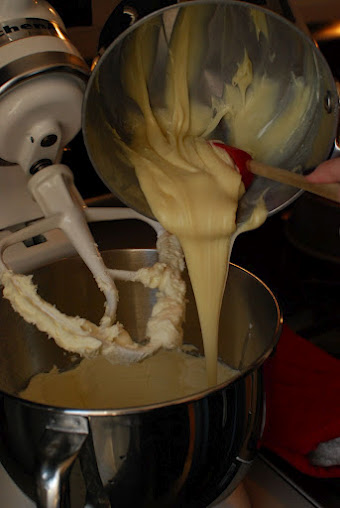
In your mixer, beat the cream cheese and powdered sugar. Slowly add the melted white chocolate to this until completely combined and smooth and set aside. In your mixer the remaining heavy cream until stiff peaks form (making whipped cream) and then fold into the white chocolate mixture and spread over the top of the chocolate cake.
Set the cake back in the fridge to chill for another hour (or even overnight).
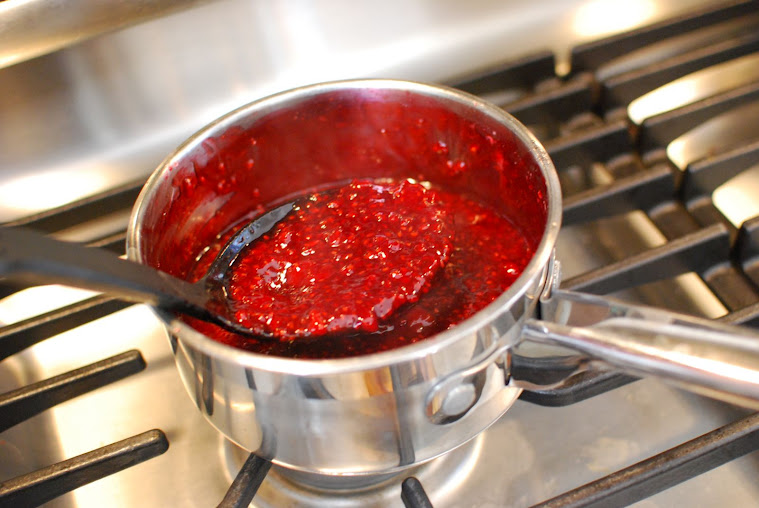
Make your raspberry sauce while your cake is chilling. Put your raspberries and sugar in a saucepan over medium heat until bubbly and beginning to reduce. If the sauce is too watery/thin you can add a sprinkle of corn starch to thicken it up a bit. Remove from heat and use to drizzle over your cake when serving. *If you want, you can strain out the seeds - I did cause raspberry seeds drive me nuts!
Enjoy!
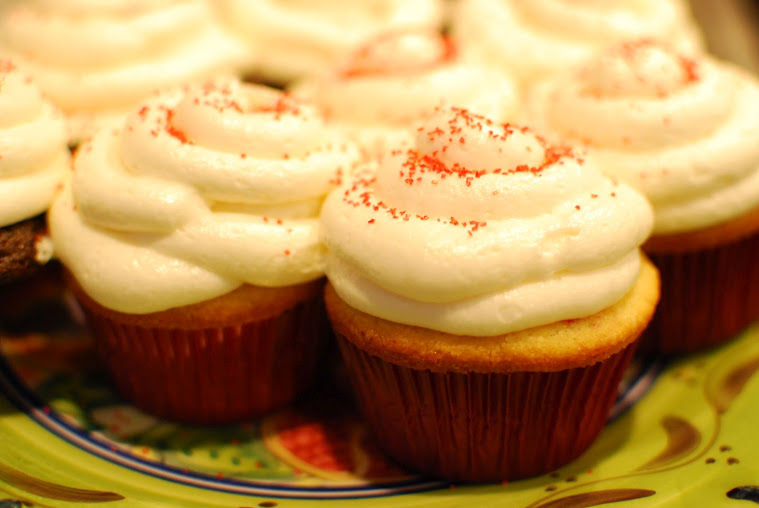
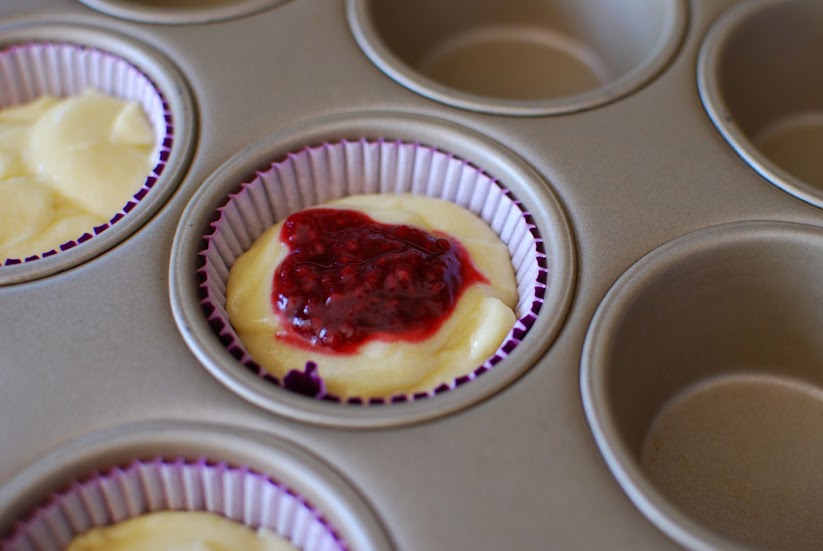
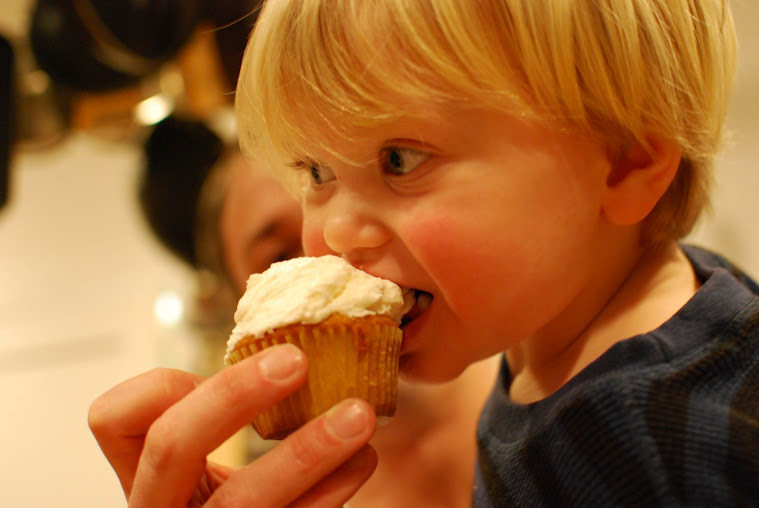
Made by Em, Mand and Rae I don't think these cupcakes even warrant a description - look at them, they look fabulous! And very professional too, I must say - way to go Em! This recipe is from Mandy, modified by Em and then every cupcake was licked by 2 year old Van :) You can make these cupcakes plan vanilla (as shown in the pictures with the little blonde cutie pie) or you can drop a dollop of strawberry or raspberry jam in the batter to give them a berry filled surprise!
For the cupcakes:
1 stick butter, soft
2/3 cup sugar
2 eggs
1 tsp vanilla
1 cup flour
1/2 tsp baking powder
1/4 tsp salt
1/4 tsp baking soda
1/3 cup yogurt or buttermilk
Optional: Straw/raspberry jam, about 12 Tbs
Makes 24 mini or 12 standard size cupcakes.
Preheat to 325. Prepare pans (either grease or line with paper cups). Beat butter and sugar
until pale and fluffy. Add eggs and vanilla and beat well. Toss together the dry ingredients then add to butter mixture, alternating with buttermilk until everything is incorporated. Fill cupcake liners 3/4 way full and put a dollop of jam in the middle (if using) and then bake 25-35 minutes or until toothpick comes out clean (keep in mind the toothpick isn't gonna be "clean" if you insert it into the berry center!). Cool completely before frosting.
Vanilla Frosting:
2-2.5 cups confectioner's sugar
1/2-1 cup unsalted butter, at room temp
1 tsp vanilla
2-4 Tbs milk
Beat the ingredients until light and fluffy (about 5 min). If your frosting is too thick/pasty add milk, if it's not fluffy enough/light enough add more butter, if it's too soupy/thin add more sugar. The frosting should be light and fluffy when it's made right :)
Enjoy as much as this little guy did!
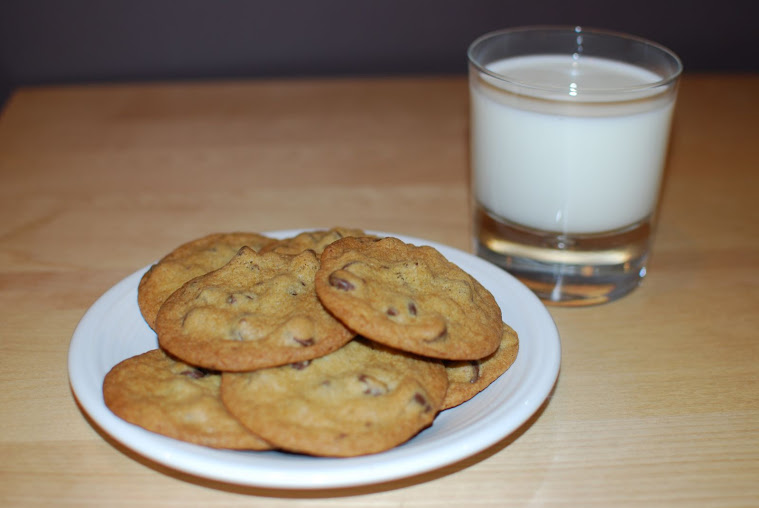
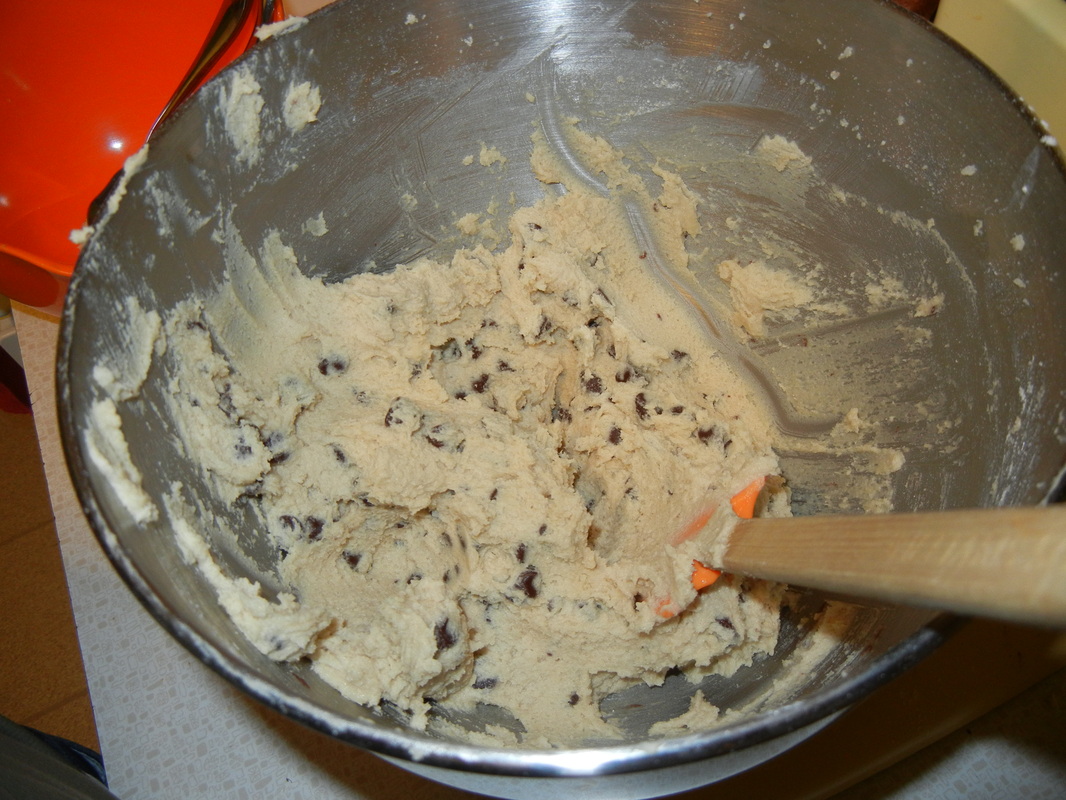
By Rachel and Emily Happy Valentine's Day!! If you want to make a delicious sweet for your sweet, this is the BEST chocolate chip cookie recipe I have ever made! They are way better, in my opinion, then the recipe on the back of the chocolate chip bag. I owe this fabulous recipe to Martha...she has like a million recipes for chocolate chip cookies on her website but I think this kills them all! They are super thin and crispy on the outside but chewy on the inside - absolutely perfect! Ingredients:
2 cups flour
1 tsp baking soda
1 tsp salt
2 sticks (1 cup) butter, softened
1 cup granulated sugar
1/2 cup dark brown sugar
2 tsp vanilla
1 large egg plus 1 egg white
12 oz semi sweet chocolate chips
To Make:
Mix the flour, baking soda and salt and set aside. In the bowl of an electric mixer, beat butter and sugars until light and fluffy. Add vanilla and eggs to the butter/sugar mixture and beat on low for 1 minute.
Slowly add the flour mixture to the butter mixture until combined. And finally add your chips.
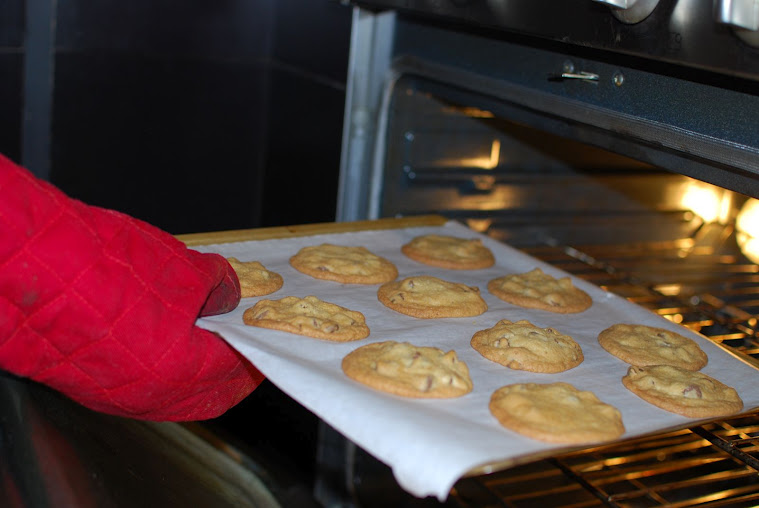
And yes, it looks just like any other chocolate cookie dough...but just you wait! Place your dough balls 2 inches apart on a baking sheet (preferably on top of parchment paper) because they spread a lot and get pretty large and thin.
Bake at 375F for about 10 minutes (this totally depends on your oven and how thin your batter turns out - so keep an eye on them so they don't burn!)
Take cookies out when they are golden brown, let them sit on the cookie sheet for a minute or two then cool completely on a wire rack.
Enjoy!!
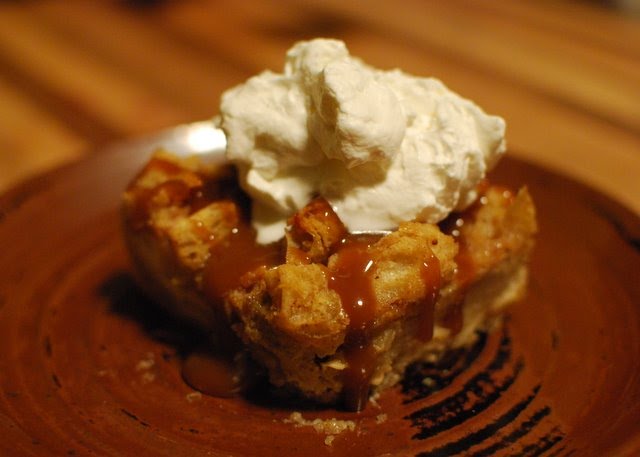
By Miranda We make a lot of bread at my house so its good to have a few options for what to do with day old bread besides croutons. Here is a sweet solution for that crusty loaf thats too tough to eat plain.
Baguettes or French or Italian breads work well for this recipe - just cut it into 1/2- 1 inch cubes. Bread should be stale - if its still soft, spread out on a baking sheet and toast in the oven at 250 degrees F for about an hour. If your bread is too soft it will just turn to mush when the liquid is added. Bread pudding is best the day it is made.
Makes about 8 servings. Serve with whipped cream.
For the bread pudding:
2 1/2 cups milk
3/4 cup brown sugar
3 Tbsp butter
3 eggs
1 Tbsp vanilla
6-7 cups bread cubes (see above note)
scant tsp cinnamon
For the sauce:
3/4 cup brown sugar
4 Tbsp butter
1/4 cup heavy cream
1/2 tsp vanilla
Splash of bourbon (optional)
Preheat oven to 350F. Grease a 8x8 or 9x9 baking pan. Place bread cubes in a large bowl. In another bowl, whisk together the rest of the ingredients for the bread pudding then pour over the bread cubes. Gently toss together until the bread cubes are pretty evenly coated.
Spread in the baking pan and bake for 35 minutes about or until the top is nicely browned.
Meanwhile, make your sauce. Melt butter in a heavy bottom saucepan over medium heat. Then add the brown sugar and continue to cook over medium heat until dissolved. Add cream and bring it to a slow simmer- cook like this for 5 minutes or so until thickened. Remove from heat and add your vanilla and bourbon if using. Drizzle hot sauce over individual servings of bread pudding and top with whipped cream. Yum!!
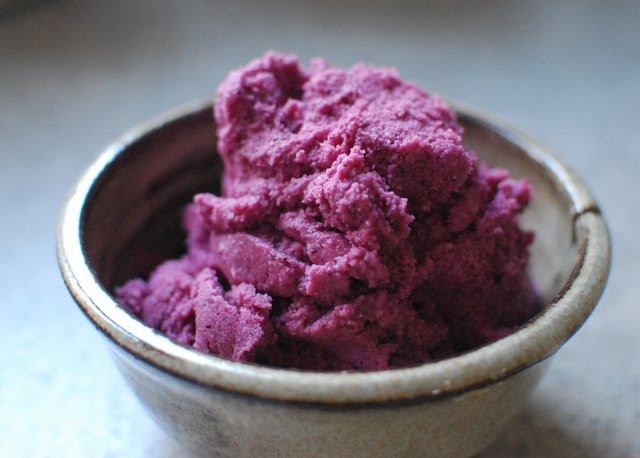
By Miranda I made this as a healthier alternative for dessert - my kids loved it. Add sugar a little at a time after berries are soft so that you add the least amount possible. You'll need an ice-cream maker for this recipe. 3 cups mixed berries of your choice - I used strawberries and blueberries 3 Tbsp lemon juice 1/2 -1 cup of sugar depending on the sweetness of your berries 1/4 tsp salt 2 cups plain yogurtCombine berries, lemon juice and sugar over medium-low heat and stir frequently until sugar is dissolved and berries are soft. Then puree in blender or mash until desired consistency and set aside to cool. Once the berries are cool, refridgerate for an hour. When cold, combine all ingredients and then add to your ice-cream maker (per instructions) until desired consistency. You may eat right away or freeze for a harder yogurt. Yum!
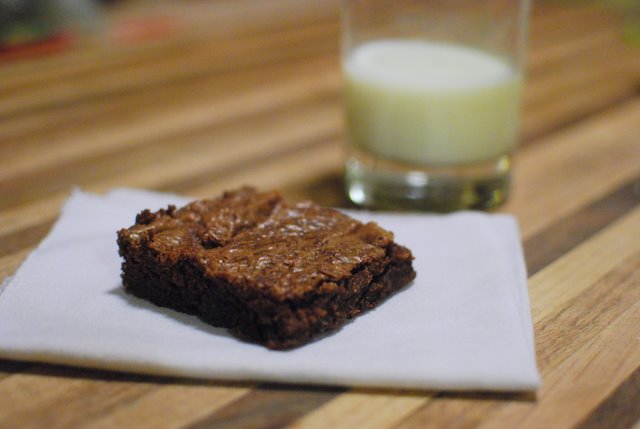
By Miranda I actually really like box brownies but I prefer to do things from scratch. This recipe is pretty close to a fudgy thin and chewy box brownie mix. It's from an old Betty Crocker cookbook.
You will need:
12 oz semisweet chips or chocolate of your choice (2 cups chopped)
1 stick butter (1/2 cup)
1 cup sugar
1 1/4 cups flour
1 tsp vanilla
1/2 tsp baking powder
Scant 1/2 tsp salt (less if butter is salted)
3 eggs, beaten
1 cup chopped nuts, optional
Preheat oven to 350F. Melt chocolate and butter over low heat, stirring frequently, until smooth. Remove from heat. Stir in remaining ingredients. Spread in greased 13x9 inch pan and bake 25-30 minutes or until middle is just set. Do not overbake. Cool completely before cutting.
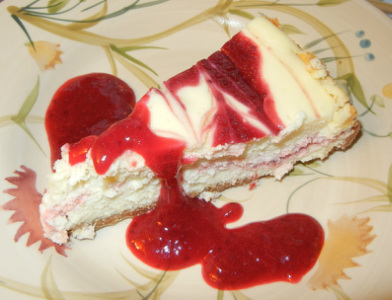
By Rachel I made this for Christmas at my in-laws this year and it was a big hit! I have heard multiple times that making cheesecake is really difficult, but this recipe from the Joy of Baking website was not hard, did not take that long and tasted FABULOUS! Try it, I dare you! Serves about 12-14 people
You will need:
For the Cranberry Swirls (and sauce for serving):
1 - 12 ounce bag of fresh or frozen cranberries
1/2 cup sugar
2 cups water
zest of one lemon or orange
For the Crust:
2 cups of graham crackers, finely crushed (I used blender to crush them)
2 Tbs sugar
1/2 cup unsalted butter, melted
For the Cheesecake Filling:
3 - 8 ounces packages of cream cheese at room temperature
1 cup sugar
1 Tbs flour
4 eggs, room temperature
1 Tbs heavy cream
1 tsp vanilla
To make:
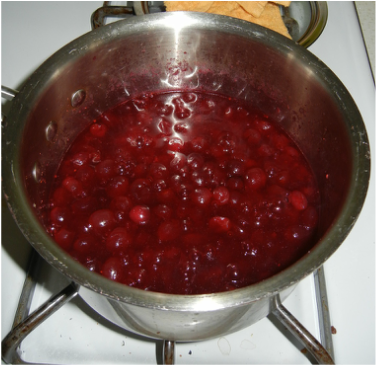
First make your cranberry sauce, you will use this for the swirls and the sauce to serve the cake with. In a medium sized saucepan, place cranberries, sugar, and water. Then, over medium-high heat, cook the ingredients until boiling, stirring to dissolve the sugar. Reduce the heat to medium low and gently boil the filling, stirring often to prevent the filling from burning, until it becomes thick and syrupy and reduced to about 2 cups. This takes about 20-30 minutes. Remove from heat, stir in the zest, and let cool completely before using. (I am not a fan of chunks in my cheesecake so I put this sauce into the blender after it cooled a bit and pureed it until it was smooth and delicious - I highly recommend doing this to get rid of any cranberry chunks). Set the sauce in the fridge while you work on everything else.
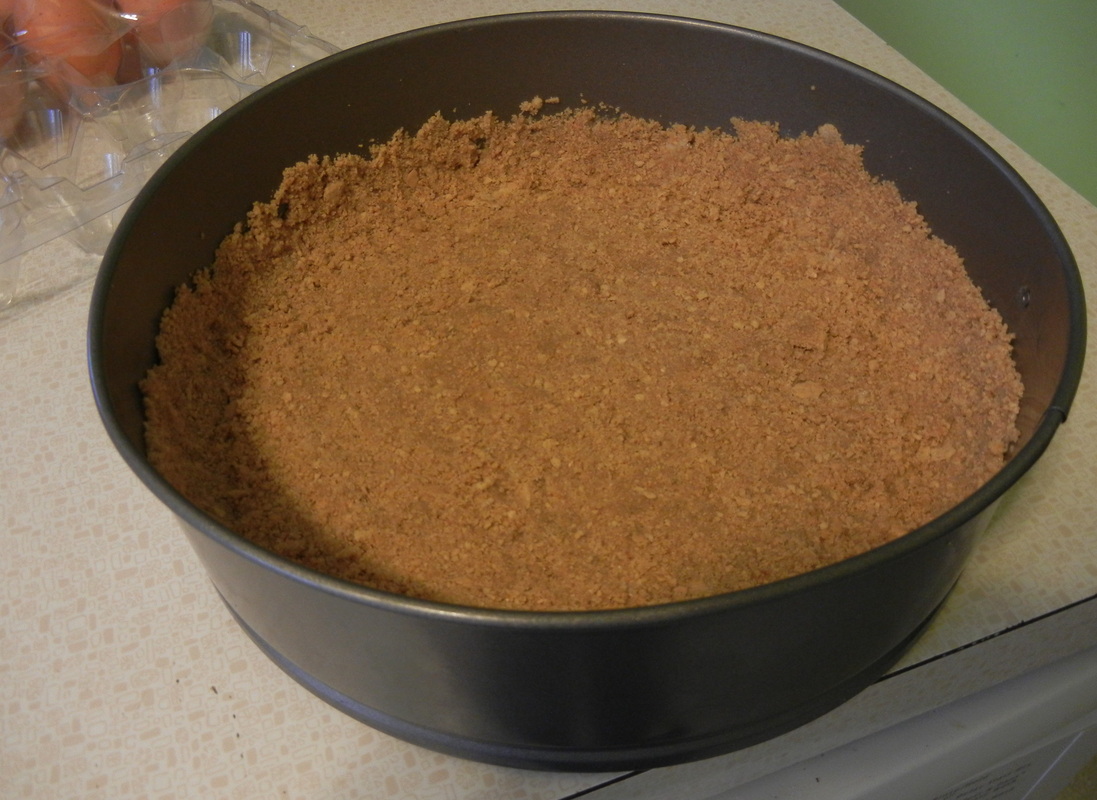
Now for the crust...grease a 9 inch round spring form pan and line the bottom with parchment (you don't HAVE to do this but it makes for easier clean up and serving!) Preheat oven to 350 degrees F and place the oven rack in the center of the oven.
In a medium sized bowl combine the graham cracker crumbs, sugar, and melted butter. Press the crumbs evenly over the bottom and about 1 inch up the sides of the springform pan. Cover and refrigerate while you make the filling.
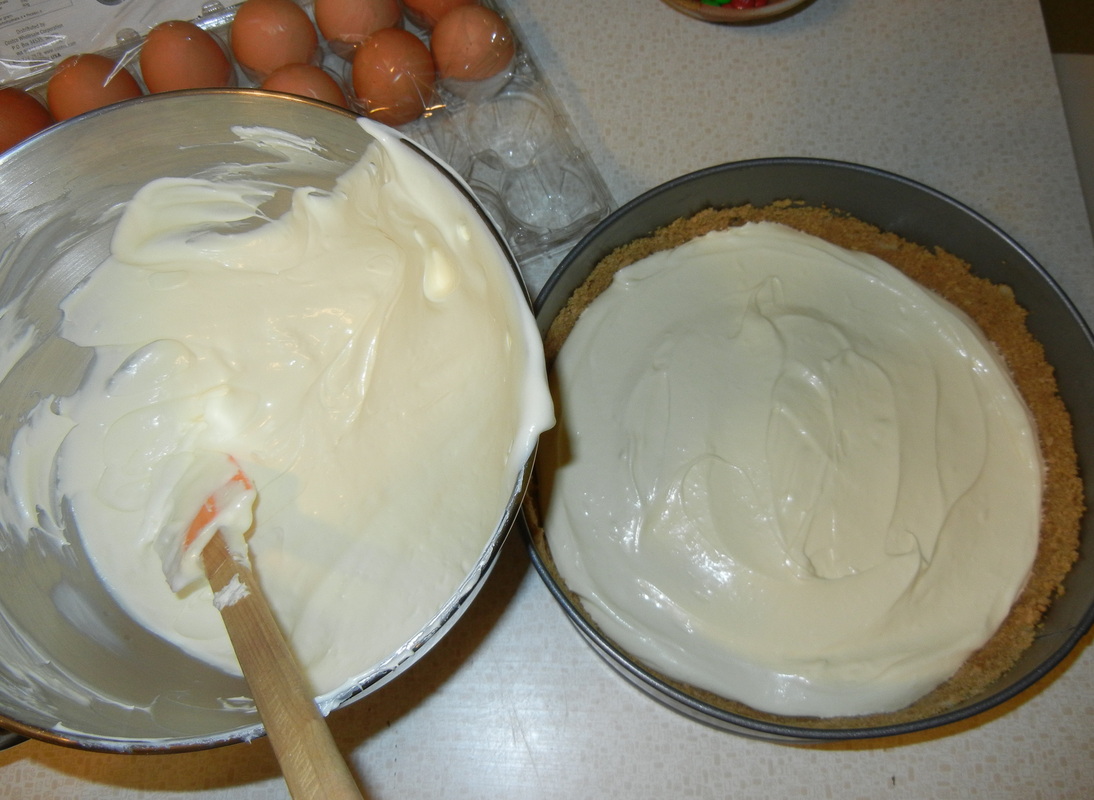
Now for the money maker...in the bowl of your electric mixer, beat the cream cheese, sugar, and flour. Beat on medium speed until smooth (about 2 minutes), scraping down the bowl as needed. Add the eggs, one at a time, beating well (about 30 seconds) after each addition. Scrape down the sides of the bowl. Add the cream and vanilla extract and beat until incorporated.
Remove the crust from the refrigerator and pour half the cheesecake filling into the pan.
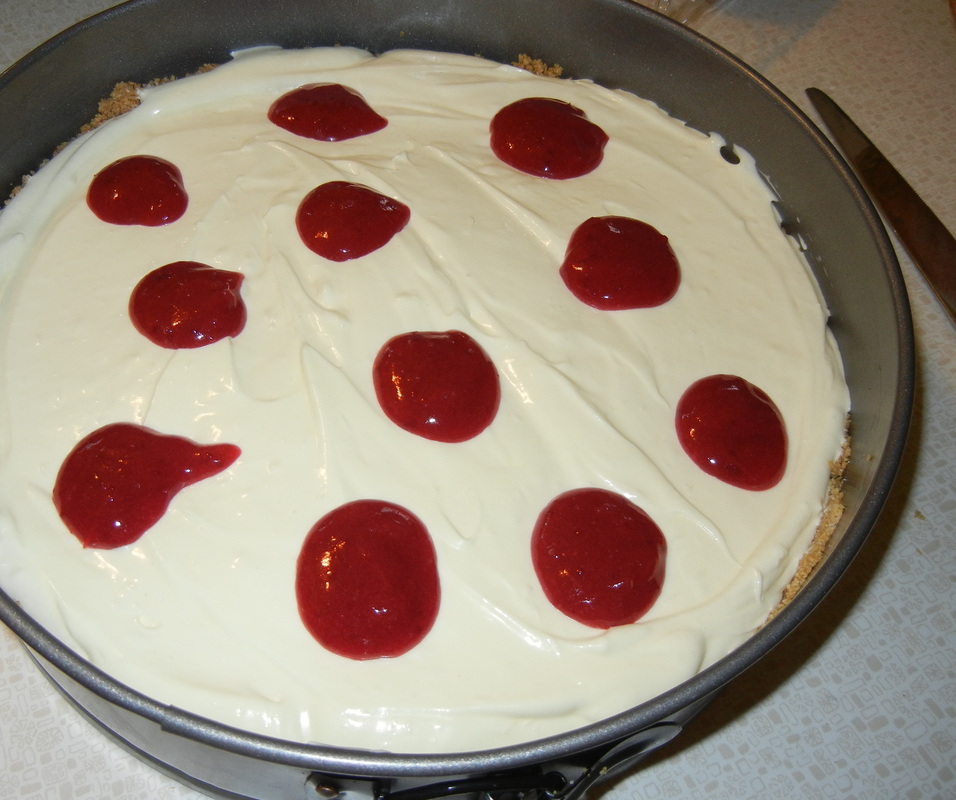
Take one-half cup of the cranberry sauce you made and place spoonfuls over the cheesecake batter and then swirl gently with a knife.
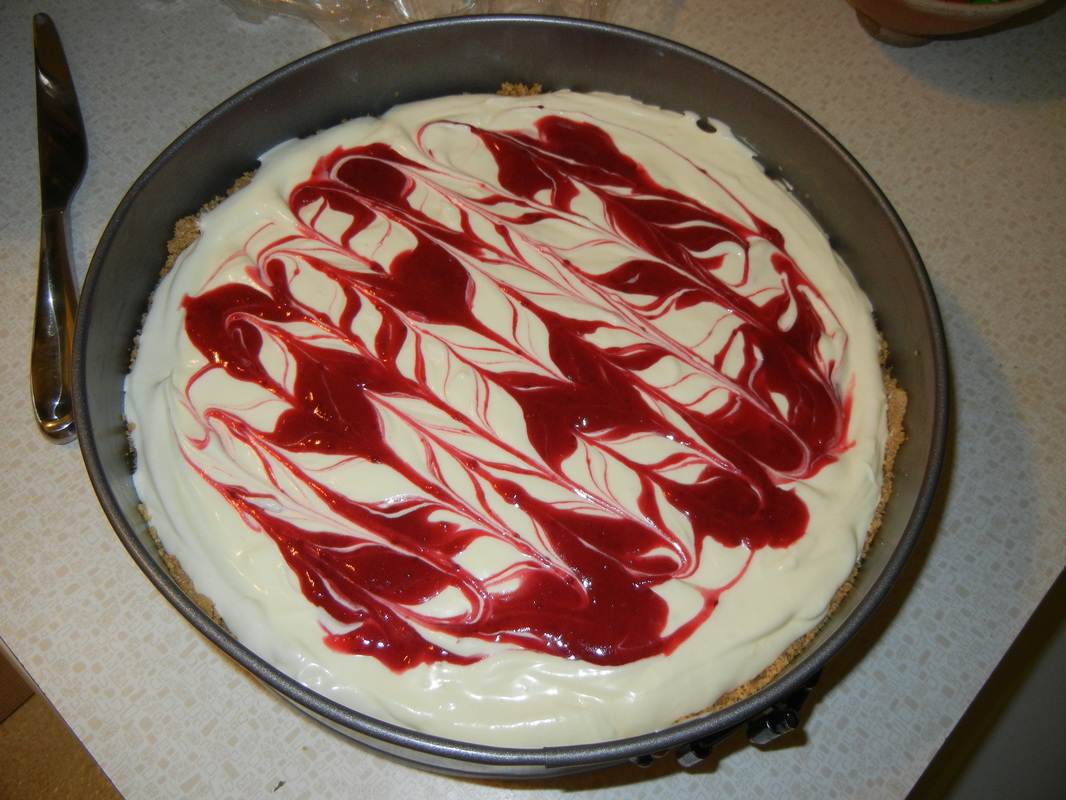
Top with the remaining cheesecake batter. Spoon another one-half cup of the cranberry filling over the cheesecake batter and swirl gently with a knife. (The extra cranberry sauce is saved to drizzle over the cake when serving). Depending on your pan, your cake make leak or drip, so either place it on a bed of foil or on a thin baking sheet and place in the oven.
Bake for 15 minutes and then lower the oven temperature to 250 degrees F and continue to bake for another 60 to 70 minutes or until firm and only the center of the cheesecake looks a little wet and wobbly. Remove from oven and carefully run a knife or spatula around the inside edge of pan to loosen the cheesecake (helps prevent the surface from cracking as it cools).
Let the cake cool before covering with plastic wrap and refrigerating. This cheesecake tastes best after being refrigerated at least eight hours or overnight. Now kick back, relax and bask in the benefits of your baking talents!
|