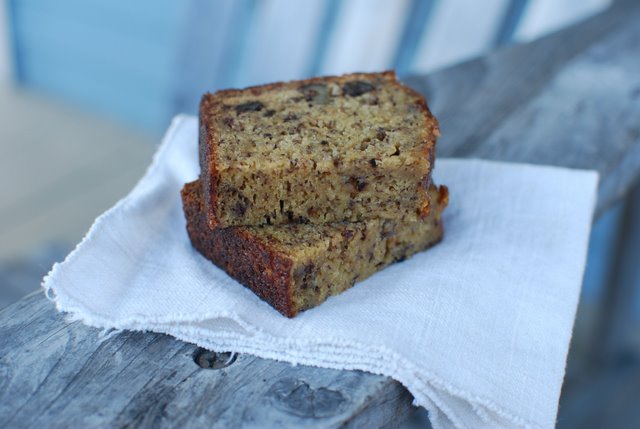
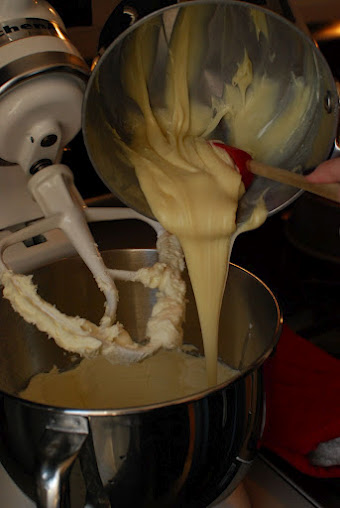
made by Miranda I finally found a banana bread recipe that I love! And it is made with wheat flour - even better! I don't know why, but I always have had trouble with banana bread. It gets too dark on top and still mushy in the middle, or its too dry, or too bland. This recipe is exactly how I like it. It's full of flavor, perfectly sweet, and (I hate the word, but i have to use it...) moist!! The recipe comes from King Arthur Flour.
This recipe calls for 1 cup white flour and 1 cup whole wheat flour, but instead I used 2 cups of white whole wheat, which is a little milder than whole wheat flour.
You will need:
2 cups very ripe bananas (4-5) mashed
1/2 cup veg oil
1 cup sugar
2 eggs
3 Tbsp milk
1 tsp vanilla
1 cup whole wheat flour
1cup white flour
1 tsp baking soda
1/2 tsp baking powder
1/2 tsp salt
1/2 cup chopped walnuts (optional)
To make:
Preheat oven to 350F and grease a 9x5 inch loaf pan. Mash bananas in a large bowl. Add oil, sugar, eggs, milk and vanilla and stir well. Add salt, powder and soda and stir to combine then add flours and walnuts and stir just until flour is incorporated, scraping sides and bottom of bowl. Try not to overmix.
Pour into prepared pan and bake about 1 hr. Halfway through, I put a sheet of foil over the top of my pan to prevent overbrowning of the top and it worked perfectly. Cool in pan for 10 minutes then tip bread out onto a cooling rack and cool completely before cutting (otherwise steam escapes and your bread might dry out).
Yum!!
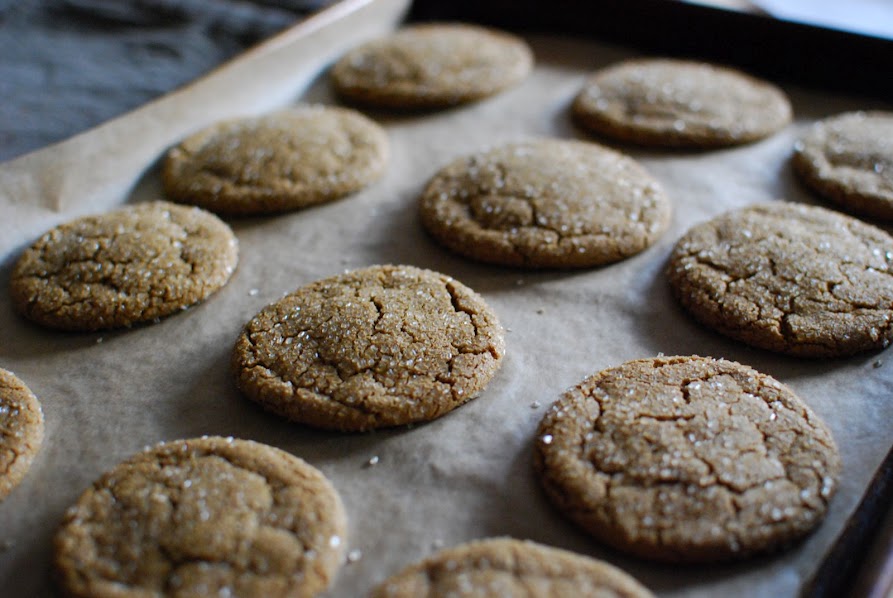
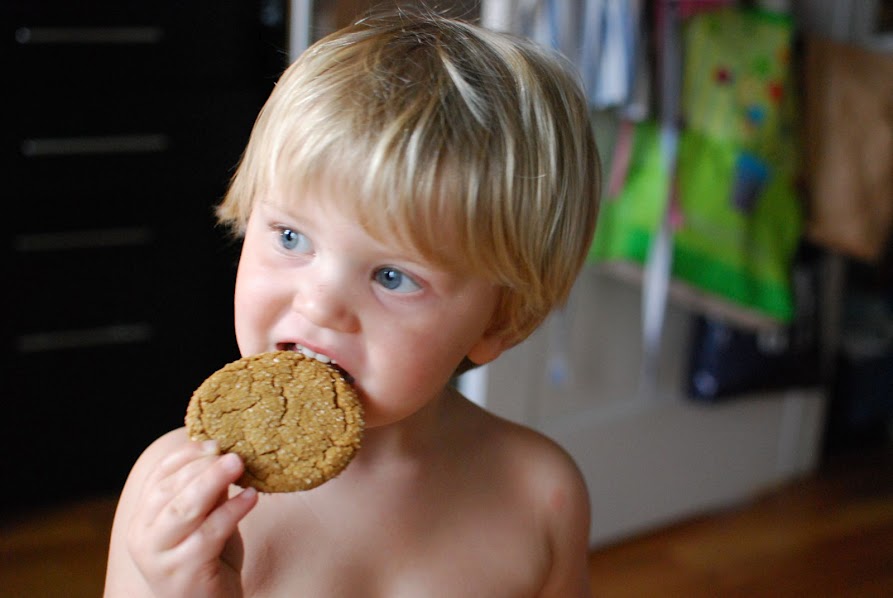
made by Emily If you like ginger snap flavor you'll love these chewy gems! I found this recipe and had a few ingredient sub's since I didn't have the right molasses they called for nor oil, and then proceeded to read it wrong and added the white sugar to the cookie mix instead of saving it for rolling the dough balls in before baking! Argh! I was cursing because I finally get around to baking (I'm still learning to manage my time with a 2 month old and a 2 year old) and then I totally fudged it up! However, this story has a "sweet" ending. They're great! Not so great if you're like me trying to lose baby weight, but this is a keeper recipe in my book. You'll Need:
2 1/4 c. all purpose flour
1/4 tsp salt
2 tsp baking soda
2 tsp ground cinnamon
1 1/2 tsp ground ginger
1/2 tsp ground cloves
1 large egg
1/2 cup vegetable oil
3 T butter, melted
1/3 cup + 1 T. blackstrap molasses (but I used a brand called Grandma's "robust")
1 cup packed light brown sugar
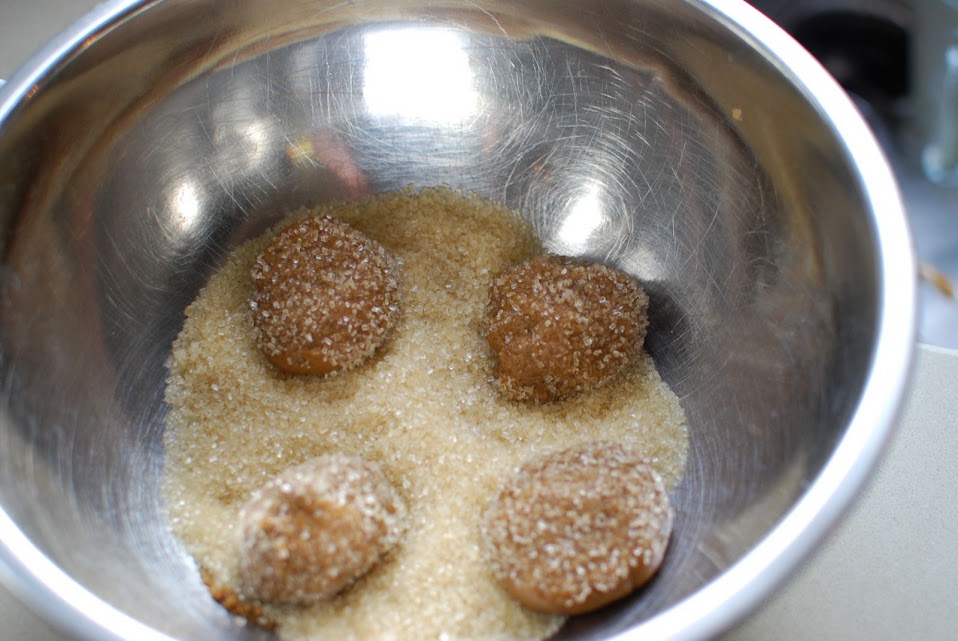
1/2 c. granulated sugar+1/2 cup sugar separate for rolling the dough balls in just before baking (I used Sugar in the Raw that is large crystal sugar but you can use regular granulated sugar)
To Make:
Preheat oven to 375F. In a large bowl, sift together the flour, salt, baking soda, cinnamon, ginger, and cloves.
Using a mixer with paddle attachment, mix together the egg, oil, butter, molasses, brown sugar and granulated sugar (this was my mistake) at medium speed. Add the dry ingredients to the mixing bowl and mix at low speed to incorporate, scraping down the bowl as needed. Don't over-mix.
Place the extra 1/2 c. of sugar in a bowl and roll 1 1/2" balls of dough in the sugar until completely covered.
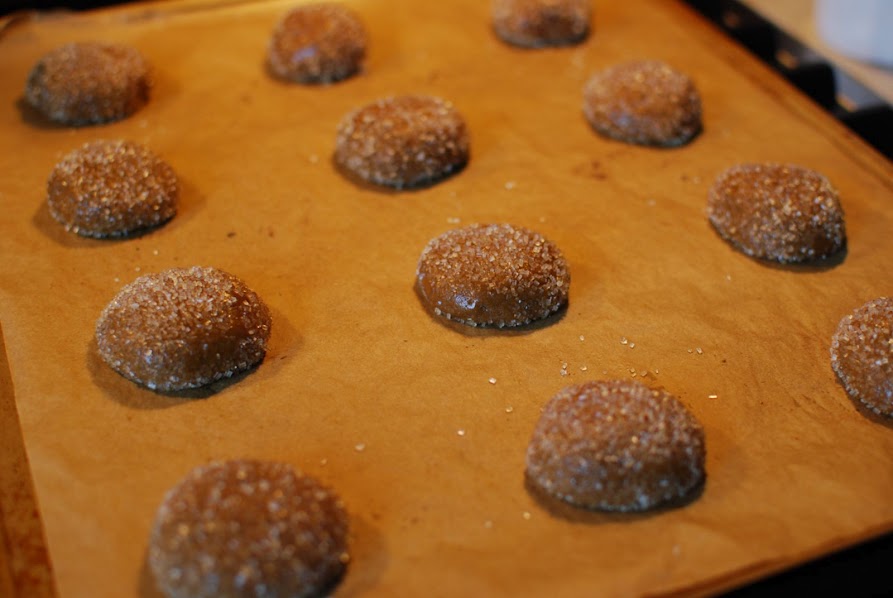
Then arrange 2 inches apart on the un-greased baking sheet. Use parchment paper if you have it for easy clean up. Bake for 8 minutes.
They'll look a little puffy but cracked on top when removed from the oven. Leave them on the baking sheet for 5 minutes before removing carefully and letting cool the rest of the time on a wire rack. Store in an airtight container up to 5 days, but I don't think they'll last that long!
*Note about blackstrap molasses: this makes the cookie darker and gives richer flavor than regular molasses, and supposedly full of vitamins and minerals!
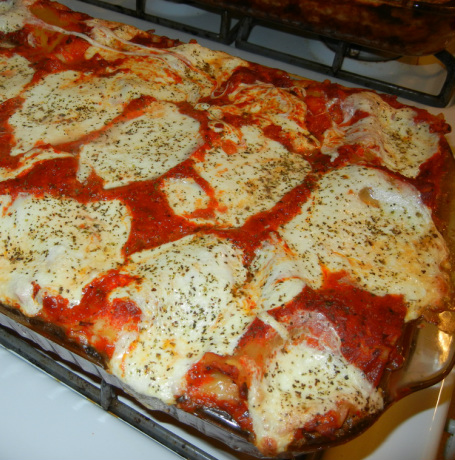
made by Rachel Do you ever make a huge batch of meatballs and have them waiting for a recipe in your freezer? Well, I feel like I always have meatballs in my freezer, so I made this lasagna recipe up to use some. You could sub meatballs for plain old cooked ground beef, but I think this bulks up the flavor and consistency of a meat lasagna - try it out and let me know what you think!
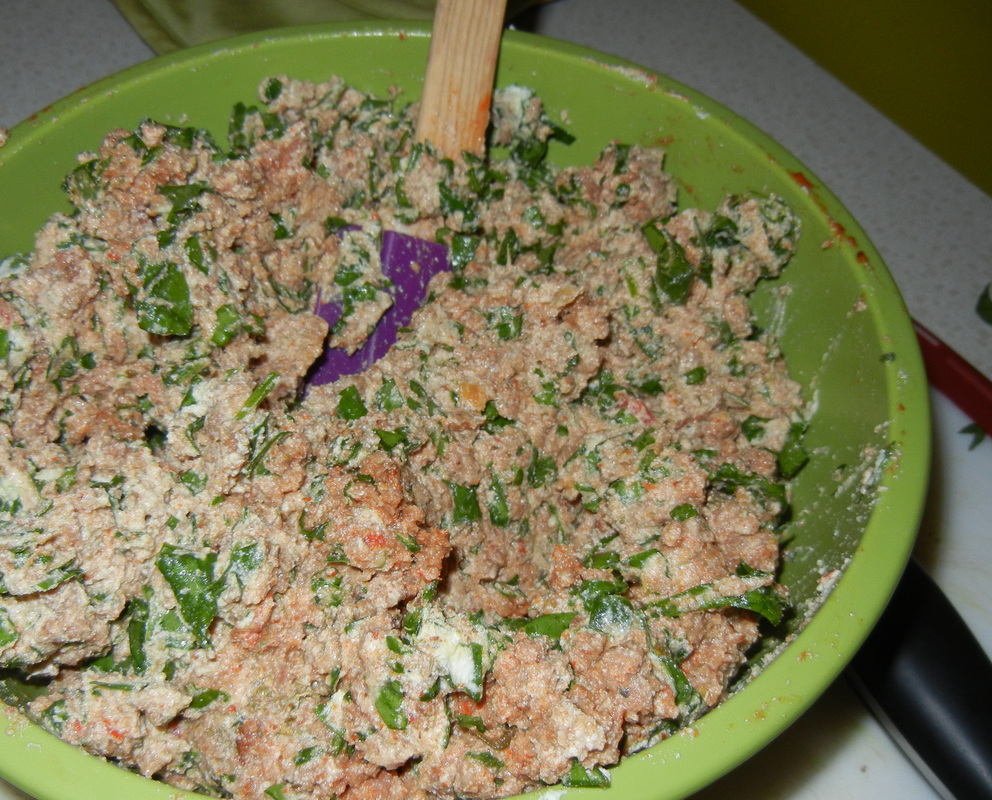
What you will need: 5 oz fresh spinach, chopped 16 oz ricotta 8-10 meatballs, chopped up or smashed with a potato masher 1 Tbsp Italian seasoning Marinara or meat sauce - 1 cup for filling, approx 4 cups sauce for assembly 1 egg 1 box lasagna noodles (if you want you can make your own!) Fresh or shredded mozzarella (I use both, shredded for the layers and fresh on top. You will need about one bag of shredded, or one square hand shredded, and one baseball size ball of fresh) Fresh or dried basil (for sprinkling on top) Fresh or dried oregano (for sprinkling on top) S&P Directions: Start a large pot of water boiling. Add about a tablespoon of salt and a splash of olive oil. In a bowl, combine spinach, ricotta, meatballs, Italian seasoning, 1 cup of the sauce and egg. Mix well so the eggs are spread evenly throughout the mixture. Season with salt and pepper and set aside. Add your noodles to the boiling water and cook for 8-10 minutes - you want the noodles al dente so your lasagna is not mushy. After 8 minutes take a noodle out and test it...it should be firm but not hard. Pour your noodles over a colander to strain the water.
Pre-heat your oven to 350F.
Now assemble your lasagna:
Spread a 1/2 cup of your sauce in the bottom of a 9x13 casserole dish. Layer three noodles across horizontally. Depending on your dish, you might need to cut an extra noodle for the side so the dish is covered in a single layer of noodles.
Spread a thin layer of your spinach/meatball/ricotta mixture across the noodles, use a spatula or your fingers to spread the filling out evenly. Sprinkle a thin layer of shredded mozzarella on top of the filling (meat/spinach/ricotta).
Drizzle a layer of sauce on top of the cheese, using a spatula to spread, if needed.
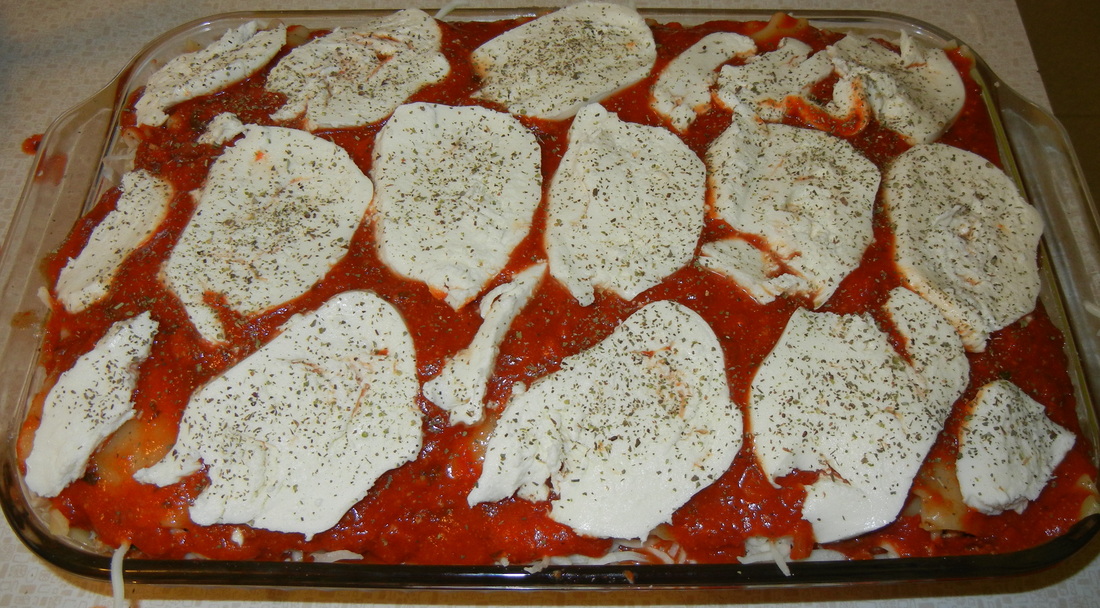
Layer another 3-4 noodles, filling, cheese, and sauce, and another one....until you run out of room in the dish. The top layer should be noodle, then sauce, then fresh mozzarella. Sprinkle the top with basil, oregano and pepper.
Bake at 350F for an hour, or until the cheese on top is starting to bubble and turn golden.
Enjoy!
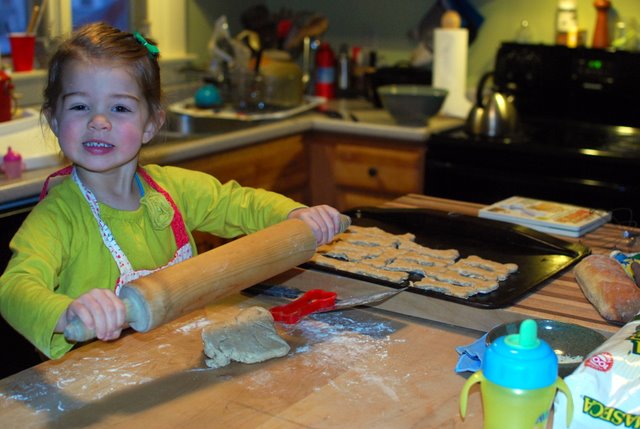
By Miranda This really is straight out of the cookbook (from Michele Bledsoe's Doggy Bone Cookbook), but it is such a nice and easy recipe that is great for kids, cause who cares if the dough gets
dropped on the ground or if the shapes get smashed or if they take a bite??!! Use any shape cookie cutter. Makes great gifts, too!
1/4 cup peanut butter (we just do a big spoonful cause its hard to measure)
1 Tbsp veggie oil
1 cup water
2 1/4 cup whole wheat flour
1 cup oatmeal
Mix all together and roll out to 1/4-1/2 inch thick. Cut out shapes and place on cookie sheet. Bake at 375F for 35 minutes.
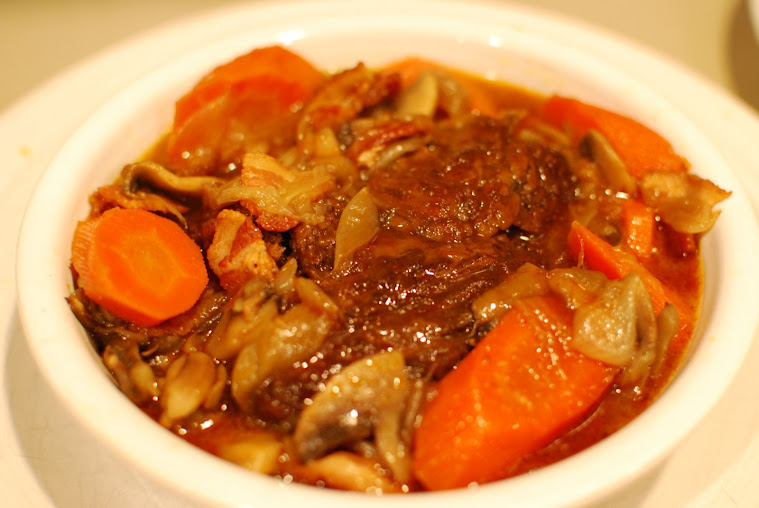
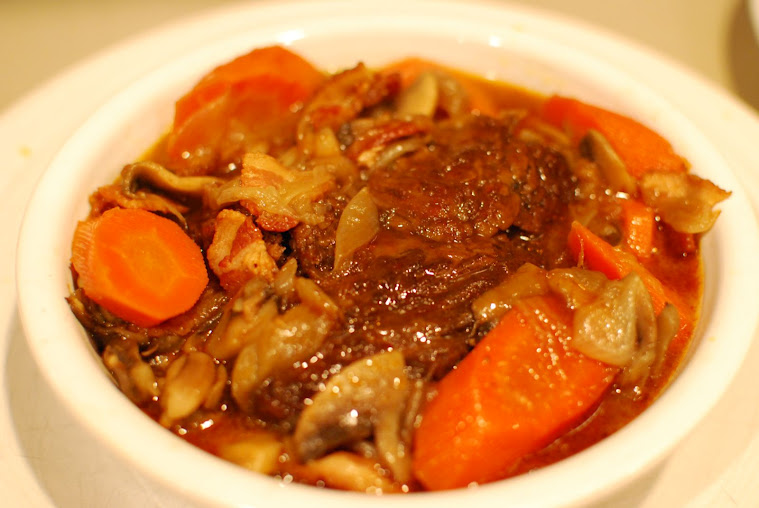
made by Emily I've made Julia Child's Beef Bourguignon recipe a few times and wanted to experiment with another recipe (which evolved originally from Epicurious) since I had short ribs in the freezer. Also, Julia's recipe has a lot of steps and I didn't want to be in the kitchen all day...but I found out, to my misfortune, that this recipe takes a while too. I think that's just the deal with fall-off-the-bone meats (I would start it by noon if you want to eat around 6). The prep doesn't take that long but it cooks about 5 hours and then you have to make the gravy. Although a bit cumbersome, it's worth it because it is really, really SO tasty. It's like a fancy comfort food beef stew where the meat falls apart and the broth is delicious. I asked my husband how he liked it after a few bites and he replied, "this is my favorite kind of food". I'm not a big stew person but this recipe won me over.... I almost hid the leftovers so he wouldn't take them to work.
Makes 3-4 servings (for us it was 3 because I guess we eat a lot?)
You'll need for the short ribs:
2 lbs short ribs w/o bone, or 4 pieces bone-in beef short ribs
1 Tbs vegetable oil
Sea salt
Black pepper
3 big carrots, chopped
1 medium onion, chopped
2 garlic cloves, finely chopped or pressed
1 14oz can whole tomatoes in juice, pureed in a blender with juice (you'll only end up using 1/2 the amount)
1 1/2 cups dry red wine
4 cups beef stock
2 sprigs fresh thyme (don't remove leaves, just use the whole sprig)
1 bay leaf
1 Tbs red-wine vinegar
1 Tbs balsamic vinegar
For the vegetables:
20 pearl onions (approx 5 oz) - you can use fresh or frozen. Frozen is easier b/c the skin is off. Fresh tastes better but you have to get the skin off which is a P.I.T.A.
2 Tbs butter
1 Tbs red-wine vinegar
2 cups chicken stock
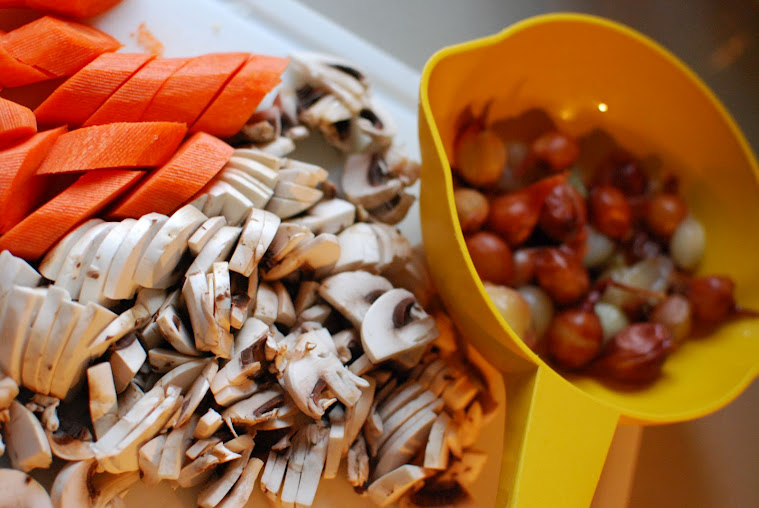
2 big carrots, cut diagonal into extra large bite-sized pieces
4-6 bacon slices (smoked bacon or applewood-smoked is great), cut into 1inch chunks
8oz pkg fresh white mushrooms (about 10 mushrooms), stems trimmed and diced
To Make:
Braise the short ribs:
Put oven rack in lower third of oven and preheat oven to 250°F.
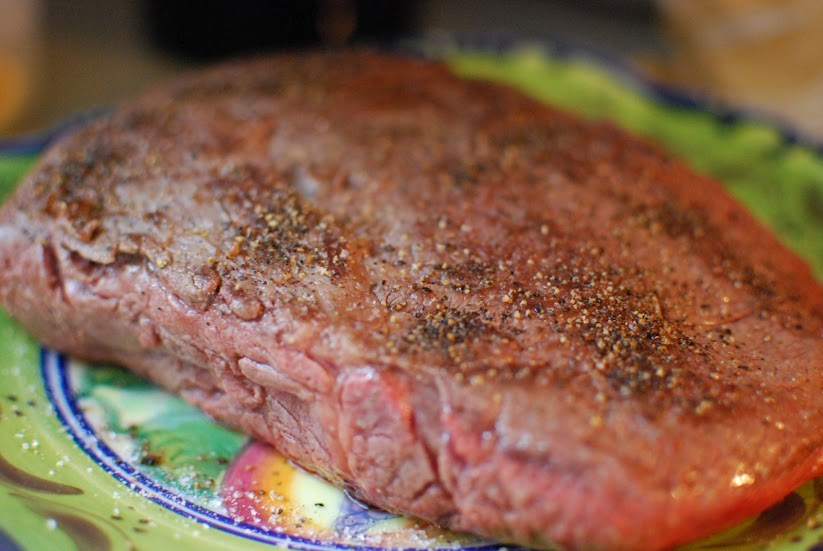
Pat beef dry. Heat oil in a wide heavy pot over moderately high heat until hot but not smoking, then brown beef on all sides, turning with tongs, about 8 minutes. Transfer to a plate and sprinkle with sea salt and pepper.
Add chopped carrots, onion, and garlic to oil in pot and cook over moderate heat, uncovered, stirring occasionally, until softened, about 5 minutes. Stir in 1 cup puréed tomatoes (reserve remainder for something else, no more needed for this recipe) and bring to a boil over moderately high heat. Add wine and boil, stirring occasionally, until sauce is thickened, about 8 minutes.
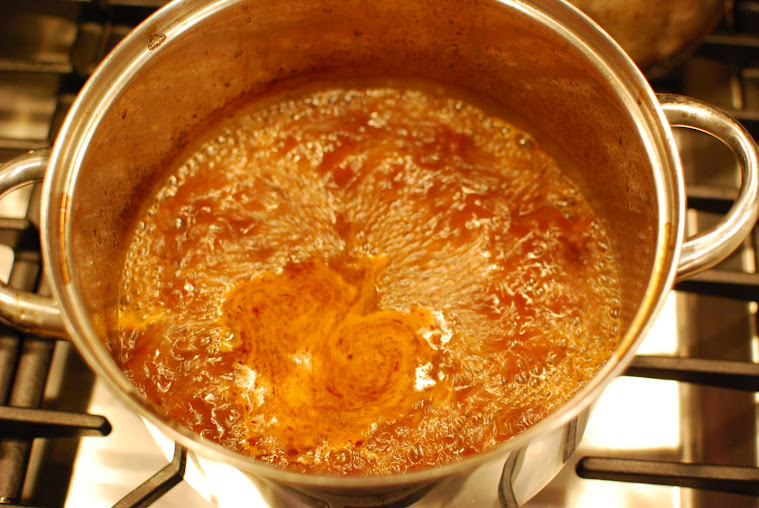
Add beef stock, thyme sprigs, bay leaf, vinegars, and sea salt and pepper to sauce (don't be shy with the S & P!), and bring to a simmer. Skim fat from surface if needed (I didn't), then add beef along with any juices accumulated on plate and cover pot with a tight-fitting lid. Transfer to oven and braise until beef is very tender, about 5 hours (the longer the more tender). Cook vegetables while beef braises:
De-skin the pearl onions but try to keep them "whole" or intact as best as you can (luckily you skip this step if you are using frozen ones).
Heat butter in dried saucepan over moderate heat and then cook onions, stirring occasionally, until brown spots appear, 3 to 5 minutes. Stir in vinegar, then add chicken stock and carrots and bring to a boil. Reduce heat and simmer, uncovered, until vegetables are tender, 20 to 25 minutes. You want the liquid to reduce by about half. You can cover, if necessary. It should look like the liquid glazes the veggies.
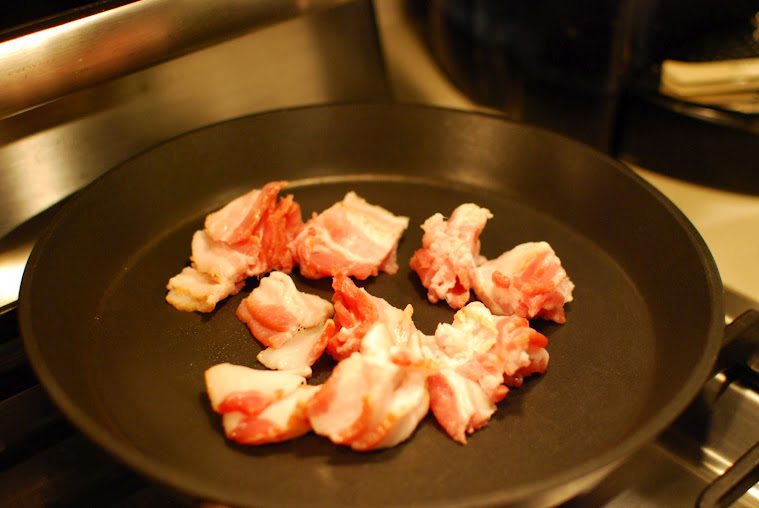
While vegetables are simmering, cook bacon in a 10-inch heavy skillet over moderate heat, stirring occasionally, until almost well done looking. Add mushrooms and cook, stirring, until mushrooms are tender and bacon is browned and crisp, about 4 minutes. Transfer with a slotted spoon to vegetables in saucepan so you don't get the remaining grease. Finishing touches:
Transfer a short rib to each of 4 soup plates and keep warm in oven. Pour sauce through a colander into a large bowl, discarding solids (or you can save for another use later b/c I feel like it's a little wasteful). Skim fat from top if you see a lot accumulated. Boil sauce until thickened and reduced to about 3 cups. Add about 2 cups sauce to vegetables (reserve remaining sauce for another use), then spoon mixture around each bowl of your short ribs. Taste to check if you need to add a little more salt & pepper.
Enjoy! We made salad to go on the side of this dish, but you can do egg noodles too or a crusty french loaf to soak up the broth would be good too.
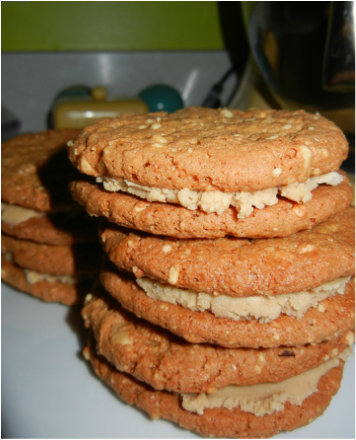
made by Rachel I saw this recipe in the latest Cook's Illustrated and only decided to make them because my husband LOVES peanut butter. But to my surprise I ate almost all of them because they were so good! Funny story, I made the cookies and was plating them to serve for some company when I realized there was 3 Tbs of butter sitting on the counter...I forgot to add it to the recipe! The great part is the cookies were awesome without it - makes you wonder what you could leave out that could make your recipes a little healthier! So if anyone makes them WITH the butter please let me know if they are like to-die-for so I know whether or not to skip it next time.
To make the cookies, you will need:
1 1/4 cups raw peanuts, toasted and cooled (I toasted them in a skillet for a few minutes on medium heat)
3/4 cup flour
1 tsp baking soda
1/2 tsp salt
3 Tbs unsalted butter, melted (optional, apparently, because I forgot this and they still turned out great!)
1/2 cup creamy peanut butter (I recommend JIFF)
1/2 cup sugar
1/2 cup brown sugar
3 Tbs milk (I used 2%)
1 egg
To make the filling, you will need:
3/4 cup creamy peanut butter
3 Tbs unsalted butter
1 cup confectioners sugar
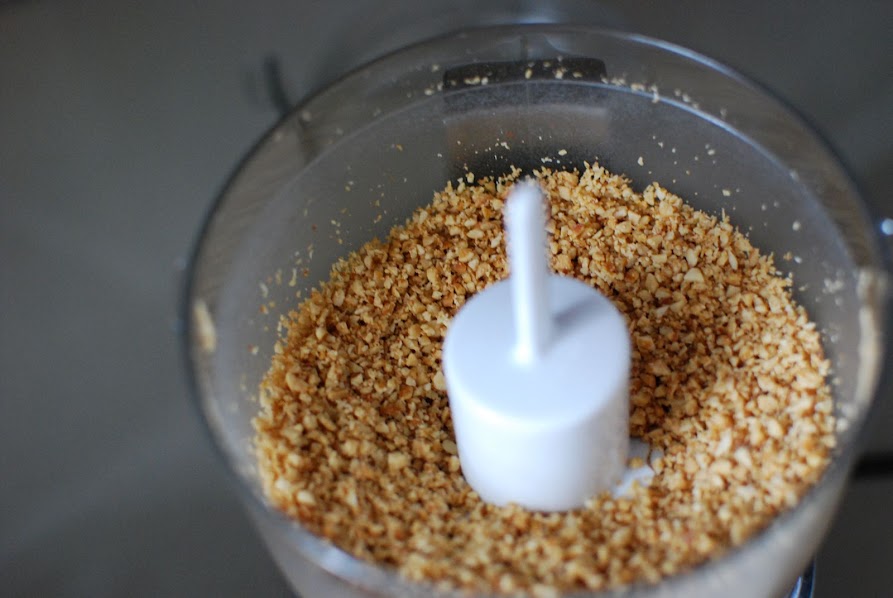
Pre-heat the oven to 350F. Roast/toast your peanuts in the oven or in a skillet and let them cool. Once they are cool, stick them in the food processor for a couple pulses until they are finely chopped.
Mix the flour, baking soda and salt together. In another bowl, mix the butter, peanut butter, sugars, egg and milk. Add the flour mixture to the peanut butter mixture and stir until combined. Stir in the peanuts until evenly combined.
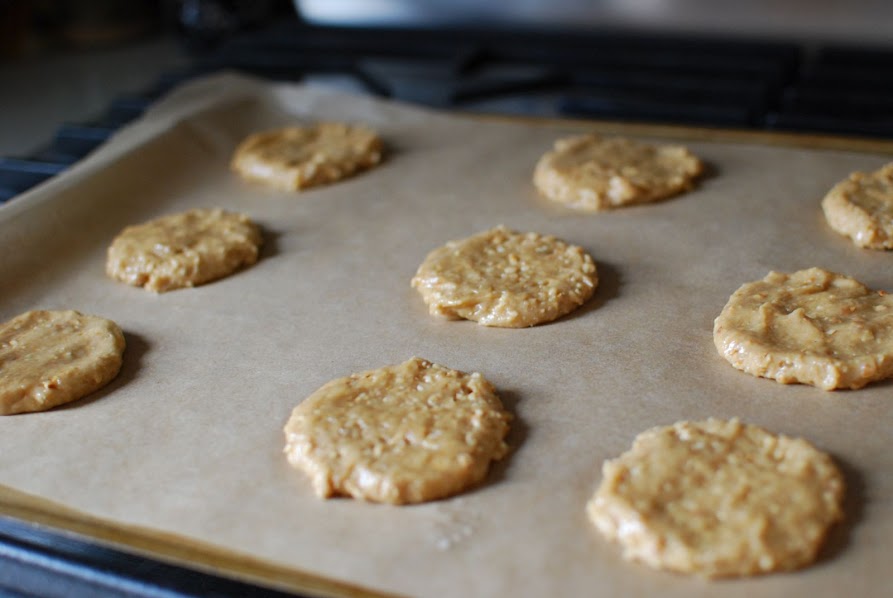
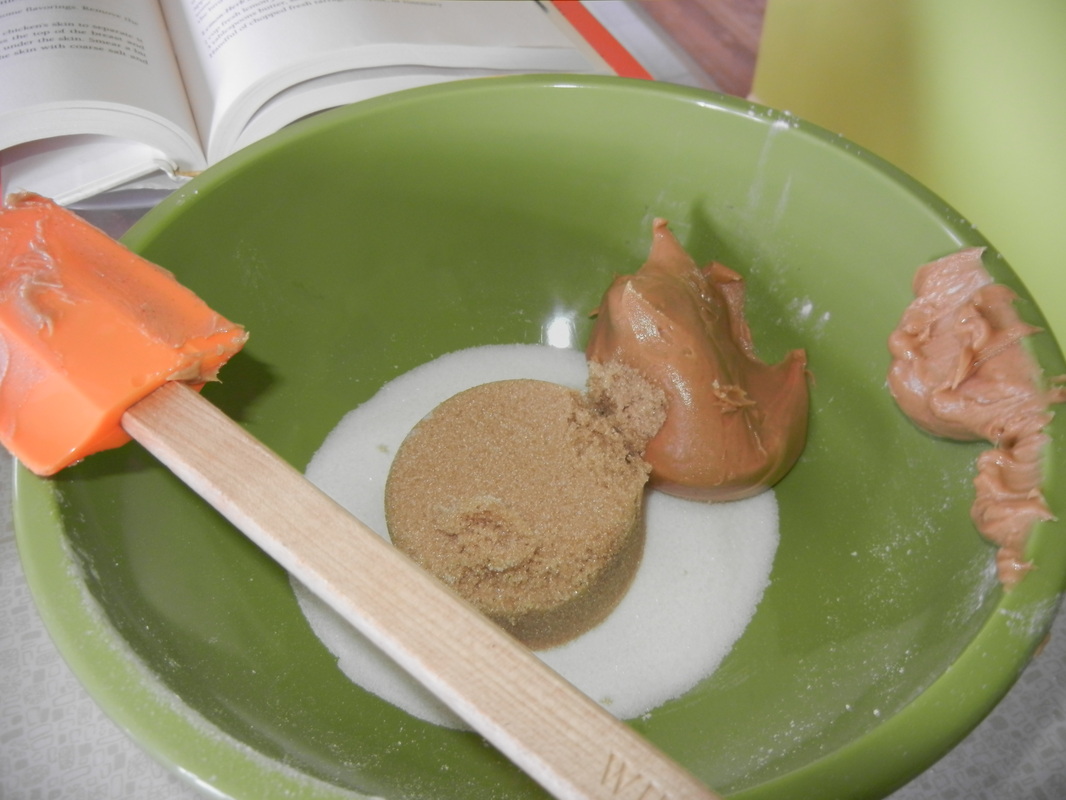 Proof that I was too concerned with taking pictures to notice that I forgot the butter! Line a baking sheet with parchment paper and use a tablespoon to scoop the dough into balls on the baking sheet, then wet your fingers and flatten each dough ball to about 2 inches wide. Bake the cookies until golden, about 15 minutes then cool on a wire rack. They will be crispy and thin - don't worry! This will taste perfect with the creamy filling. The Cook's Illustrated recipe said to let the cookies cool completely before putting the filling on, but I wonder how it would be if you didn't wait until they were totally cool because my cookies did not necessarily STAY in a sandwich when I packed them up later...just a thought.
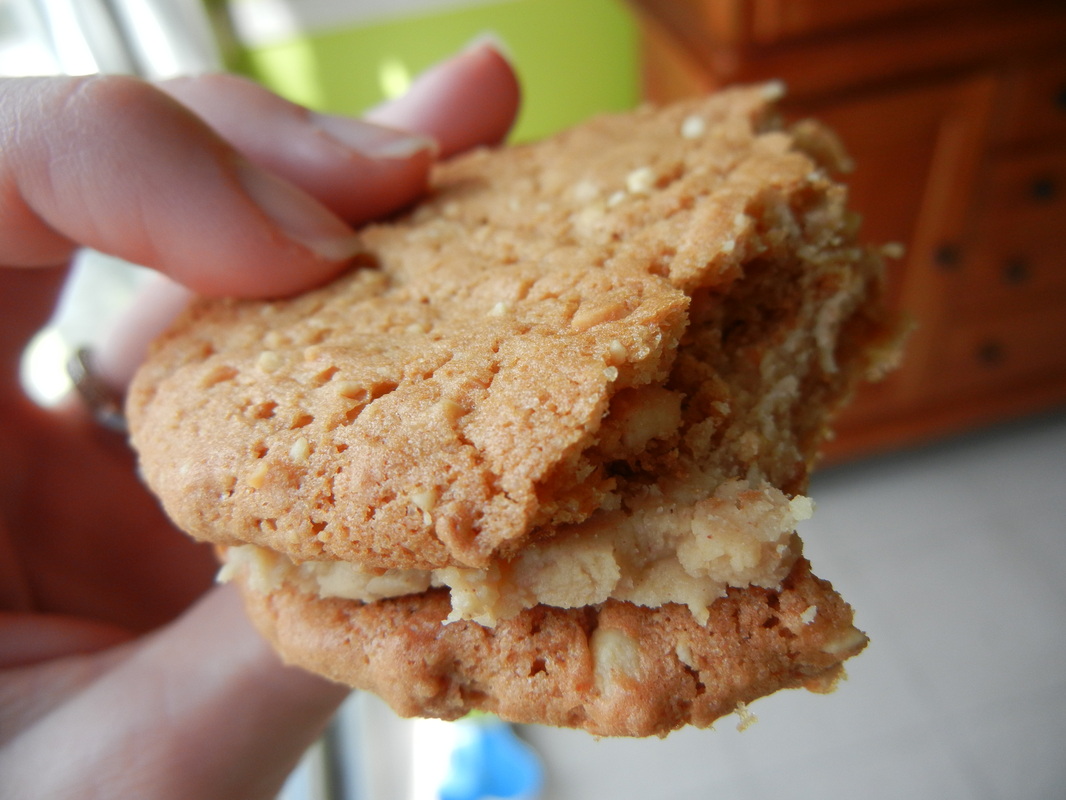
To make your filling, microwave the peanut butter and butter until melted and warm. Stir in the confectioners sugar and mix well. Put about a tablespoon of filling in between two cookies and let the filling set for a few minutes before eating. TAAAAASTY!!
If you make these and either use the butter or put the filling on them when warm please let me know how it turns out!
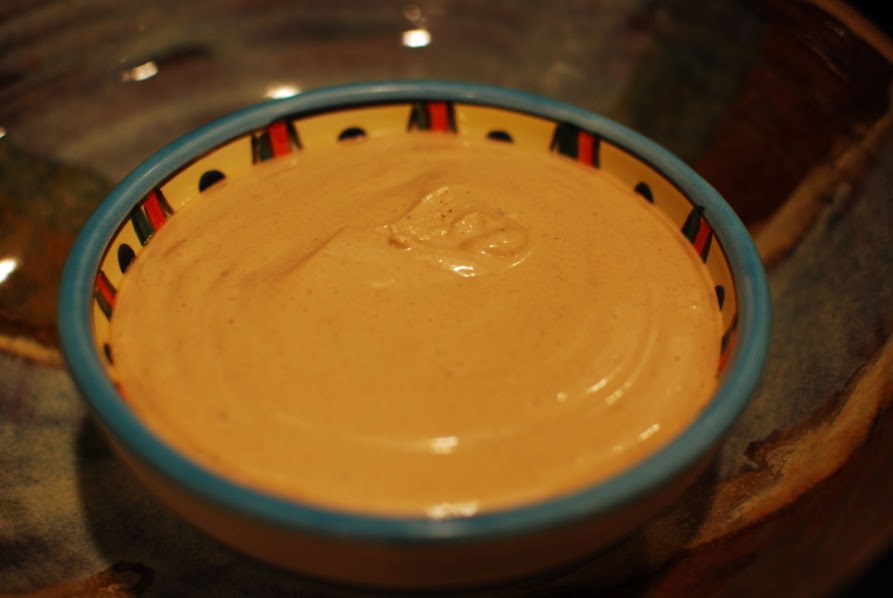
By Miranda Seriously, this has such good flavor and is such a crowd pleaser. Great as an appetizer or hors d'oeuvre and people always ask for the recipe when I make this. I got the original recipe from a tapas cookbook that calls for double this amount of garlic - but I find one HEAD of garlic is plenty!
You will need:
3 lbs potatoes, unpeeled and cut into wedges (about 6-8 wedges per potato depending on size)
2 Tbsp olive oil
2 tsp salt
1 whole head/bulb of garlic
1/2 cup of sour cream
1/2 cup of mayo
1 Tbsp paprika
S+P to taste
The dip tastes great if made ahead of time so flavors can blend together. Make it about an hour or so before serving and refrigerate.
First, roast the garlic. Pre-heat the oven to 400F. Cut the whole bulb of garlic in half so that when cut open you see the middle of each clove. Place face up on a roasting sheet and drizzle with some olive oil. Roast in oven at 400F for about 20 minutes, or until nicely browned.
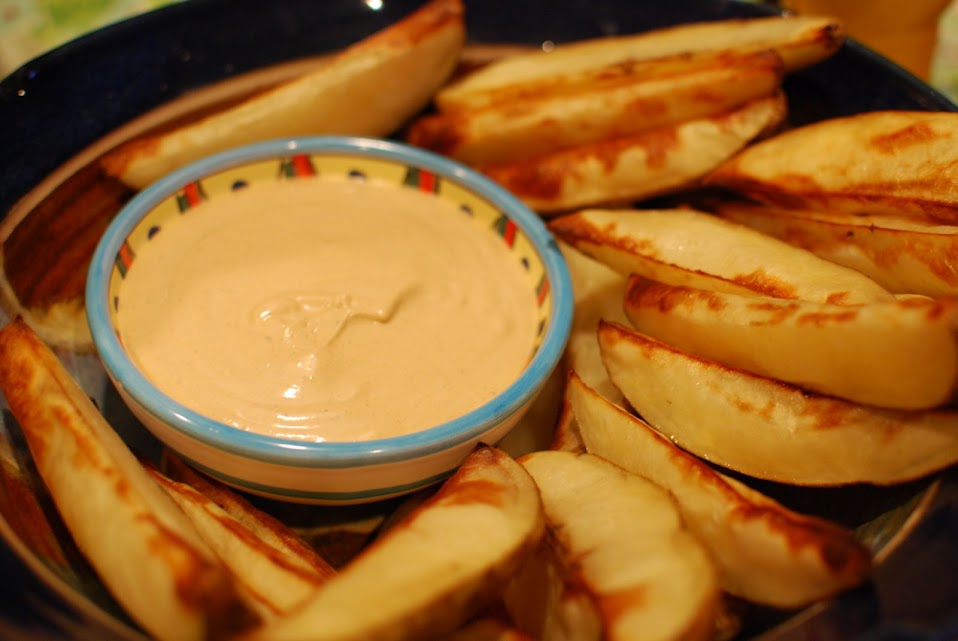
Remove the cloves from their skins; they should slide out pretty easily. Place garlic cloves, sour cream, mayo and paprika in food processor and process until smooth. Season with salt and pepper and transfer dip to a bowl, cover with plastic wrap and refrigerate until ready to serve.
Then make your potatoes:
Place potato wedges in a roasting pan. Drizzle with the olive oil and sprinkle with salt. Toss to coat. Spread potatoes into a single layer. Roast in oven at 400F for about an hour or until tender in the middle, but golden and crispy on the outside. I find it helps to toss them halfway thru by using a thin metal spatula to get under them (they will stick to the pan a little).
Serve the warm potato wedges with chilled garlic dip. MMMM!!!
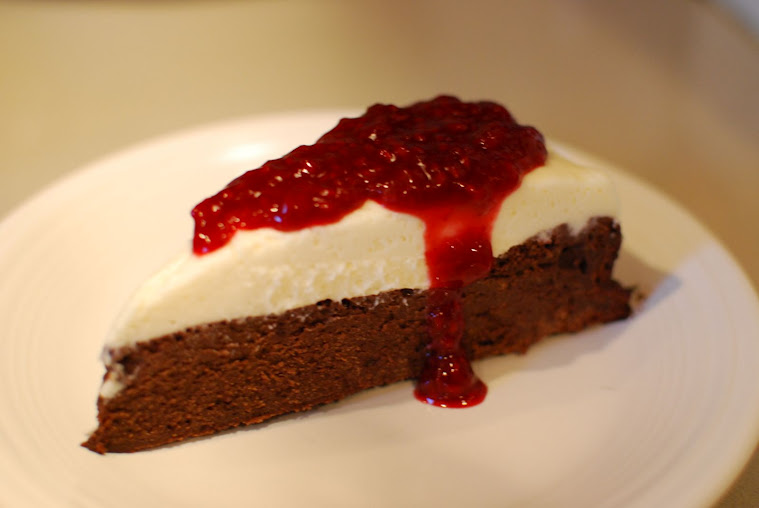
By Emily, Mandy & Rachel Emily and Mandy made this when they saw each other a few weeks ago and I made it for Valentine's and both were a big hit. This cake is SUPER rich and really delicious. Beware, there are a lot of steps so make sure you have some time before you get started! For the cake:
16 oz semi sweet chocolate (like baker's squares)
1 cup unsalted butter
6 eggs
1 tsp vanilla
For the white chocolate topping:
1 cup white chocolate chunks/chips
1 cup whipping/heavy cream
8 oz cream cheese, room temp
1/3 cup powdered sugar
For the raspberry sauce:
2 cups fresh or frozen raspberries
1/2 cup sugar (you can start with less and add more to your liking)
To make:
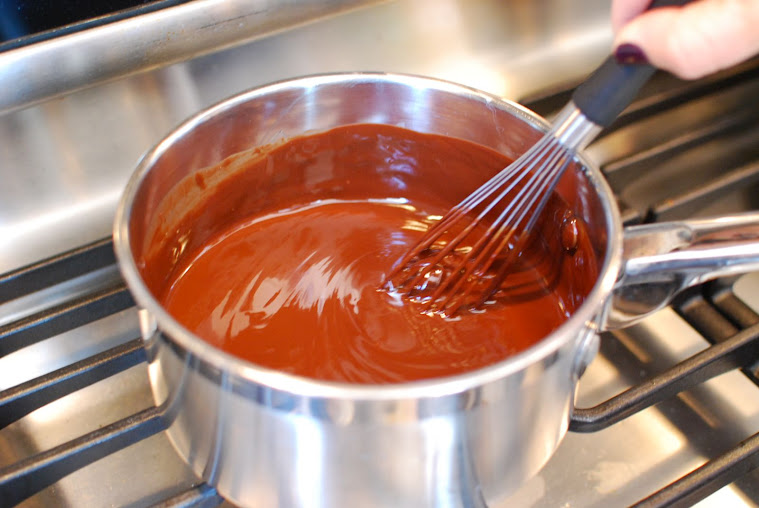
In a sauce pan over medium low heat, melt the semi-sweet chocolate and butter until completely melted. Stir constantly so the chocolate doesn't burn. Once the chocolate is melted, remove the pan from the heat and set aside until the chocolate cools (half hour).
Pre-heat your oven to 400F. Line the bottom of a spring form pan with parchment paper and grease the sides (if you don't have parchment you can grease the bottom too).
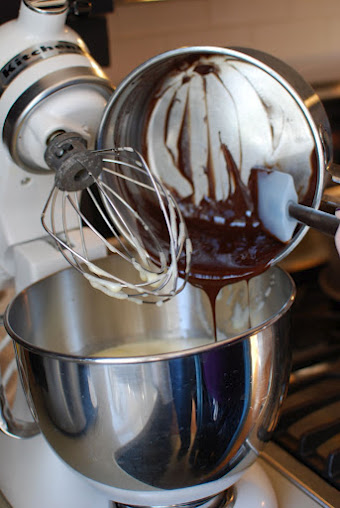
Next, beat your eggs with your mixer for about 5 min - they should triple in volume. Fold the eggs into the cooled, melted chocolate until completely combined. Stir in the vanilla and pour into the prepared spring form pan. Bake for 15 to 20 min - no more! The center should be jiggly and the edges should be set. If you bake it too long it will dry out. Cool the cake on a wire rack for an hour, then in the fridge for another hour or so (should be completely chilled before putting the white chocolate topping on it).
After the cake has chilled in the fridge, start your white chocolate topping. Melt the white chocolate chips with 3 tablespoons in a sauce pan over medium low heat, again stirring constantly until completely melted.
In your mixer, beat the cream cheese and powdered sugar. Slowly add the melted white chocolate to this until completely combined and smooth and set aside. In your mixer the remaining heavy cream until stiff peaks form (making whipped cream) and then fold into the white chocolate mixture and spread over the top of the chocolate cake.
Set the cake back in the fridge to chill for another hour (or even overnight).
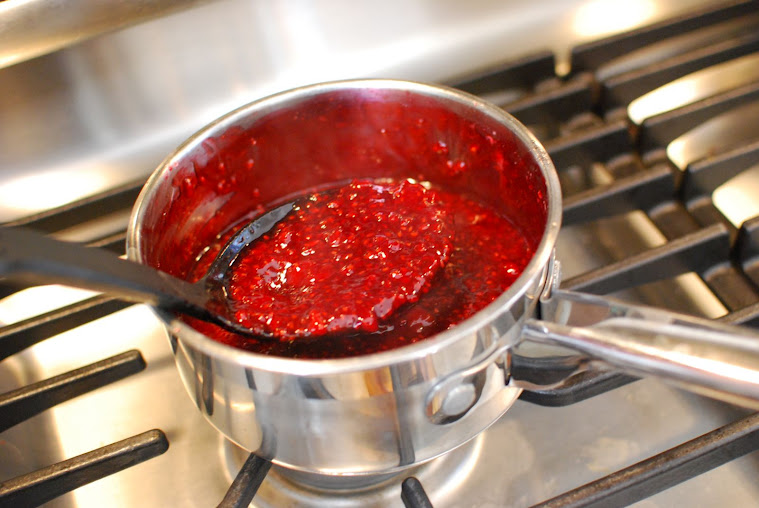
Make your raspberry sauce while your cake is chilling. Put your raspberries and sugar in a saucepan over medium heat until bubbly and beginning to reduce. If the sauce is too watery/thin you can add a sprinkle of corn starch to thicken it up a bit. Remove from heat and use to drizzle over your cake when serving. *If you want, you can strain out the seeds - I did cause raspberry seeds drive me nuts!
Enjoy!
|
