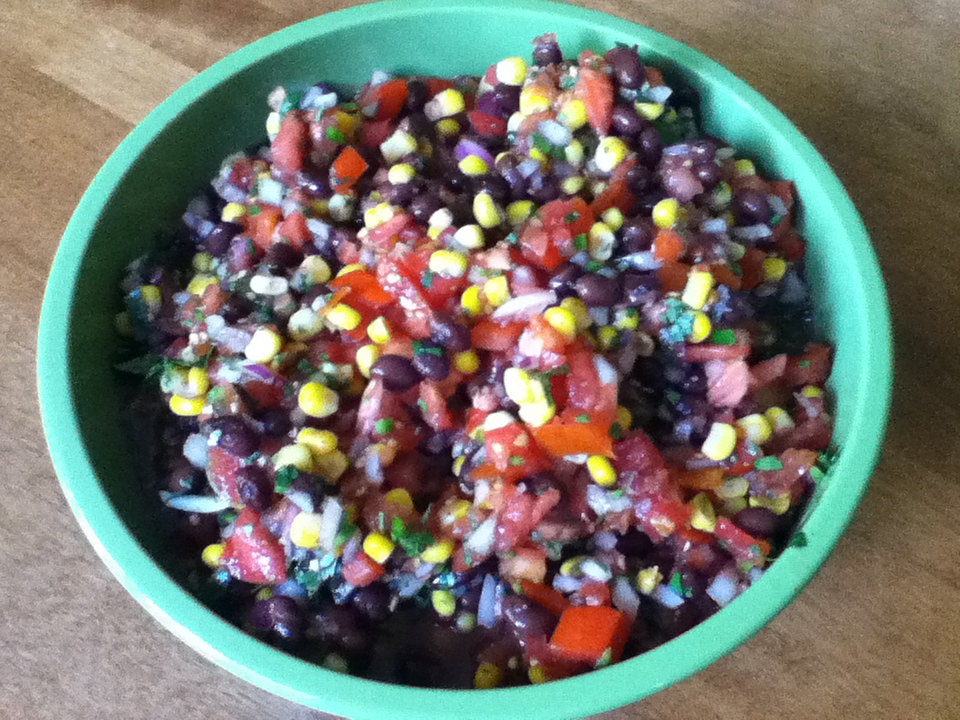
By Rachel One of my favorite things to bring to parties or weekends away is a huge batch of fresh salsa so everyone always has something to snack on...ok fine, it's so I have something to snack on! This homemade version is my go-to and since lots of people have asked for my recipe I decided to write it down. Be warned, it makes a LOT of salsa!
You'll need:
1-15oz can of black beans, rinsed and drained
1-15oz can of corn, or about 1.5 cups of fresh or frozen corn
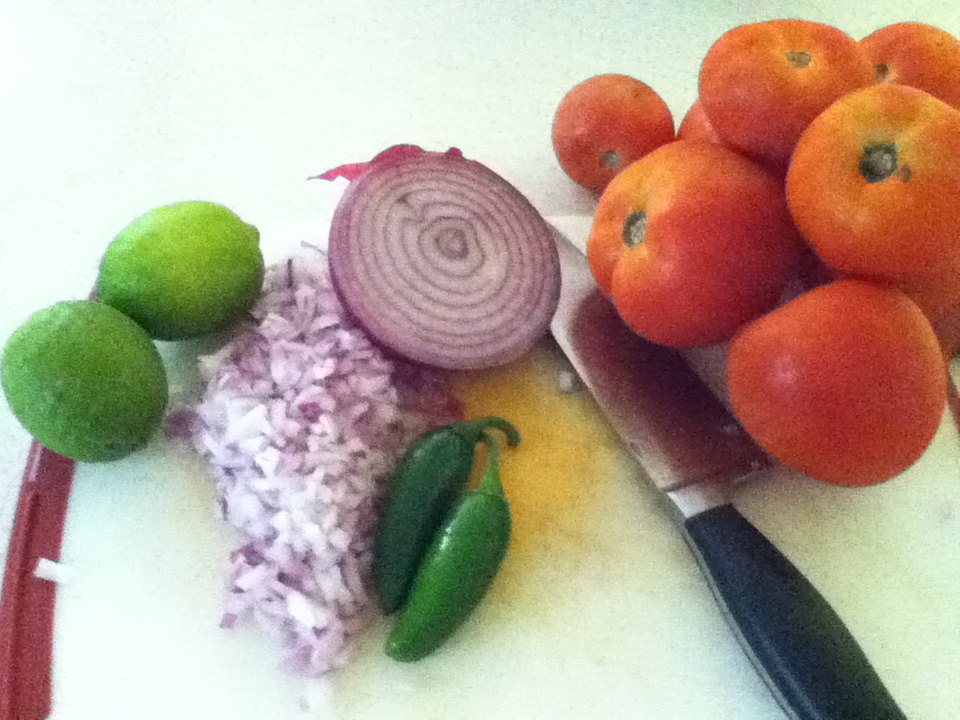
1 medium red onion, about 1.5 cups diced
2 jalapenos, ribbed and seeded, seeds saved for added spiciness
Juice of two limes
6 medium sized tomatoes
1 tsp black pepper
1/2 tsp salt
1 tsp cumin
1 tsp chili powder
Cilantro - one big handful - I LOVE cilantro!
*all the measurements for the spices are just my preference, increase or decrease the amounts to your taste
All you do is chop up the onion, jalapenos (minced to avoid getting really hot bites) and tomatoes and toss them together with the rest of the ingredients - easy as pie...or salsa :)
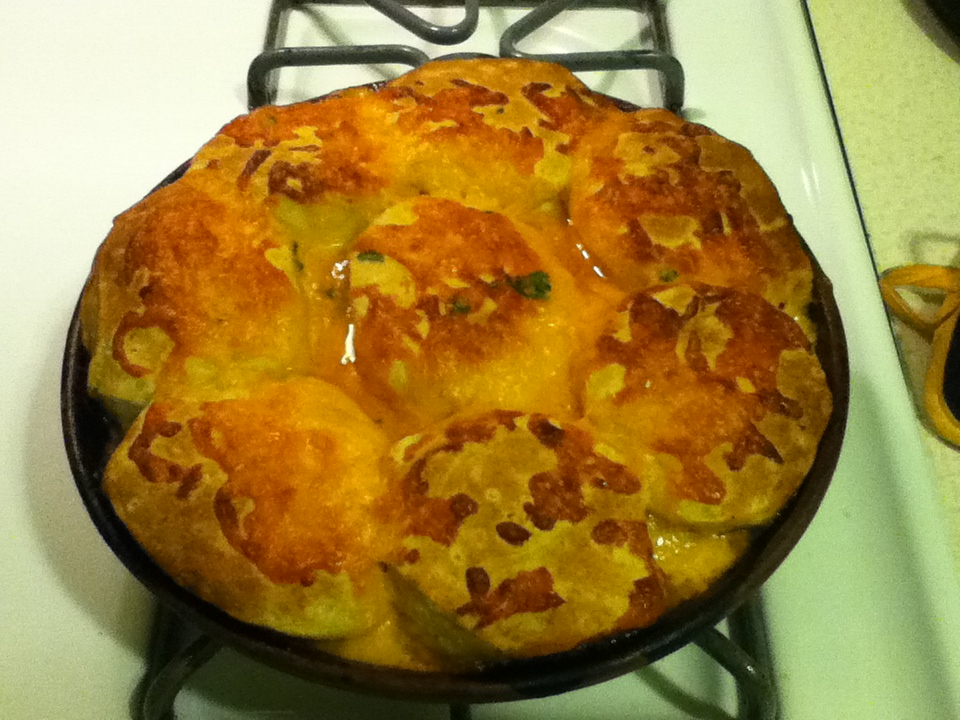
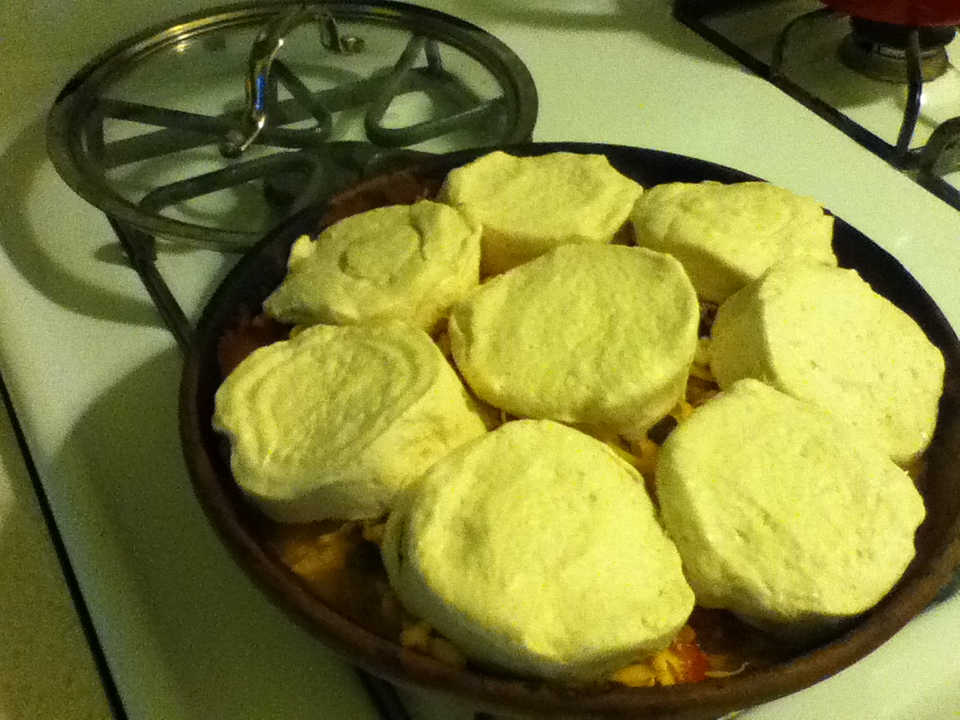
By Rachel The latest Real Simple magazine I received had 5 easy weeknight meals, so I decided to make all 5 for this week's dinners. Here is one of the easier ones that I altered a bit to accommodate what I had and what I could use from our garden. I realize this supports the stereotype of Midwest cooking to be primarily in one dish and topped with cheese, but it is NOT a casserole and is pretty delicious!
What you'll need:
A cast iron skillet, or a stoneware cooking dish (I only have a small cast iron pan, so I used a stoneware pie pan)
2 Tbls olive oil
1 medium sized onion
1/2 tsp salt
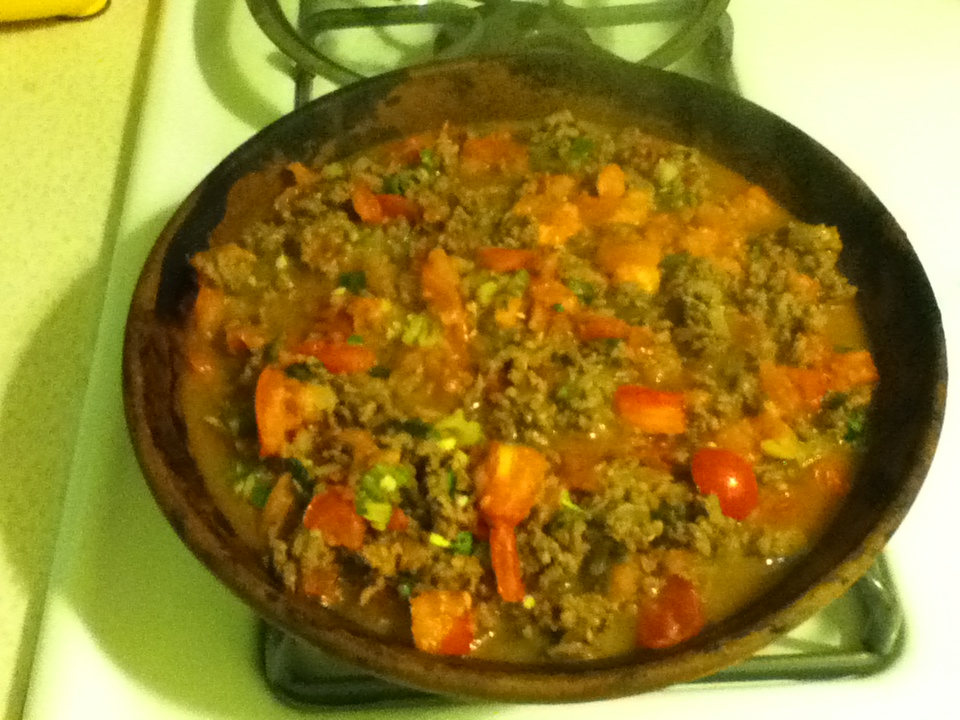
1 pound ground beef (the leaner the better since you do not drain the meat after cooking)
1-3 peppers. I used 3 long and skinny hybrid hot peppers from our garden, similar in size and spiciness to a banana pepper. If you don't have or want to buy fresh peppers, you can buy a can of diced tomatoes with green chilies in it (usually in the ethnic good aisle).
1 15oz can of diced tomatoes, or about 4 roma sized fresh tomatoes chopped up
2 Tbls chopped fresh parsley
1-2 cups shredded cheddar cheese (I always add more cheese so I used 2 cups!)
Package of ready to cook biscuits (I used Pillsbury Grands)
What you need to do:
Heat the oven to 400F. Heat olive oil over medium high heat and add the onion, stirring and cooking until lightly browned. Add the ground beef and cook until no longer pink, chopping apart into smaller pieces while cooking, about 6-8 minutes. Add tomatoes, peppers and parsley and cook for a few more minutes, until the mixture thickens a bit. Pour into skillet or stoneware pan. Open the package of biscuits and separate out the biscuits on top of the meat/tomato mixture. If using extra cheese, put half of the grated cheese down before spreading the biscuits on top.
Then sprinkle the rest of the grated cheese on top of the biscuits and bake until the biscuits are cooked through and golden brown, about 20 minutes.
I know it's not the healthiest of meals, but it was so good!
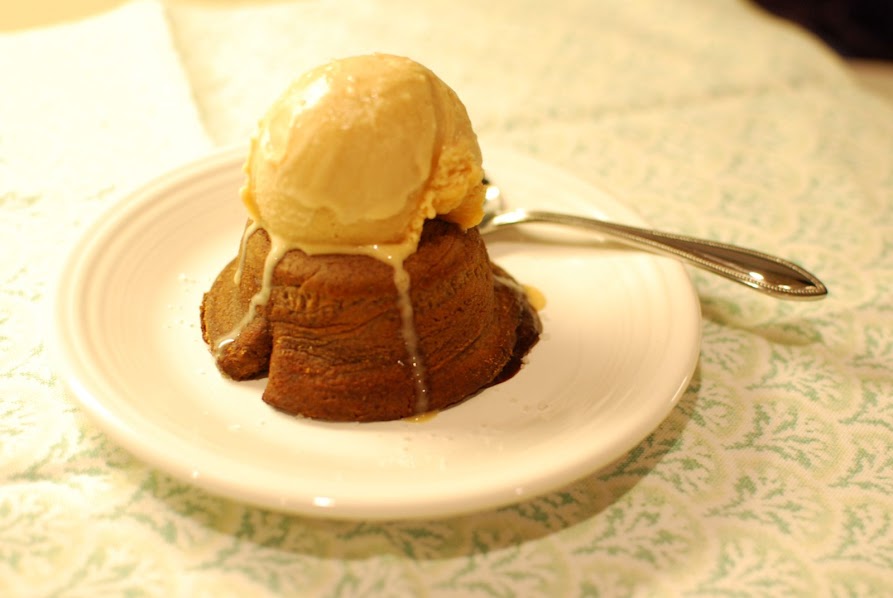
By Emily Since my husband is such a carmel fan, I tried this recipe for Salted Carmel Ice Cream after seeing it on the Food Network. It's really fabulous in taste, and is perfect to accompany a chocolate dessert or by itself. It is RICH though.... like a gelato. Also, it's a little on the soft side, since the salt prevents total freezing of the ice cream. The only thing I would do differently is to make sure you MIX the ice cream mixture thoroughly before it goes into the ice cream machine, that is, if you are doing two batches, like I did b/c I didn't have enough room. That way, the salt & carmel; which sinks eventually after being mixed with the vanilla base, will be evenly distributed among batches. One of my batches was heavenly and the other was a little on the salty side. But overall this recipe is really amazing for a naughty treat. It is a keeper for impressing guests! 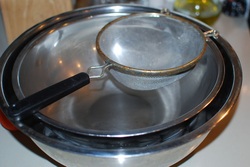 Ice Cream Base:
1 cup whole milk
4 large egg yolks
3/4 cup sugar
2 cups heavy cream
Directions for the Ice Cream base:
Heat the milk in a sauce pan over medium-low heat. Prepare an ice bath by setting a 2-quart bowl over a larger bowl partially filled with ice water. Set a strainer over the smaller bowl and set aside.
In a separate bowl, whisk together the egg yolks and sugar until pale yellow in color and the sugar has dissolved.
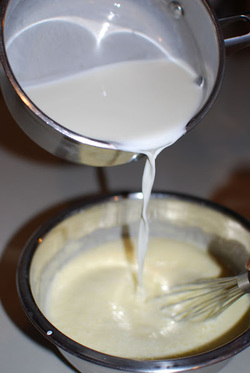 Gradually pour the warmed milk into the yolk mixture, whisking constantly.
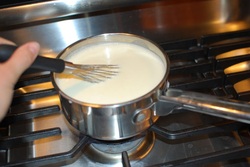 Pour the mixture back into the same saucepan you used to warm the milk. Cook for 3 to 5 minutes, stirring constantly, until the custard thickens and coats the back of a wooden spoon.
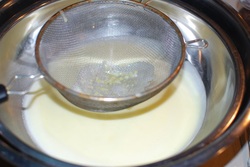 Strain the custard into the top bowl of the ice bath to stop the cooking process. Add the heavy cream and stir over the ice bath until cool. Cover the bowl with plastic wrap and chill thoroughly, preferably overnight. Yield: about 3 cups.
 Caramel:
1 1/4 cups sugar
3/4 cup heavy cream
2 teaspoons flaky sea salt, such as Maldon
1 tablespoon pure Tahitian vanilla extract
Directions for the Caramel:
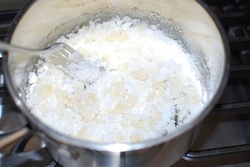
Heat the sugar in a dry heavy-bottomed sauce pan over medium heat, stirring with a fork to heat the sugar evenly, until it starts to melt, then stop stirring and swirl the pan so the sugar melts evenly, and continue cooking until it is a dark amber color.
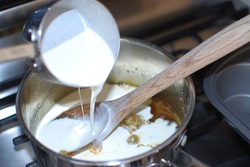 Carefully add the heavy cream (the mixture will splatter) and cook, stirring until all the caramel has dissolved.
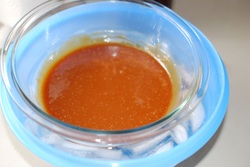 Transfer to a heat-proof bowl and stir in the sea salt. Set the caramel mixture over a bowl filled with ice water and stir until chilled to room temperature, otherwise adding warm caramel to the ice cream base will "scramble" the eggs.
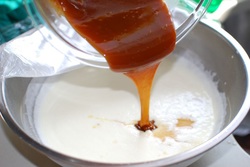 Combine the caramel mixture with the Ice Cream base and add the vanilla.
Chill completely (I chill mine for about 8 hours in the fridge to be safe). Freeze in an ice cream machine according to manufacturer's directions.
You can freeze the leftovers in an air tight container, but I wouldn't let it go uneaten for too long, considering there are no preservatives. Enjoy!
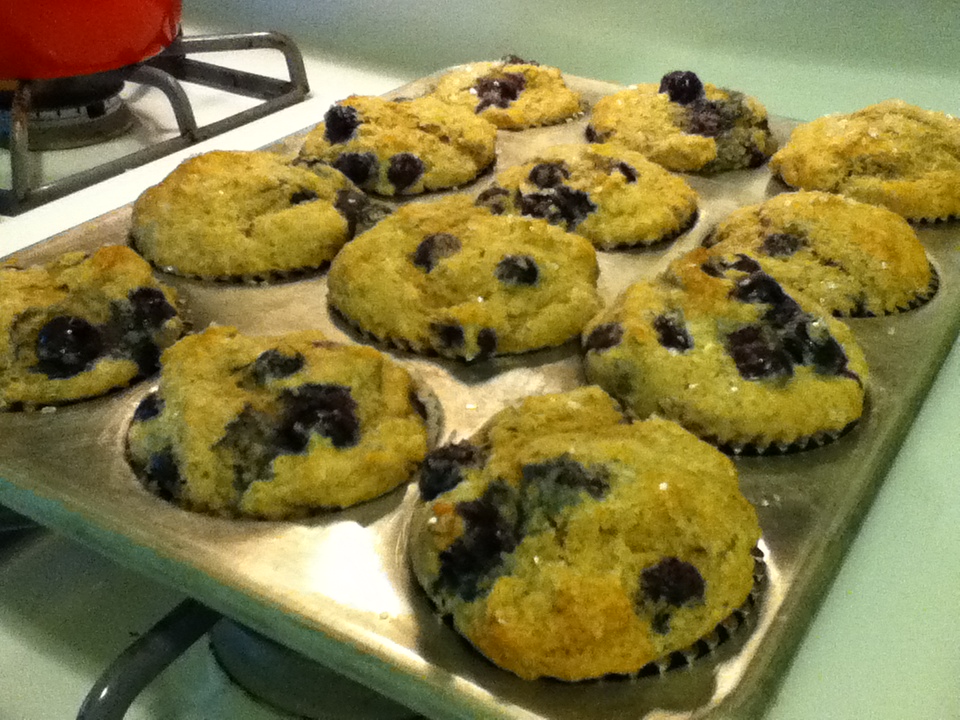
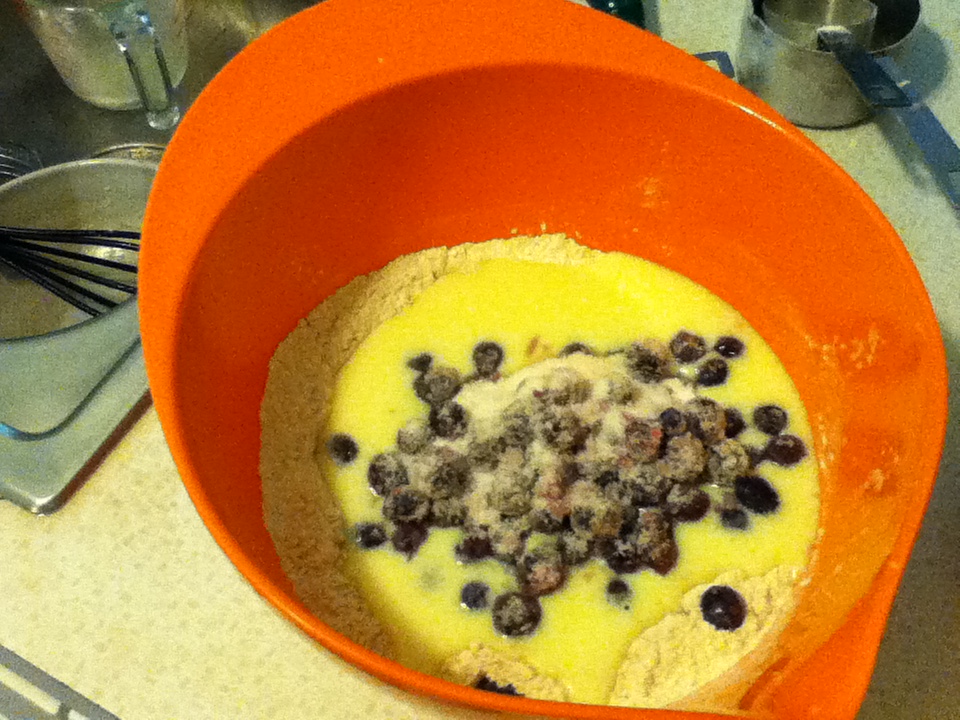
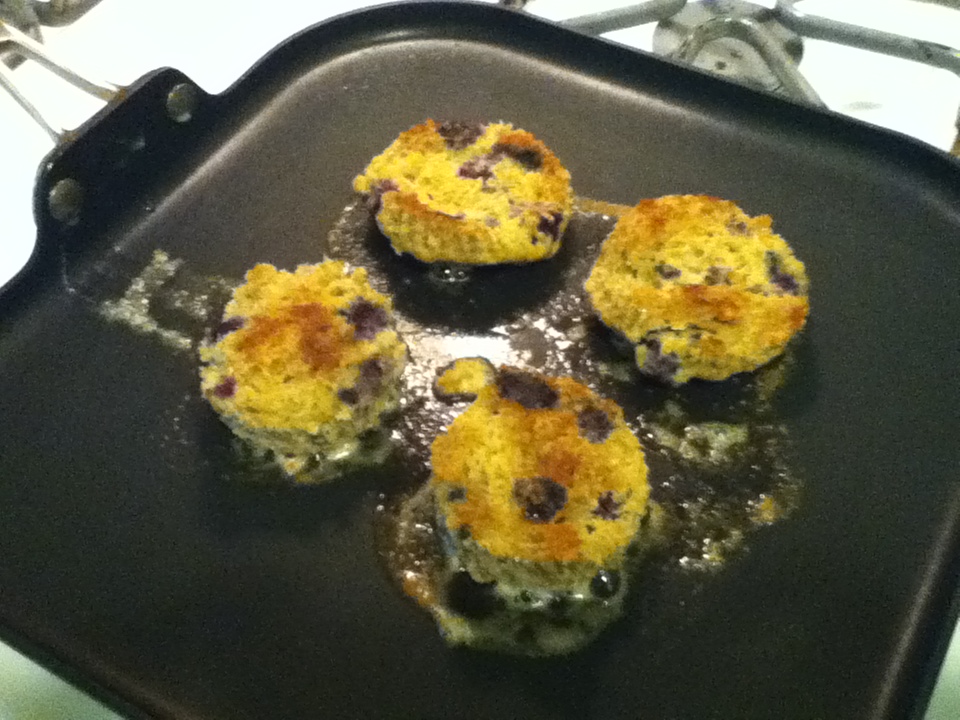
By Rachel One of my favorite breakfasts is a muffin, cut in half and grilled with butter like you would a grilled cheese...so crispy on the outside but soft and cake-like in the center. I have about 30 pounds of blueberries in my freezer right now so I have been experimenting a lot with different blueberry recipes. Last week I made a recipe from Real Simple magazine, and they were really good, but the flax seed flavor was a little too overwhelming to become a favorite. This week I used a Martha Stewart favorite of mine and simply substituted the strawberries for blueberries. Delicious! You will need:
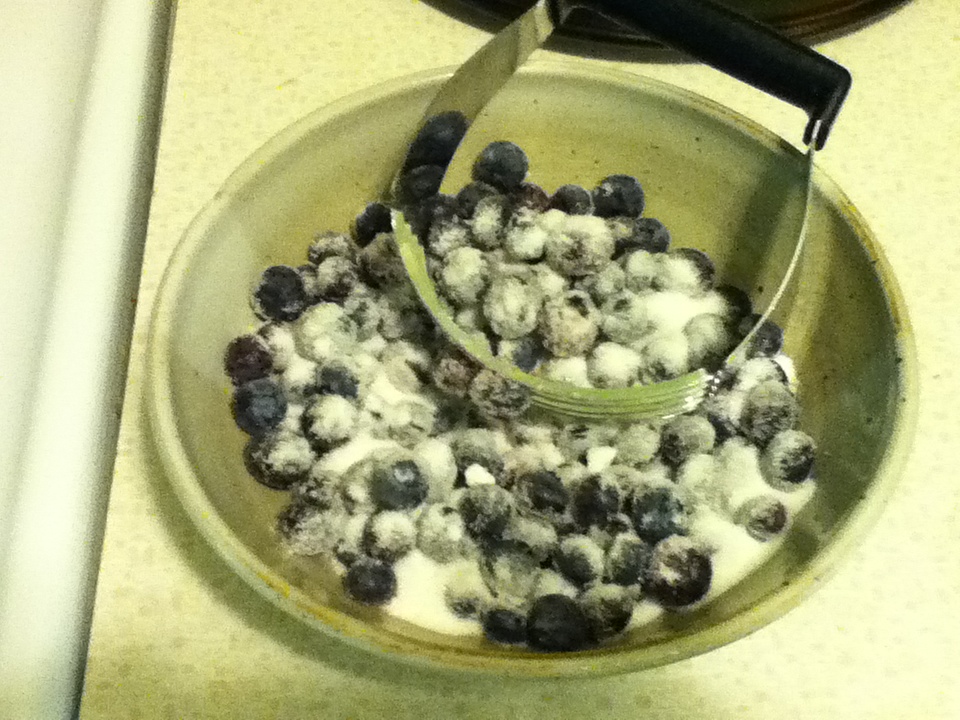
1 1/2 cups fresh or frozen blueberries (the original recipe calls for 1.5 cups sliced strawberries)
1/3 cup plus 1 tablespoon sugar (the 1 Tbls should be course ground decorating sugar)
1 1/4 cups all-purpose flour (spooned and leveled)
1/2 cup whole-wheat flour (spooned and leveled)
2 teaspoons baking powder
1/2 teaspoon baking soda
1/2 teaspoon salt
1/2 teaspoon ground cinnamon
1 cup low-fat buttermilk
1/4 cup vegetable oil
1 large egg
1 teaspoon pure vanilla extract
Directions:
Preheat oven to 400 degrees. Line a standard 12-cup muffin tin with paper liners. Toss together blueberries and 1/3 cup sugar. If you are using fresh fruit, lightly mash berries; set aside.
In a large bowl, whisk together flours, baking powder, baking soda, salt, and cinnamon. In a glass 2-quart measuring cup or a medium bowl, combine buttermilk, oil, egg, and vanilla; whisk to combine. Make a well in the center of the flour mixture and pour in the buttermilk mixture and the berry mixture (with juice). Fold just until combined.
Using an ice cream scoop, divide the batter among the muffin cups. Sprinkle the tops with remaining sugar. Bake until a toothpick inserted in the center of a muffin comes out clean, about 17 minutes. Cool 5 minutes in the pan, then transfer muffins to a wire rack to cool completely.
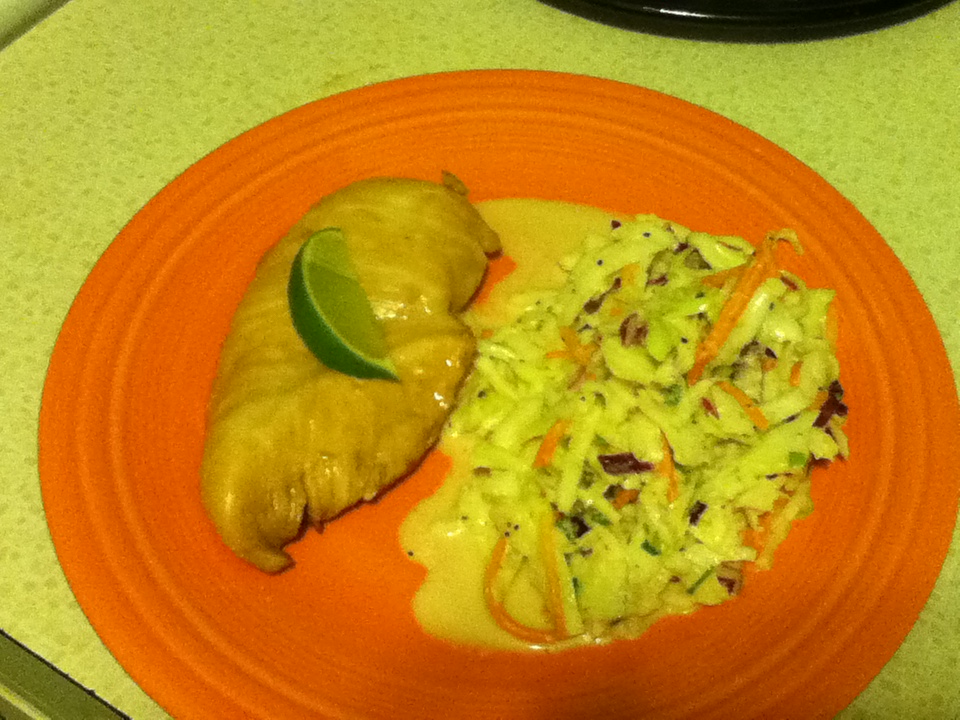
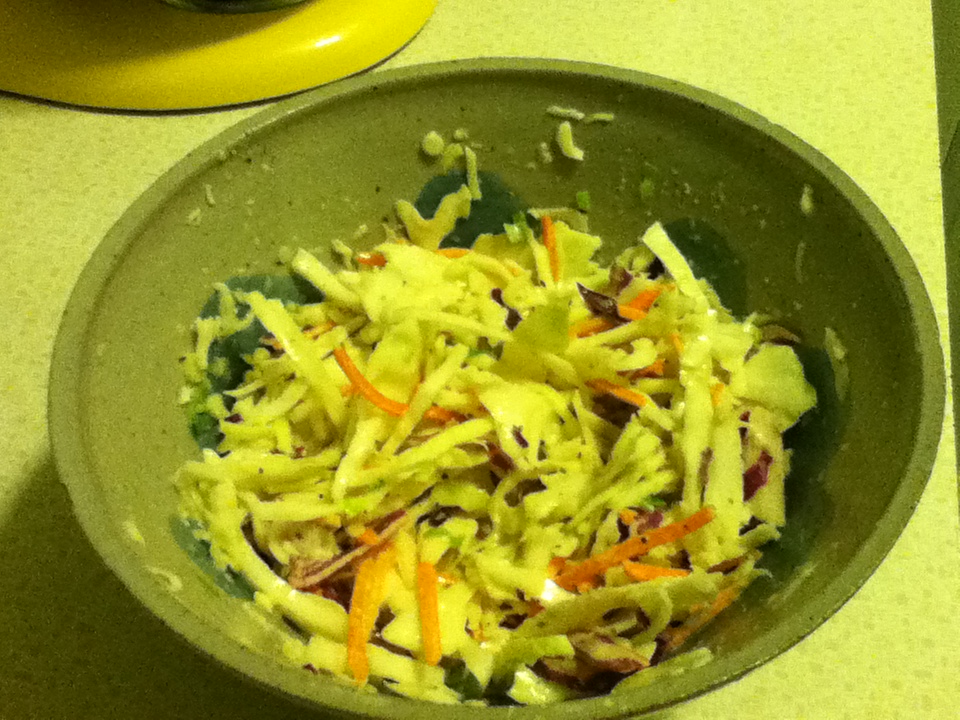
This is a quick, light and relatively healthy recipe I adapted from Real Simple magazine. I used chicken breasts rather than bone-in, skin-on chicken (because my husband as a funny aversion to eating things "with bones") and I modified the cabbage slaw to my taste buds after thinking it had way too much lime in it. Here is my version that we were pretty happy with - enjoy! Here is what you'll need to serve 2-3 people (my husband and I ate plenty and had a little leftover):
3 Tbsp plus 1 tsp brown sugar
2 Tbsp soy sauce
4-6 Tbsp fresh lime juice
2 large chicken breasts, sliced in half (so you have 4 thin fillets)
1 small package of coleslaw mix (or create your own with 1 large shredded carrot and about 1 cup each of shredded red and green cabbage)
2 scallions
1 Tbsp chopped or zested ginger
1 Tbsp canola oil
1 tsp sesame oil
1 Tbsp mayonaise
Salt and Pepper
Directions:
Whisk together 3 Tbsp of brown sugar, soy sauce and 3 Tbsp of the lime juice. Prepare your chicken breasts and marinate in this mixture for at least 30 minutes or up to a few hours, turning occasionally if the liquids so not cover the chicken completely.
Heat oven to 400F. Place chicken in a baking dish, pouring the marinade over the chicken breasts and bake until inside of chicken registers between 170-180 degrees - about 30 minutes. Every 10 minutes, turn the chicken over to make sure each side is evenly cooked and the chicken doesn't dry out. Meanwhile, whisk together the ginger, canola oil, remaining tsp of brown sugar, mayo, and sesame oil in a bowl. Slowly add the remaining lime juice, tasting to make sure you don't add too much like I did! Season with salt and pepper. Chop up the scallions and toss into the liquid mixture with the cabbage mix.
Once the chicken is done, plate and serve with a little of the chicken juices poured over top.
Enjoy!
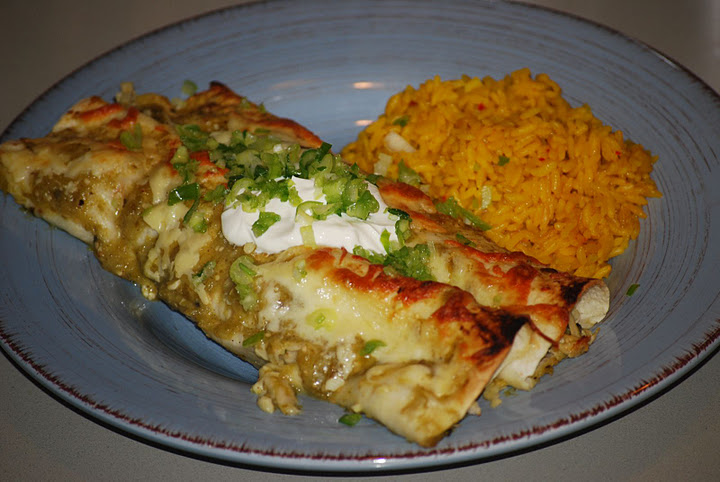
Recipe from Rachel, photos by Emily I got a little carried away when planting tomatillos this summer and after making two large batches of Salsa Verde I decided to look for some other tomatillo recipes. I found this recipe in Cook's Illustrated and altered it a bit to fit with what I had to contribute from my garden. This dish fed us for one large dinner and multiple lunches afterwards. I hope you like it as much as we did!
What you'll need:
4 tsp vegetable oil
1 medium onion chopped
3 garlic cloves minced or pressed, separated
1 tsp ground cumin, separated
1 1/2 cups chicken broth
2-3 boneless/skinless chicken breasts
16-20 medium tomatillos, about 1.5 pounds, or three 11 ounce cans
4 jalapenos, seeded (save the seeds to add spiciness)
1 1/2 tsp sugar
Pepper
1/2 cup chopped cilantro
Juice of one lime
2 cups grated cheddar or monterey jack cheese
12 flour tortillas (corn tortillas can be substituted)
2 scallions chopped for garnish (optional)
sour cream for garnish (optional)
Directions:
Set oven to broil and position oven racks to top level. In a medium saucepan heat 2 tsp of oil over medium high heat, add onion and cook about 6-8 minutes until golden. Add 2 cloves of the garlic and 1/2 tsp cumin, and cook for about 30 seconds more. Lower heat to low and stir in chicken broth. Add the chicken, cover and simmer until chicken is 160 degrees inside, flipping once (about 15-20 minutes). Remove chicken from pan and let cool. Drain the liquid from the pan and reserve the onions for later.
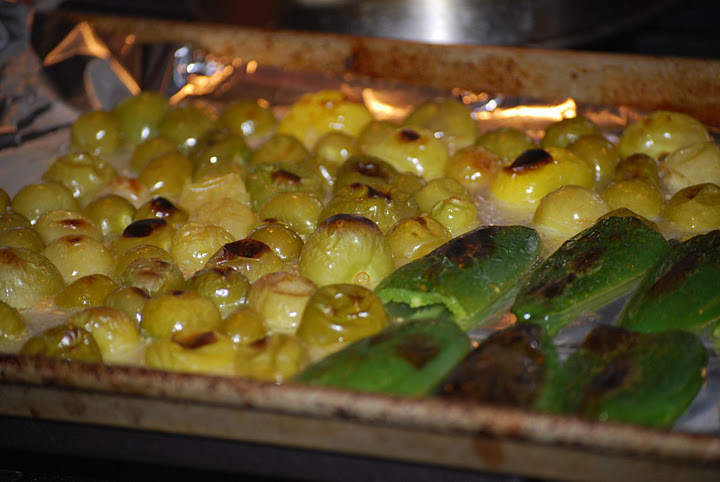
Cut tomatillos and peppers in half and toss with 2 tsp oil. Arrange on a baking dish lined with foil, with the skin side up. Broil until veggies are starting to blacken, about 7 minutes. Take veggies out of the oven and reduce the oven to 350F.
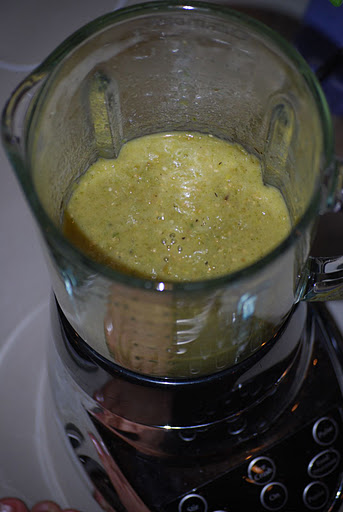
Let the veggies cool, then put in food processor or blender along with their juices, 1 tsp of sugar, 1 remaining clove of garlic, lime juice, 1/2 tsp of cumin and 1 tsp of salt. Process until slightly chunky, and season with more sugar, pepper, jalapeno seeds and additional salt, if desired. Set aside. Working on a cutting board, use two forks to pull apart the chicken breasts into shreds of meat. Run a knife through it when your done to make sure it's all in bite size shreds/pieces. Combine the chicken with the cilantro, 1 cup of cheese, onions from before and a pinch of salt.
Smear about 1 cup of the tomatillo sauce in the bottom of a 13x9 inch baking dish.Warm the tortillas in the oven for about 3 minutes, being careful not to make them too crispy, otherwise rolling up your enchiladas will not work. When your done warming them, increase the oven to 450F. Work with one tortilla at a time, spread about 1/3 cup of the filling in the center of the tortilla, roll it up, and place seam-side-down in the baking dish. Continue this until all the tortillas have been used up. Pour the rest of the tomatillo sauce over the tortillas in the baking dish, being sure to cover each one at least a little. Sprinkle the rest of the cheese over top of the enchiladas. Bake for 15-20 minutes at 450F. Serve with scallions and sour cream and ENJOY!!
Notes: If you don't have fresh tomatillos, or can't find them in the store, you can definitely substitute them for canned ones. Cook's suggests 3 11-ounce cans of tomatillos to sub for the 16-20 fresh ones.
|