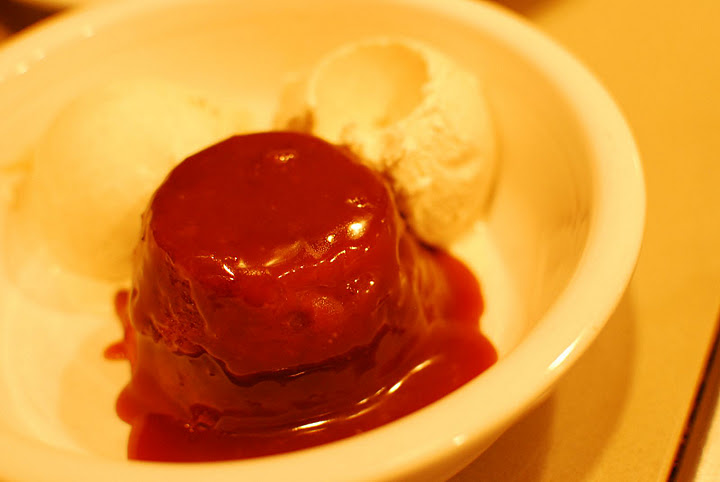
By Emily We recently had this dessert at Pastis, a well-known French restaurant in the meatpacking district of NYC. It was so good, so I went home and went thru cookbooks and online to find out how it was made. This recipe is a collaboration of a couple I found, but mostly comes from a cookbook that advertises cooking with kids, with a couple changes I made according to my taste (salted butter, vanilla, etc). Although, I must say this recipe is not quick and easy (only because there are a lot of steps, and hot sticky toffee sauce) and I cannot imagine wanting to attempt baking this with my kid: Sticky Toffee Toddler anyone? But, it IS delicious.... little moist cakes ("puddings") drenched in warm toffee sauce. Yum... It's a dessert for a special occasion.
You'll Need:
Pudding "Cakes":
1 8oz container of Medjool dates, or 1 c. (take the pits out)
1/2 cup water
1 1/2 c. flour
1/2 tsp baking powder
1/4 tsp baking soda
5 TB butter at room temp
1 cup packed dark brown sugar
2 eggs
Toffee Sauce:
2 1/2 c. heavy cream
2 c. sugar
1/3 c. corn syrup
4 TB butter
1 tsp vanilla extract
Vanilla ice cream for serving
To Make Cakes:
Preheat to 350F
Butter a 12 cup muffin tin.
Combine the dates and water in a small saucepan and bring to a boil over high heat. Simmer until most of the water is evaporated. In a food processor or blender, puree the mixture until smooth and creamy looking (at least 1-2 minutes).
In a medium bowl, whisk the flour with the baking powder and baking soda and set aside.
In a mixer with paddle attachment, cream the butter and sugar for at least 2 minutes. Add the eggs, 1 at a time, and fully incorporate. Scrape down the sides as needed.
Add the flour mixture slowly until just incorporated, then add the date puree slowly and mix thoroughly.
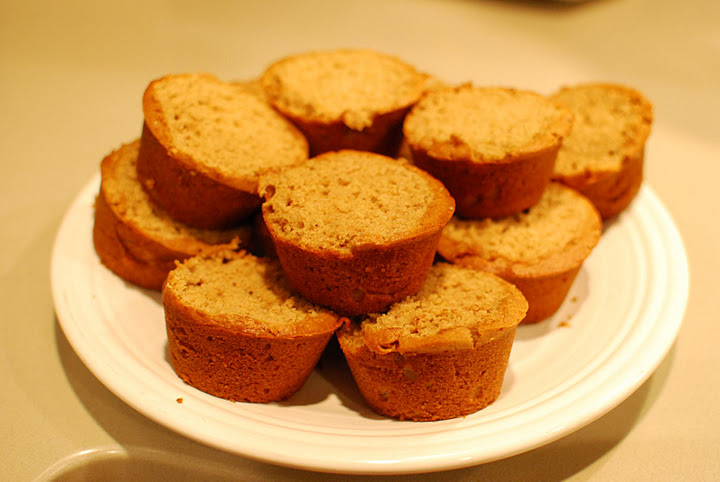
Spoon the batter into the buttered muffin cups. They should be 3/4 full so they don't get too big. Bake for 20-23 minutes (check with a toothpick). (and start the toffee sauce while they bake) Once finished baking, let cool in muffin tin for 5 minutes before transferring to a wire cooling rack to cool completely.
To Make Toffee Sauce:
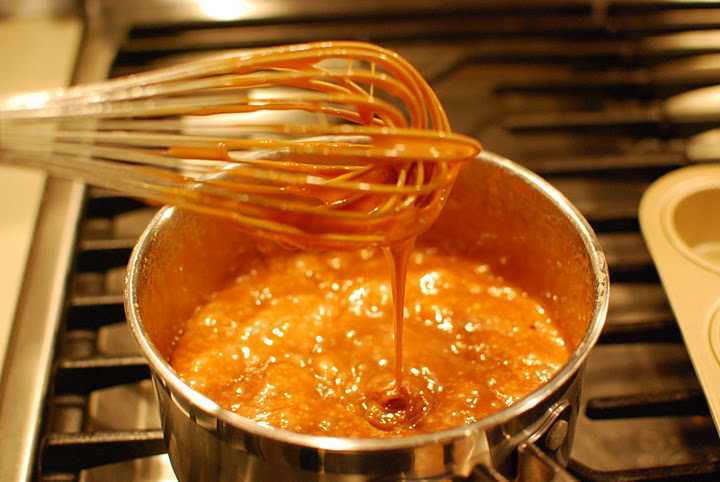
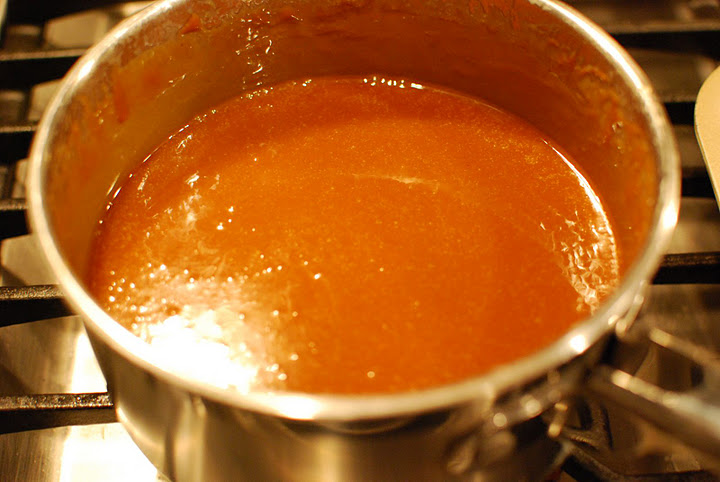
In a Saucepan over Medium heat, combine 1 1/4 c. of the cream and the rest of the ingredients minus the vanilla. Cook approx 40 minutes, stirring with a wooden spoon or whisk often, until the mixture becomes a dark brown caramel color. You may need to change the heat, I had to keep it Med/Low compared to the original recipe I was following. It should stay at a constant slow bubble.
Once finished, remove from the heat, add vanilla extract, and let cool for 15 minutes.
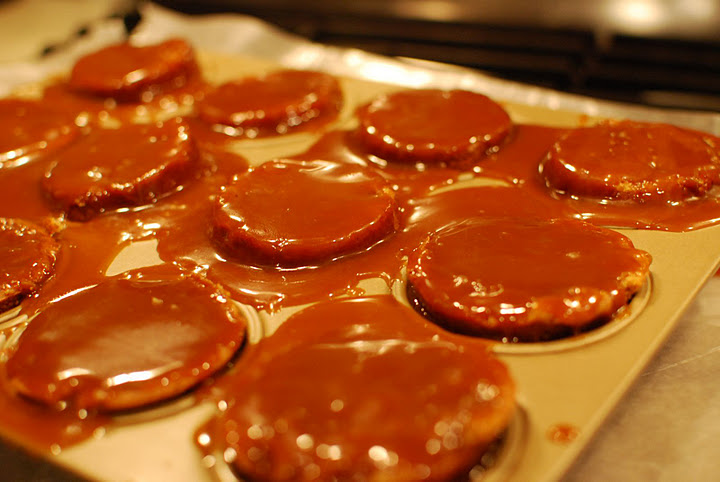
Once the sauce is finished and the muffins have cooled, slice off the top of the muffins (just a thin slice so they lay flat when plated upside down). Then slice each cake thru the middle. Spoon about 2 Tbs of the sauce in the bottom of each muffin cup. Return bottom cake layer back to the muffin cup on top of the sauce. Spoon 2 more Tbs of sauce on top of this, then top with other half of muffin and cover again with more toffee sauce so they are soaked. Muffin tin will be messy and maybe overflowing with sauce, so I put the tin under a large piece of wax paper for easy clean up. Repeat until all muffins are returned to tin and covered in toffee sauce. You can wrap the muffin tin and refrigerate for 3 days. When ready to serve, you can reheat at 400F for about 10 minutes.
Pop out the cakes from the muffin tin, inverted onto a plate using a little spatula or a similar utensil, careful not to burn yourself from the hot toffee sauce.
Serve with vanilla ice cream.
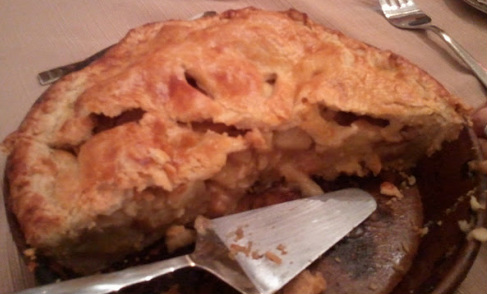
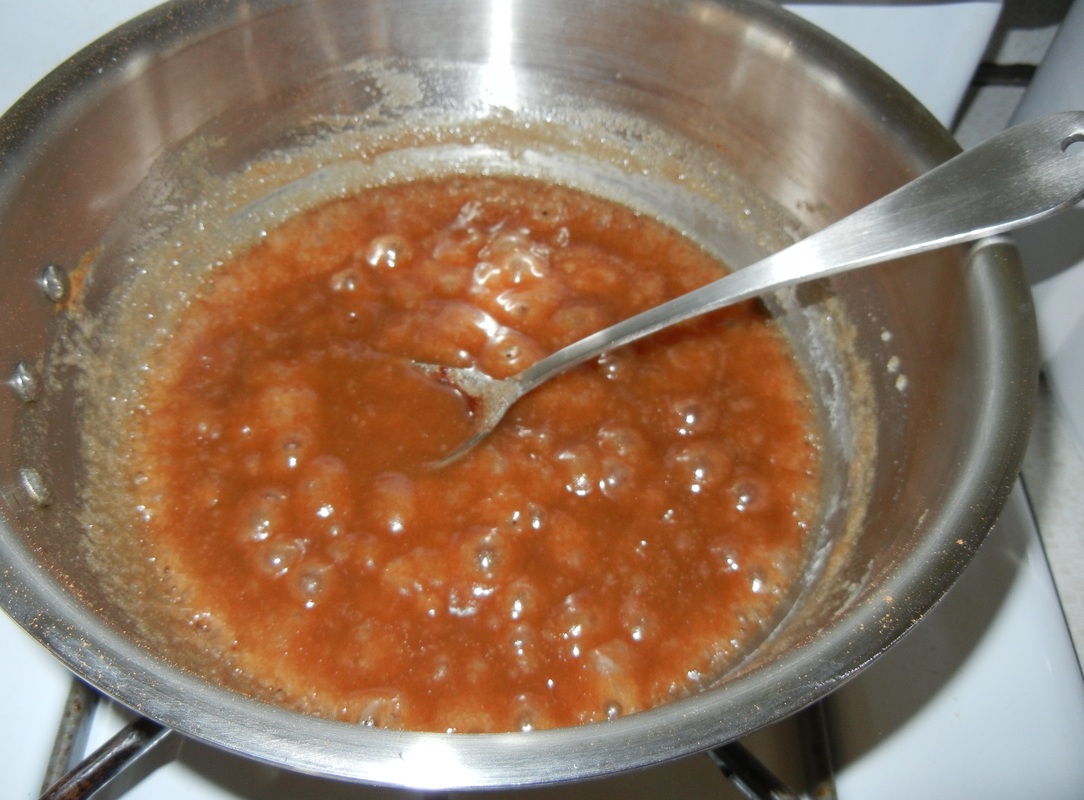
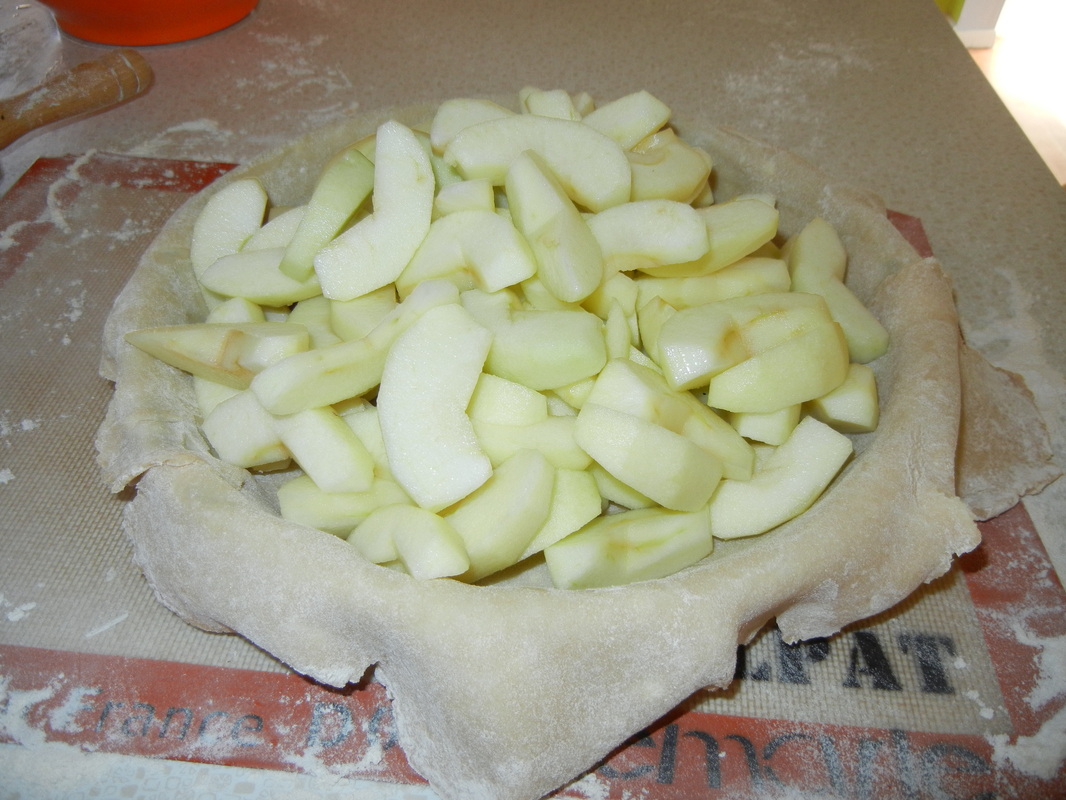
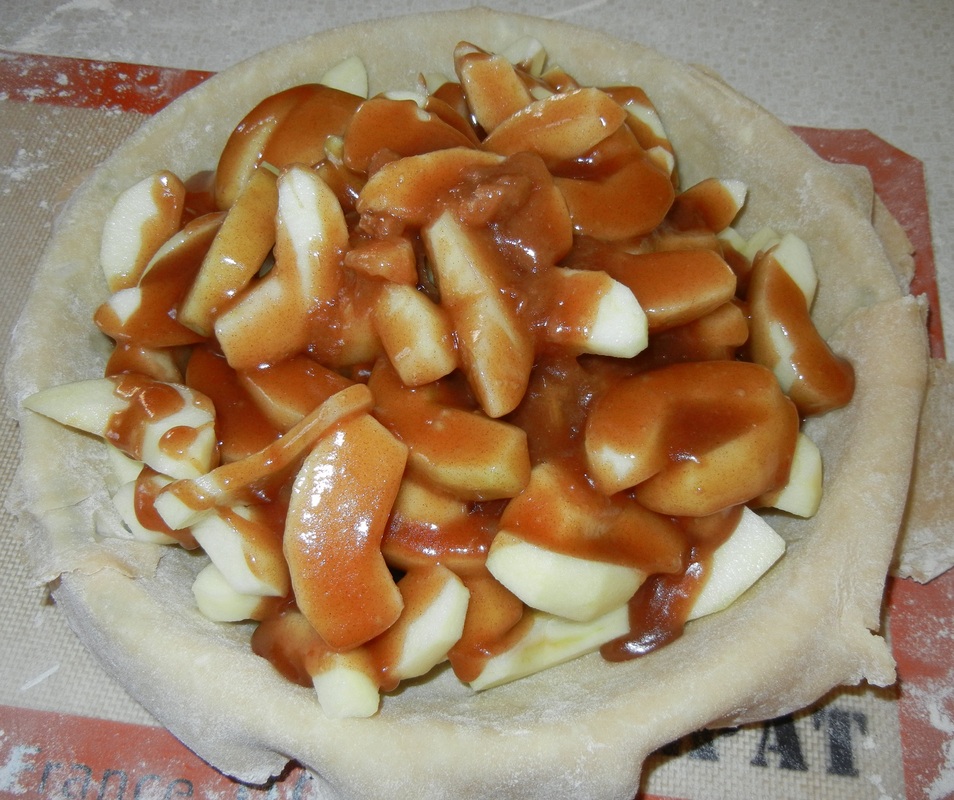
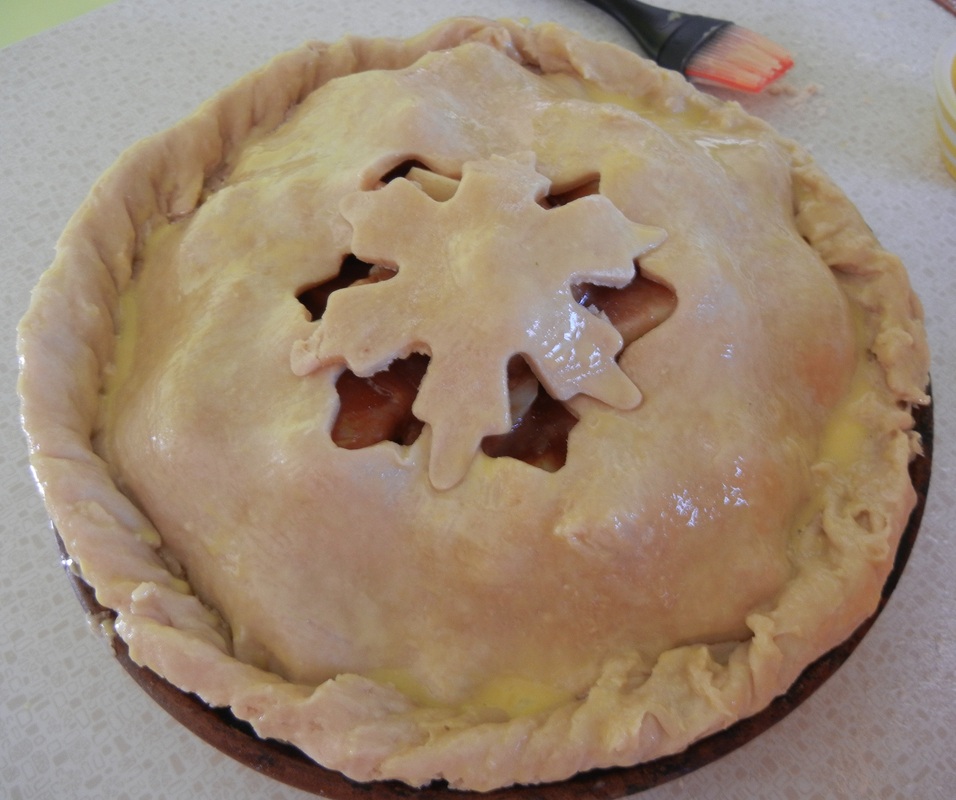
By Rachel This apple pie is a real crowd pleaser - it's super caramely and rich and is pretty awesome when made with my favorite pie crust! Once again, my pictures are never great - so just trust me on this one - it's DELICIOUS!! First things first - make your pie crust and chill it for at least 2 hours. What you will need for the filling: 1/2 cup unsalted butter 3 Tbs flour 1 Tbs cinnamon (I like a lot of cinnamon, you can add anywhere from 1 to 3 teaspoons) 1/2 cup white sugar 1/2 cup packed brown sugar 1/4 cup water 8 granny smith apples (or other baking apple varieties such as Roma or Cortland) 1 pie crust recipe1 egg yolk 1 Tbs of cream or 1/2 & 1/2 (for brushing on the crust) To make the filling: Peel and cut your apples into 1/2 inch slices. Melt butter in a medium sauce pan, stir in flour to form a paste. Add sugars and water and bring to a boil. Simmer for 5 minutes. Stir in cinnamon and remove from heat. Lightly grease or butter your pie pan. Roll out your first disc of dough and shape into your pie pan. Fill the dough with your apples, making a peak. Pour the filling liquid over the apples. Roll out your second disc of dough and place on top. Before placing on top you can use a cookie cutter to make a shape in the dough for decoration. If you do not do this you will need to cut slices in the top of the pie before baking for the steam to escape.
Mix the egg yolk with the Tbs of cream and brush over top of the pie (you will have extra).
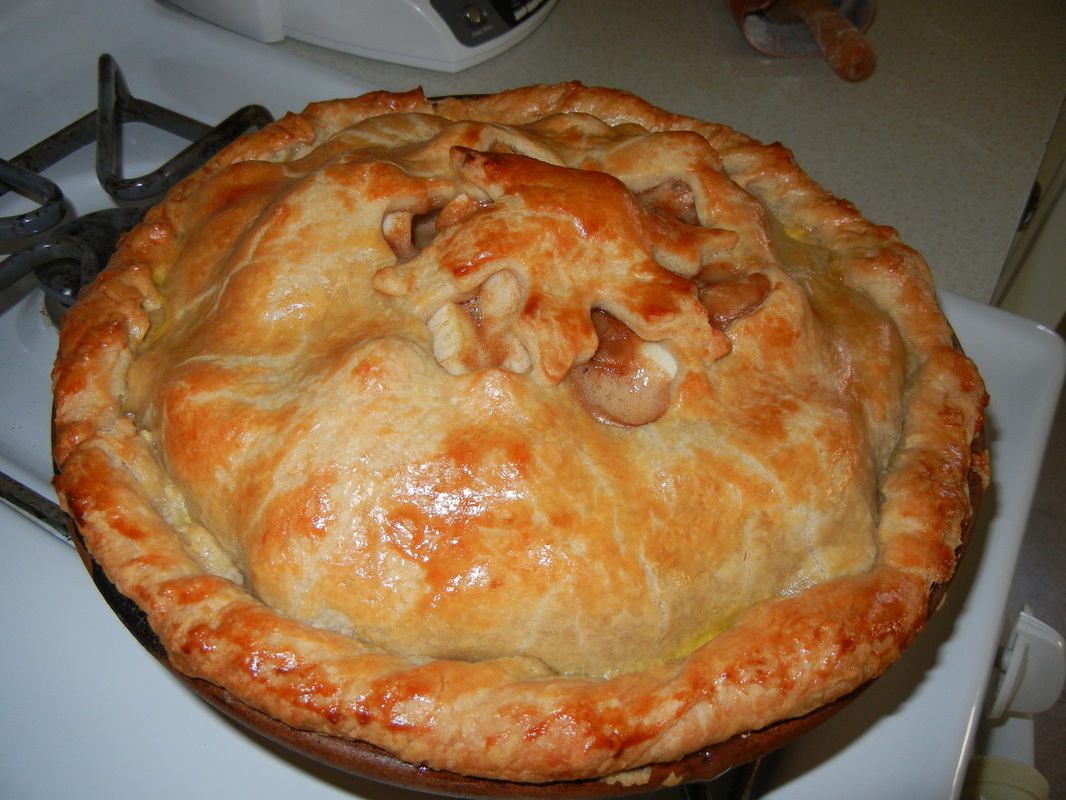
Bake the pie at 425F for 15 min, then 350 for 35-45 minutes, until golden brown and bubbling. If your crust begins to darken before the time is up, wrap or cover the pie in foil and continue to bake, so the crust does not burn.
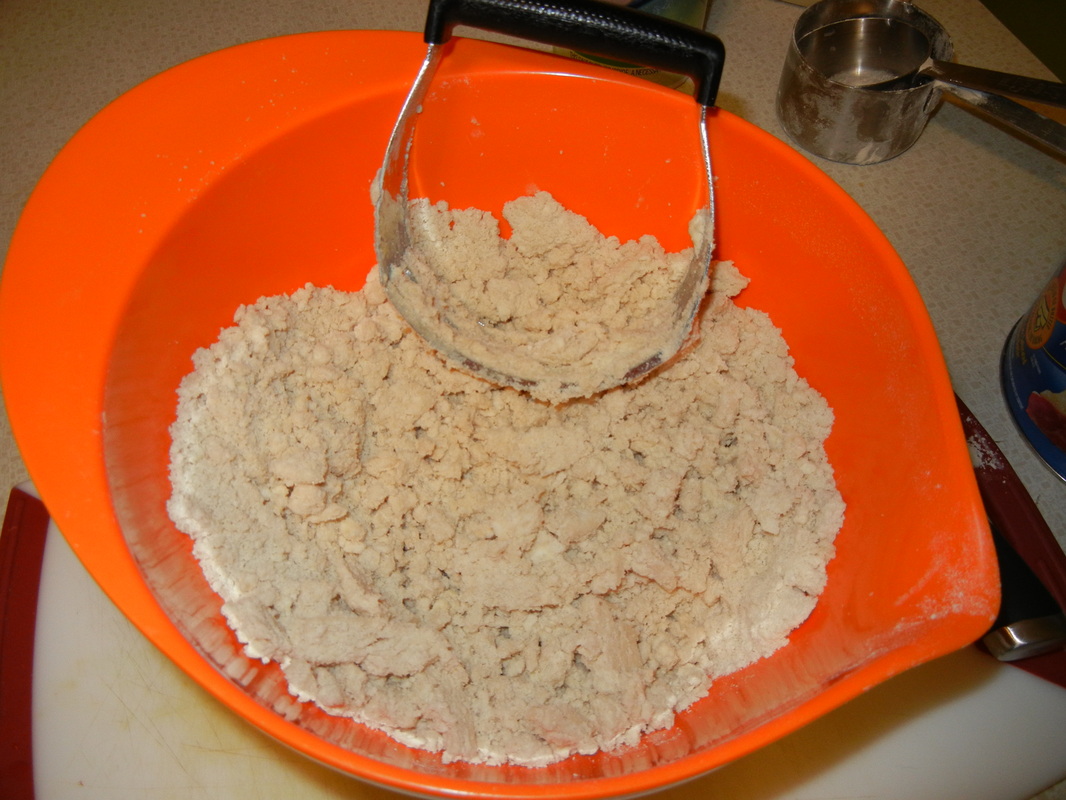
By Rachel Ok, ok, so I should have posted this BEFORE Thanksgiving, but I got caught up in the busy-ness of the holiday and didn't get around to it. The good news is that this pie crust is AWESOME and you can make it for any pie (Christmas is coming, tra la, tra la!). Please keep in mind I am a terrible photographer and the pictures really don't do the deliciousness justice. If anyone makes this and take a better picture I will gladly swap it out! You will need (this makes enough for one covered pie like in the picture): 2 1/2 cups flour 1 tsp salt 2 Tbs sugar 3/4 cup unsalted butter, chilled/cold and cut into 1/4 inch cubes 1/2 cup (8 Tbs) all-veggie shortening (such as Crisco) 6-8 Tbs ice water To make the dough: Cut your butter into 1/4 inch cubes and keep in the fridge until you need it. Mix flour, salt and sugar in a food processor (if you don't have a food processor like me, just mix it in a bowl). Scatter the butter cubes over the flour mixture and toss to coat each cube of butter with flour. If you are using a food processor, do about 5 1-second pulses to cut butter into the flour. If you are not using a food processor, use a pastry cutter or fork to break apart the butter pieces into the flour. Now begin to add the shortening, 1 Tbs at a time, cutting into the flour mixture just like you did with the butter. After all the shortening is added, you should have a crumbly mixture with lumps no bigger than a pea.
Fill a measuring cup or glass with ice and water. If you are using a food processor, take your dough out and put it into a mixing bowl. Add 6 Tbs of the ice water to the dough. Using a rubber spatula, press down on the dough, using a folding motion, until the water makes the dough stick together. Use up to 2 more Tbs of ice water if your dough is not sticking together.
Separate the dough into two equal pieces, sprinkle with flour and wrap in seran/plastic wrap. Refrigerate the dough for at least 2 hours before rolling out. I like to make my dough the day before I make the actual pie so it's really cold and easy to work with. After your dough is chilled - use the Apple Pie recipe to make your pie and ENJOY!!
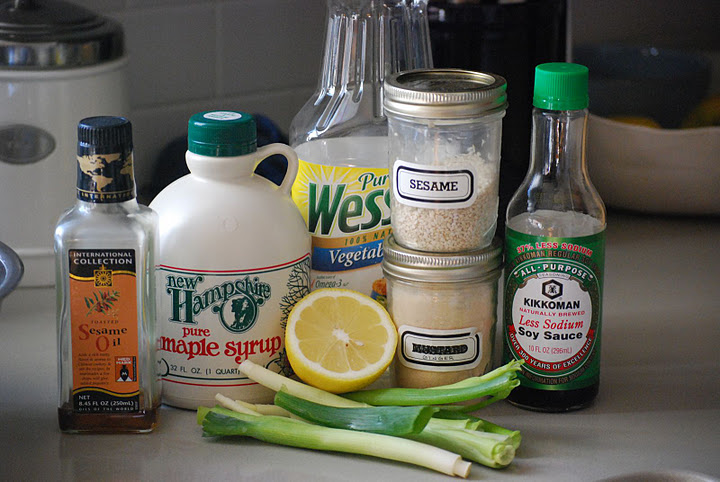
By Emily Still pregnant, and still eating lots of Salmon....this one is more like a sesame ginger soy, similar ingredients but there's more going on here AND lots of scallions. I LOVE scallions for dipping sauces with seafood. This would also work well with tuna steaks and say, coconut basmati rice (which is easy to make: just sub some of the water needed for the rice with coconut milk). Mmmm...
You'll Need:
1 lb - 1 1/2 lbs of salmon
1/4 cup soy sauce (I use low sodium Kikkoman)
3 Tbs vegetable oil
3 Tbs real maple syrup
1 tsp sesame oil
3 scallions diced up small
juice from 1/2 a lemon
1/4 tsp ginger powder (or you can use fresh)
1 Tbs sesame seeds To Make:
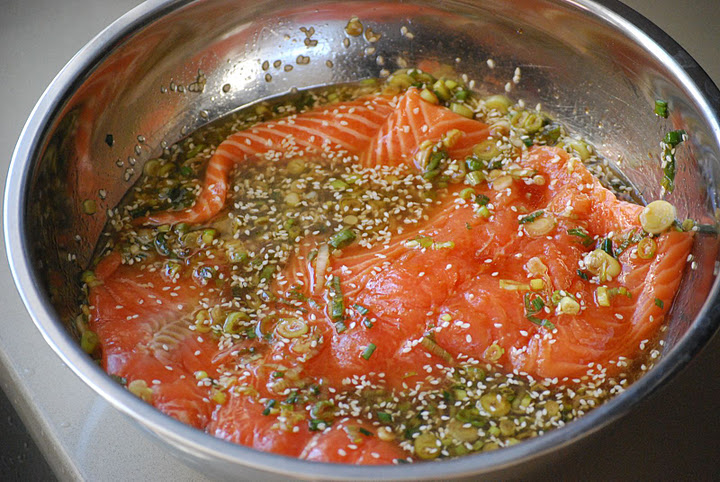
Whisk all ingredients together in a medium sized bowl. Then submerge your rinsed and paper-towel-dried (raw) salmon into the bowl of marinade and cover with plastic wrap. Refrigerate for 2 hrs or so before dinner, or up to a day in advance before baking/grilling with all the marinade juices. Notes: When grilling, sometimes I make a little "boat" with a few layers of foil; curling up the edges of the foil so the marinade stays intact and doesn't spill, causing a grill fire. Yes, I'm speaking from experience... we've had 2!). You can also freeze the salmon in the marinade for a quick dinner in the future. Double up a large zip lock bag or use thicker freezer bags and make sure you let the air out as much as possible. I would let it thaw for a day in the fridge before cooking.
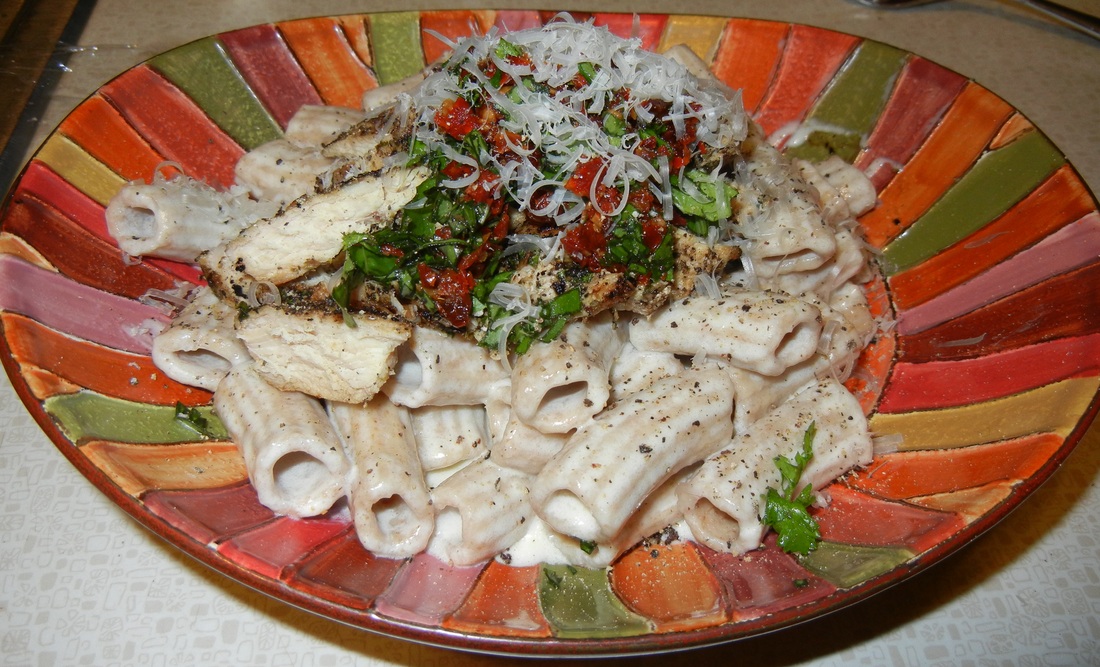
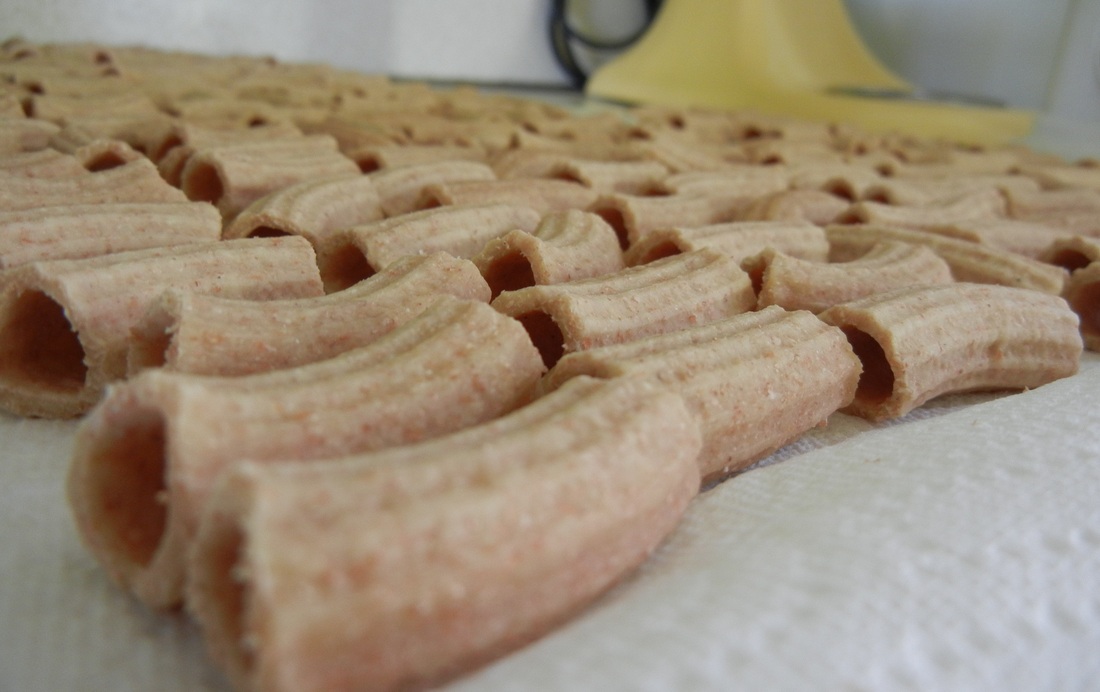
By Rachel I have made this dinner 3 times now because my husband claims that it's the best thing I have ever made! It has great flavor due to the sun-dried tomatoes and fresh basil - not to mention the super creamy sauce and homemade pasta...ok fine EVERYTHING about it is pretty awesome - give it a try! I separated out the ingredients so you can make just the Alfredo Sauce if you want. I made the homemade pasta first, then tossed it in the Alfredo Sauce, then topped it with Basil Grilled Chicken, minced sun-dried tomatoes, fresh chopped basil, and fresh grated Parmesan. This sauce would be delicious on it's own, but is super delicious with those toppings! Serves 4 Alfredo Sauce Ingredients: 1 pint heavy cream 1/2 cup (1 stick) unsalted butter, softened 1 cup freshly grated Parmesan Freshly cracked black pepper (regular pepper is ok if you don't have fresh) Prepared Pasta (any thick pasta will do - click here for the homemade pasta recipe!) Grilled Basil Chicken Ingredients:
2 chicken breasts, each sliced in half (lay the chicken breasts flat and slice horizontally so you have four thin/flat pieces to grill)
1/2 cup chopped fresh basil
Olive oil (enough to coat the chicken and make the basil stick)
Salt and Pepper (preferably cracked pepper)
Toppings:
Sun-dried tomatoes, about 1/4 cup after chopped really small/fine
Fresh Basil, about 1/4 cup after chopped
Fresh Parmesan cheese, grated over top of each plate of pasta
To make:
First, marinate your chicken in olive oil, salt and pepper and the 1/2 cup of chopped basil. I use a LOT of pepper - the mixture of cracked pepper and basil make a crusty coating when the chicken is grilled. I like to marinate for at least 20 minutes before cooking.
Chop your sun-dried tomatoes and basil and grate your cheese while the chicken is marinating.
Grill your chicken. While your chicken is grilling, cook your pasta and prepare your Alfredo sauce.
To prepare Alfredo sauce:
Heat heavy cream over low-medium heat in a deep saute pan. Add butter and whisk gently to melt. Sprinkle in Parmesan cheese and stir. Your sauce should thicken slightly - if it does not thicken enough to your liking, add more cheese. Be sure to keep stirring so the cheese and cream don't burn. Season with freshly cracked black pepper.
Add your cooked pasta to the pan with your sauce, gently tossing to coat the noodles.
Slice your grilled chicken and serve each plate with noodles, grilled chicken and a sprinkle of sun-dried tomatoes, basil and fresh Parm. Mmmm!
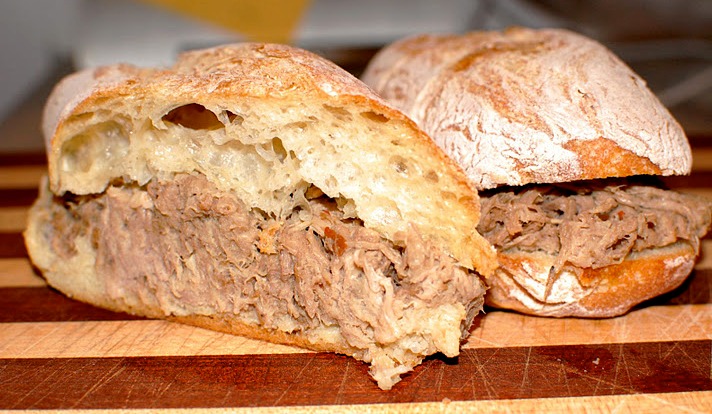
By Emily Having some family from the South, my husband grew up accustomed to a southern favorite which is real "southern style" pork barbeque. Here's a recipe that I came up with that most resembles the pulled pork we've had on our trips down south. It's a very vinegar-y slow cooked pulled pork, which you smother in yellow mustard or your favorite BBQ sauce if you need it less tart, and load onto good rolls. This is a one of my easy "guy" recipes... great for Sunday football or a day when you don't feel like slaving in the kitchen all day. And you can even freeze pints of this for a quick meal for 2 later.
You'll need:
2 onions, chopped in quarters, so you can pick it out at the end
2 Tbs brown sugar
1 Tbs paprika
2 tsp. salt
1/2 tsp ground black pepper
1 4-6 lb pork butt or shoulder
1 Tbs dry mustard (or 3 T. of whatever mustard you have in the fridge)
2 tsp sugar
3 cloves garlic, mashed slightly so you can pick it out at the end
2 cups of vinegar (cider or white or combo of both)
1/2 cup Worcester sauce
1 tsp crushed red pepper flakes
1/4 tsp cayenne pepper
Optional: 1 cup of water (if all the liquid does not cover the pork, I added approx a cup of water to cover the meat)
To make:
Sprinkle all dry ingredients on the meat, put meat in the slow cooker and cover with liquid and everything else in no particular order. Set slow cooker to HIGH for about 7+ hrs. The longer the better!
Break apart meat toward the end of the cooking with forks, and let cook for about another 30-60 minutes at least to let juices absorb again. Serve with soft rolls, or fresh bread (you can pull out the middle of the bread if too thick), and don't forget to dress your buns with yellow mustard or you can use mayo, BBQ sauce, etc. Tastes great with a side of coleslaw too!
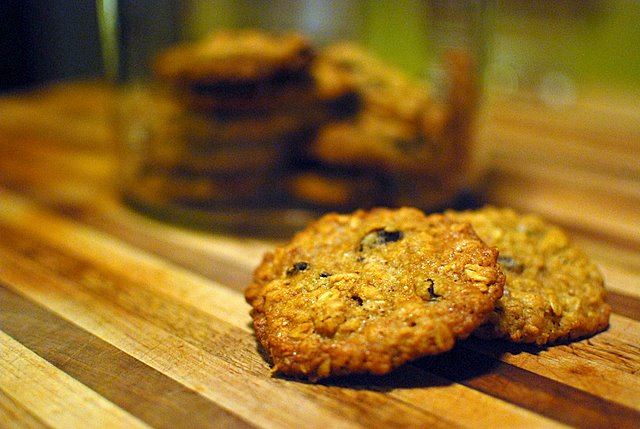
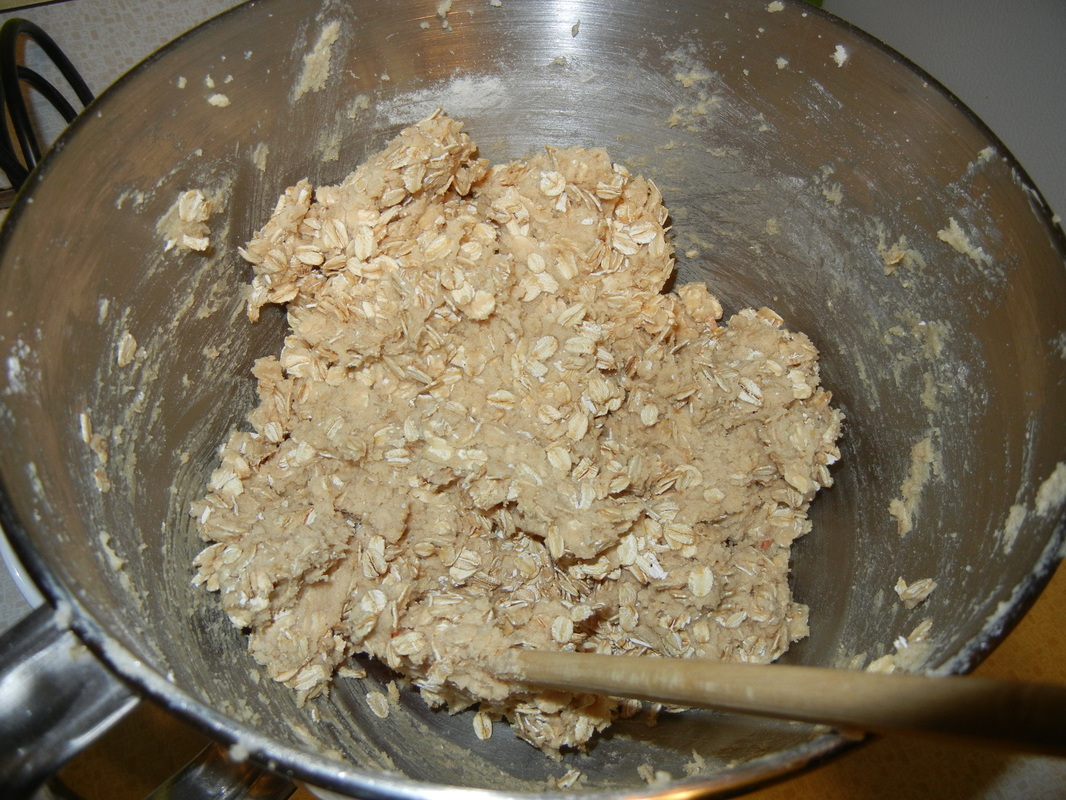
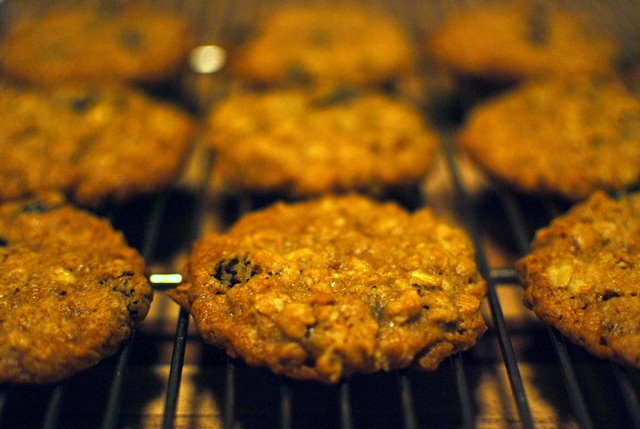
By Rachel & Miranda Miranda and I have been looking for the perfect oatmeal raisin cookie recipe for a while now...and I think we may have found it! We took the Cook's Illustrated recipe for "Big Chewy Oatmeal Raisin Cookies" and changed the amount of granulated and brown sugars to get the perfect crispy and chewiness. I think the key to being chewy is more brown sugar...I should have known, I LOVE brown sugar! Anyways, we hope you like them as much as we do! What you'll need:
1 1/2 cups flour
1 1/2 cups raisins
1/2 tsp salt
1/2 tsp baking powder
1/4 teaspoon nutmeg
1/2 tsp cinnamon
2 sticks unsalted butter
1 1/2 brown sugar
1/2 cup granulated sugar
2 eggs
3 cups rolled oats
*You could use 1 3/4 cups brown sugar and only 1/4 cup granulated sugar for even chewier...but this combo makes them crunchy AND chewy!
What you need to do:
Pre-heat oven to 350. In an electric mixer, cream your butter and sugar until fluffy. Add eggs, one at a time, beating after each addition.
In a separate bowl, mix flour, salt, baking powder, nutmeg and cinnamon together.
Add dry to wet ingredients, mixing until just combined. Add oats and then raisins. Form dough into balls and place on a cookie sheet, leaving space in between because they will flatten out a bit.
Bake for about 15 minutes, or until golden brown. Enjoy!!!
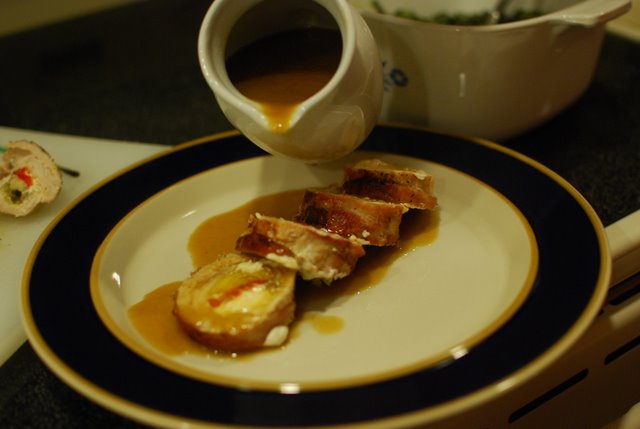
Recipe from our Mother, photos by Miranda, blogged by Rachel (what a mouthful!) Our mom shared this recipe with us and made it for Miranda and her family just recently. The original recipe was by Guy Fieri, but was adapted and lovingly renamed by our momma...I am laughing as I type this, cause if you knew our mom, you would know how funny her sayings can be!
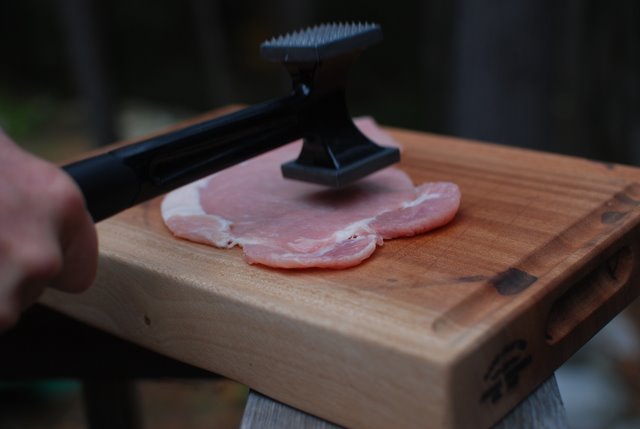
Tenderizing/pounding the pork chops takes FOREVER, so start early, or do it in the afternoon, take a break and then cook the rest! I would strongly suggest investing in a cooking mallet (or whatever you call it) - I did not have one and ended up using a real hammer to make it go quicker....don't worry, I protected my meat in plastic first.
What you will need:
8 center cut pork chops without any bones (about inch thick, trimmed of access fat)
8 bacon strips
8 oz cream cheese (solid brick kind)
Small jar of roasted red peppers (one slice per chop)
Small jar of jalapeno peppers, chopped/diced (about a tsp per chop)
Medium jar of articoke hearts (1 heart per chop)
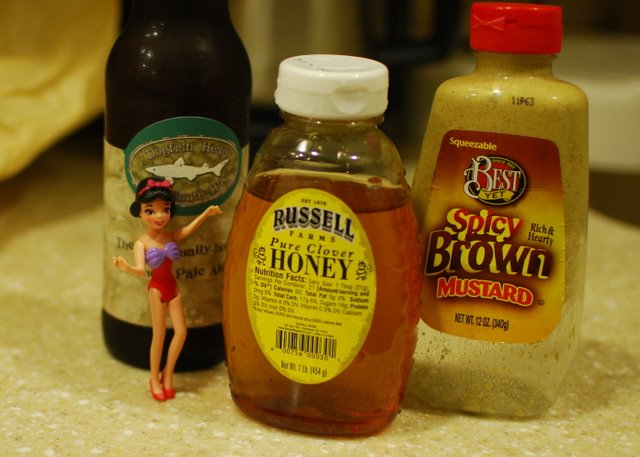
One bottle of beer (lighter, less hoppy beers will taste better)
1/4 cup honey
1/4 cup yellow mustard
Wooden toothpicks (or turkey pins)
Foil for grilling
A grill
A mallet, or a hammer, or a plate, or a big strong man!
In our Mother's words - here is what you do:
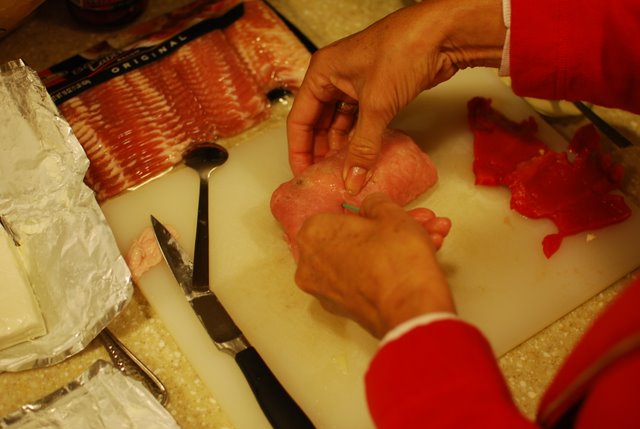
Flatten the pork chop in between plastic wrap with a mallet until about three times the size. You can use the side of a plate if you don't have a mallet, or a real hammer, like I did. Give yourself time to do this, it takes a long time! It probably took us about five minutes or so for each chop. Thats alot of banging!!! (see what I mean about the things our Mom says! LOL).
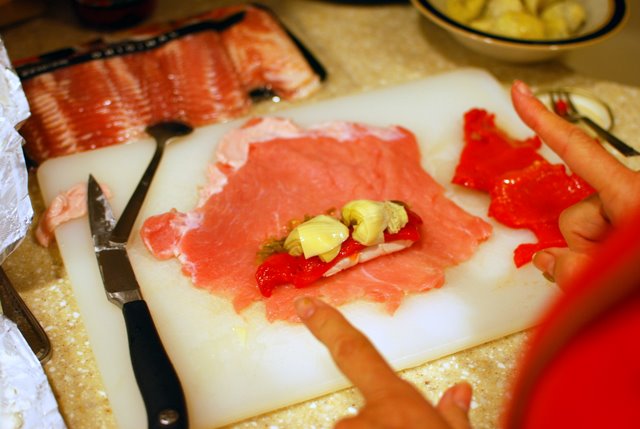
At one end of the pork chop, place a 1/4 inch slice of cream cheese, a one inch strip of pepper, cut an artichoke heart in half and place on top, and some pieces of jalapeno pepper. Roll up, and as you go, try to fold in the sides of meat. The folding in of the sides never worked for me cause my meat was not that thin to do this - but they still turned out fine!
Roll up, and as you go, try to fold in the sides of meat. The folding in of the sides never worked for me cause my meat was not that thin to do this - but they still turned out fine!
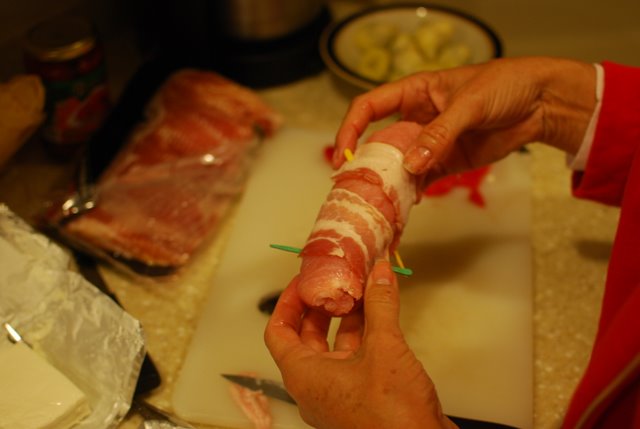
Take one strip of bacon and roll around in a spirl fashion trying to cover the length of the pork roll. Secure with at least two long toothpicks.
Keep doing this for all the chops. Next, take about a 10 inch piece of foil and roll the pork up in it, folding in the sides like you would a baked potato.
Cook on the grill for about 12 minutes, then turn over and continue for another 12 minutes. Then unwrap the rolls from the foil and put back onto grill to brown up the bacon on the outside.
While meat is cooking on the grill, prepare the sauce.
(And now I am laughing again because of the Vanna-White-wanna-be who snuck into this picture!)
In a sauce pan, take the bottle of beer and combine with mustard and honey. I use a whisk to stir and cook over a medium heat until thickened. It takes around 15 to 20 minutes for the beer to cook down and thicken into a nice sauce. As you cook it, keep whisking it so the foam goes away and mustard gets dissolved.
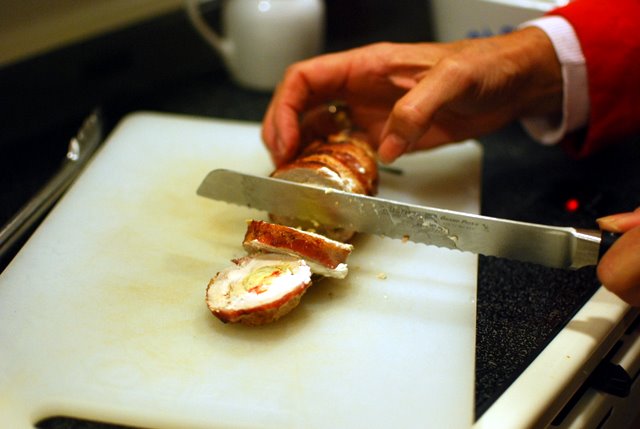
After removing the rolls from the grill, remove the toothpicks and slice with a serrated knife into 1/2 inch or less wheels, then top with a drissle of sauce down the whole roll that is sliced. These are really cool looking and so impressive to me!!!
*We hope you have enjoyed this edition of cooking with our Momma! Enjoy!!
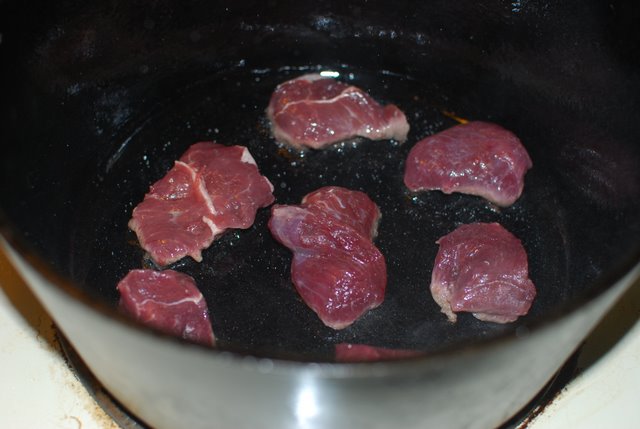
By Miranda I have half of a cow in my freezer, (literally- well it IS butchered) but I've been slowly chipping away at it and one of my favorite meals so far is this beef stew. I guess it's kinda like a stroganoff, but whatever it is, it's real good. Yes, it does take a while to cook, but if you plan ahead, it can be a delicious end to your day.
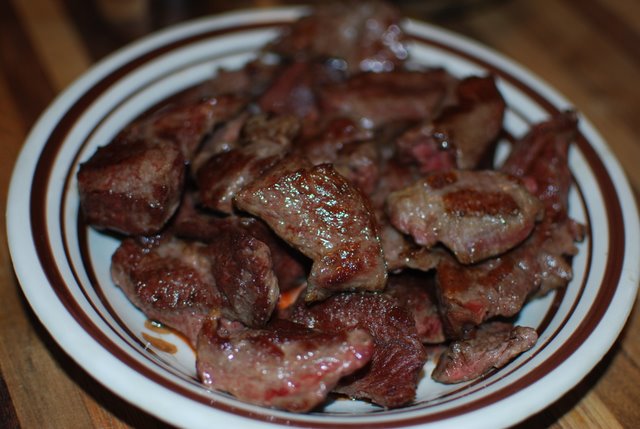
4 servings 1.5 lbs stew beef 1 Tbs oil 1 med-lg onion chopped 2 celery stalks, chopped 3 garlic cloves minced 1 cup red wine 2-3 cups stock 3 carrots, chopped (1 inch chunks) 8 oz. mushrooms s+p 2 Tbs butter 2-3 Tbs flour (depending on how thick you prefer the broth) 1 Tbs fresh thyme or 1.5 tsp dried Serve over pasta or mashed potatoes (look at my pasta recipe if interested in making it from scratch) Heat oil in large oven-safe heavy bottom pot over medium high heat. I use my cast iron stock pot. (If you dont have something like this you can transfer it into a crock pot and cook on low). Brown the stew beef pieces in small batches so you don't crowd the pan, so they are nicely browned on all sides (dont move them or stir them- just let them brown then turn them over). Transfer the cooked pieces to a bowl until all pieces are done. This might take roughly 15 minutes.
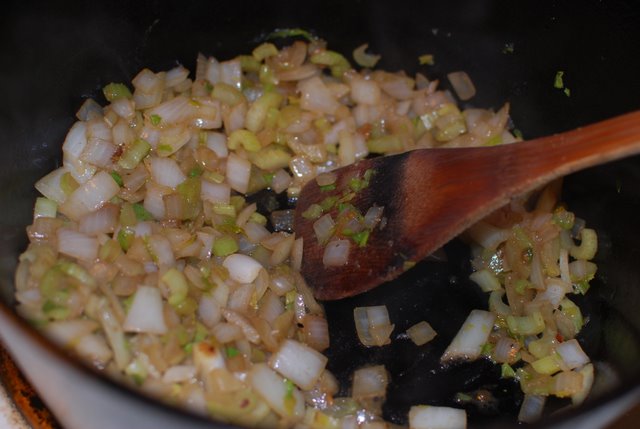
After all meat is browned and in a separate bowl, add onion and celery to the pot and turn heat down to medium (if your stew beef is very lean, you may need to add another Tbsp oil prior to adding onion/celery). Cook onion and celery until softened and starting to brown, then add garlic and cook for additional minute or so.
Add red wine to this and stir to de-glaze the pot. Then add the beef back into pot along with stock (I used chicken stock because this was all I had, but I figure you should use beef stock :) - water would probably do fine as well, but it will not be as flavorful). Next, add the thyme and bring to a simmer.
Cover the pot and place in the oven at 225 degrees for about 5 hours. Again, if you do not have an oven-safe pot you can put this in a crock pot on low for the same amount of time. This gets the beef super tender and delicious!
After 5 hours, add in the carrots and mushrooms (really any combination of vegetables would work- butternut squash or green beans would be good too) and continue to cook for 1 hour, covered.
10 minutes prior to eating, melt the butter in the microwave and whisk in the flour until smooth. Stir this into your stew to thicken, and season with salt and pepper. Put it back into the oven to cook for the remaining 10 minutes. Serve stew over noodles or mashed potatoes. Yum!
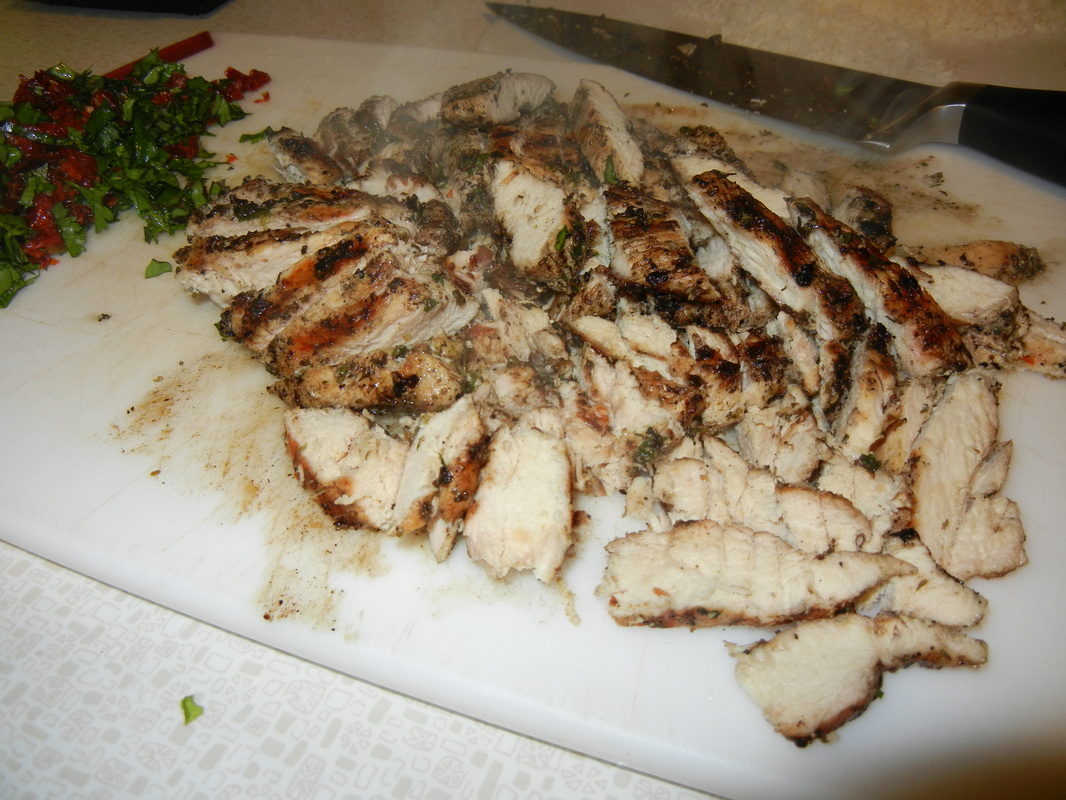
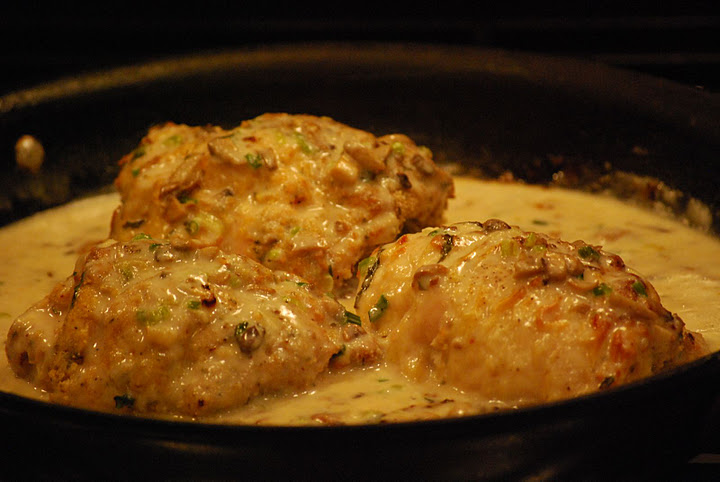
By Emily There seem to be a lot of similar recipes for Chicken Rollatini or Stuffed Chicken, but I can say this one (taken from a few put together with scallions since I LOVE scallions) really rocks. It's sooo tasty and I have heard that even if you're not a mushroom lover, you'll still dig this sauce. It takes a little TLC to make, but well worth it! It's great the next day reheated too. Enjoy
You'll Need:
4 boneless skinless chicken breasts
S & P to taste
2 Tbs flour, + 2 Tbs flour for the sauce
1 Tbs butter + 3 Tbs butter for sauce
2 garlic cloves, minced + 1 for the sauce
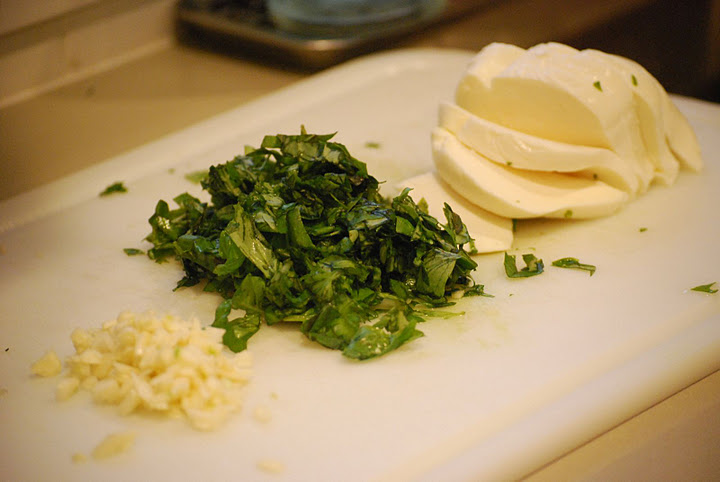
1/2 cup fresh basil chopped
4 thick slices of fresh mozzarella
2 eggs
1/2 cup Italian seasoned breadcrumbs (or you can crush up some flavored croutons)
6-8 oz mushrooms sliced into small pcs (white button or baby bella work well)
4-6 scallions, chopped small (if you don't have scallions you can use leaks, onions or shallots; I have made with all and it's still good)
2 cups chicken broth
1/2 cup heavy cream
*Pasta or rice to serve on the side
Serves about 4, or 2 people and lunch the next day.
To Make:
Wash the chicken breasts and pat dry. Put the chicken, in a zip lock bag or between plastic wrap and pound with a meat mallet or you can use the side of a plate. You want the chicken to spread out to almost double the size and become more tender and easy to work with. Sprinkle with salt and pepper and 2 tablespoons of flour.
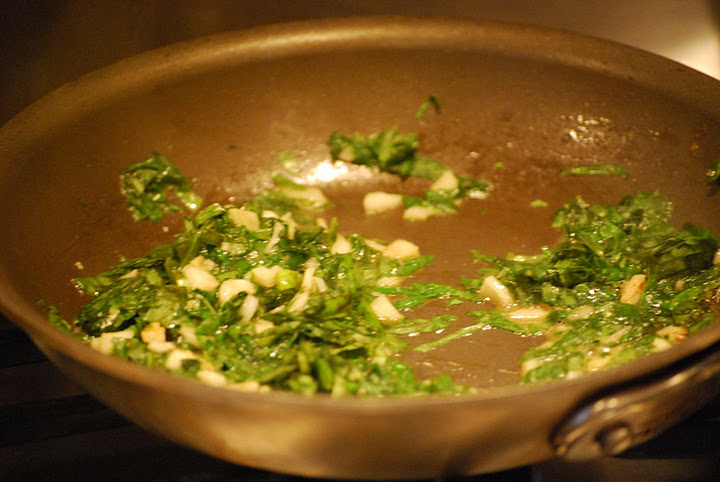
Saute the garlic in butter for about a minute and then add the chopped basil and let heat for about 2 minutes until wilted.
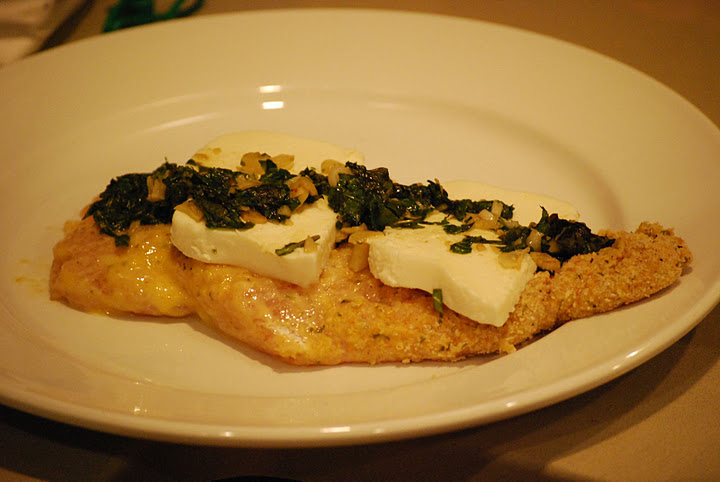
Spread this mixture over each chicken breast and top with a healthy slice of Fresh Mozzarella cheese. Roll the chicken up and secure with toothpicks or turkey pins.
Beat the eggs in a small bowl, and have the breadcrumbs ready in a second bowl.
Dip the rolled chicken breasts in the egg, then the breadcrumbs, and arrange on a baking sheet.
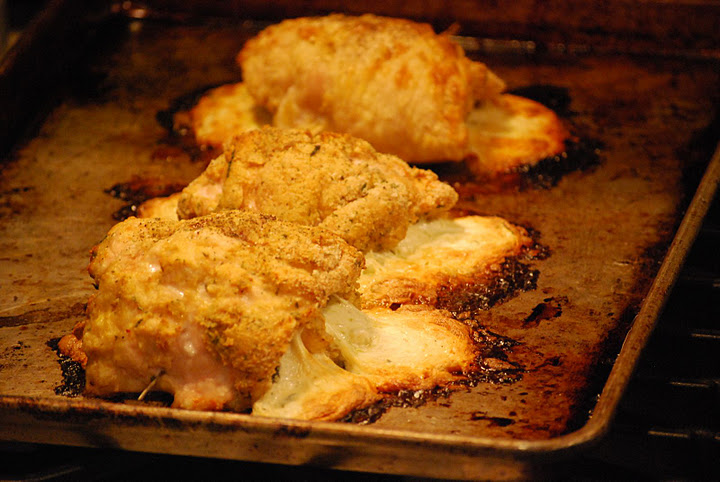
Bake at 375' for about 40 minutes or until lightly browned on top and mozzarella oozing out the sides is toasty and bubbling.
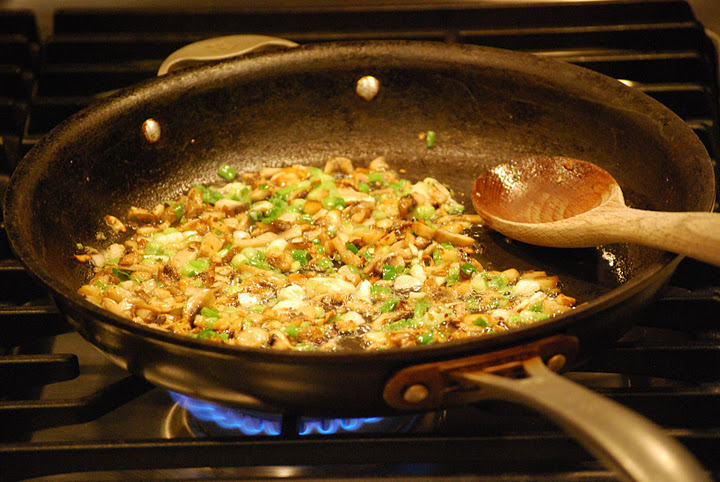
While this is baking, make the mushroom gravy:
Heat 3 tablespoons of butter over medium heat in a large saute pan (that has a lid to use later). Add mushrooms and cook until they are browned. Add minced clove of garlic, scallions and a sprinkle of S & P. Cook for 2-3 minutes, but stir so you don't let the garlic burn.
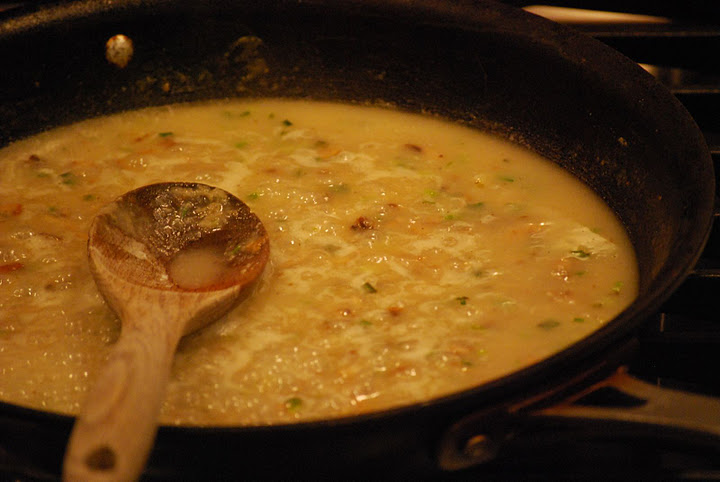
Add 2 tablespoons of flour and let brown for 2 minutes, then add 2 cups of chicken broth and stir stir stir. Sauce will thicken now, about 5 minutes or less. Then add cream and stir some more until it becomes less white and more of a brown creamy sauce, about 3 more minutes. Add chicken to this pan, spoon sauce over each chicken rollatini, cover the pan, and let it sit until you are ready to serve (turn heat off). This is good with pasta or rice.
|