By Emily My husband Matt loves RISOTTO. It's one of the 3 things he makes, along with burgers and lemon pound cake. This is our basic risotto recipe originally from the Harry's Bar Cookbook ("the world's greatest Italian restaurant") but modified because they don't have wine in their recipe which shocks me, because it adds such great flavor to risotto. Plus, this is my excuse to pour a glass wine to sip while I hang out over the stove for a half hour stirring the risotto (I mean it's out on the counter so I may as well not waste it). I think that's why I love making risotto; there's something therapeutic about the stirring, sipping wine, and thinking of nothing for a few moments at the end of your day.
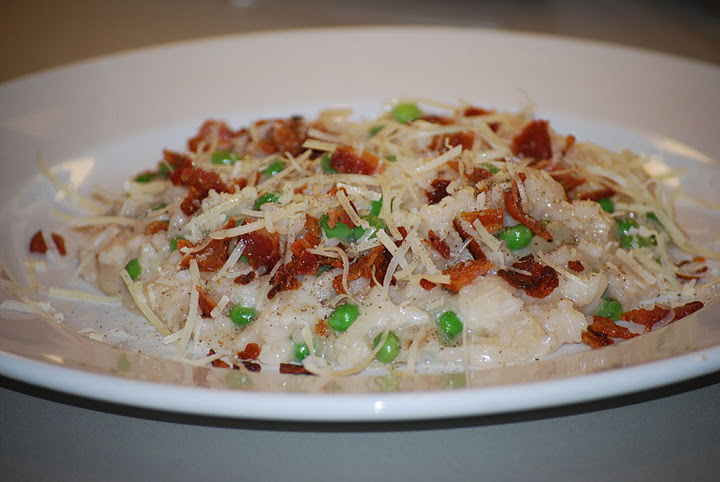
Once finished, this is a rich dish that fills you up fast, so savor every tasty bite. Yum.
You'll Need:
5 cups chicken stock
1/2 cup white wine (use something good enough to drink)
1 Tbs olive oil
1 small/medium onion, chopped small
1 1/2 cups short grain Italian rice, they suggest Vialone or Carnaroli but I've only used Arborio
3 Tbs butter
2/3 cup freshly grated Parmesan, plus extra for garnish
Sea salt (I usually use about 1/2 tsp)
Fresh ground pepper
Additionally you'll need:
-1 cup frozen small peas, at room temp or cooked separately and set aside
A few slices of pancetta (smokey Italian bacon). Cook the pancetta crispy like you would bacon, and crumble on the top of your plate of risotto - you can substitute bacon if you can't find pancetta, however, pancetta is easy to work with and SO tasty so it's worth it to explore if you've never cooked with it before.
To Make:
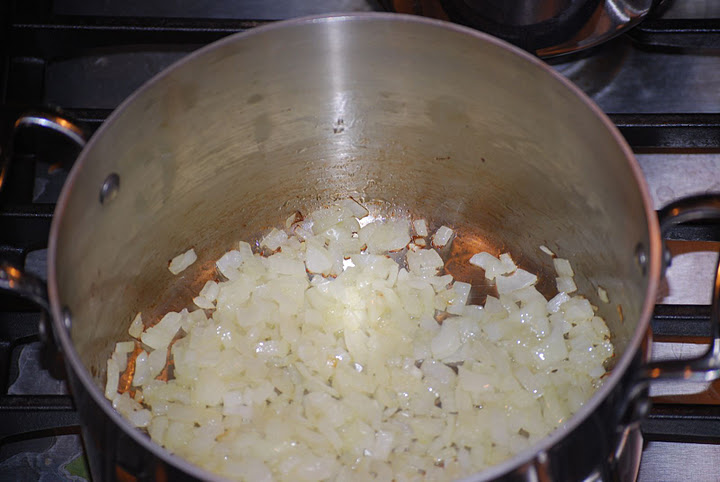
Bring the stock to a simmer in a saucepan and keep it at a bare simmer so it's hot. In a separate large saucepan, heat the olive oil and cook the onion on medium heat until golden but not brown (maybe 5-7 minutes).
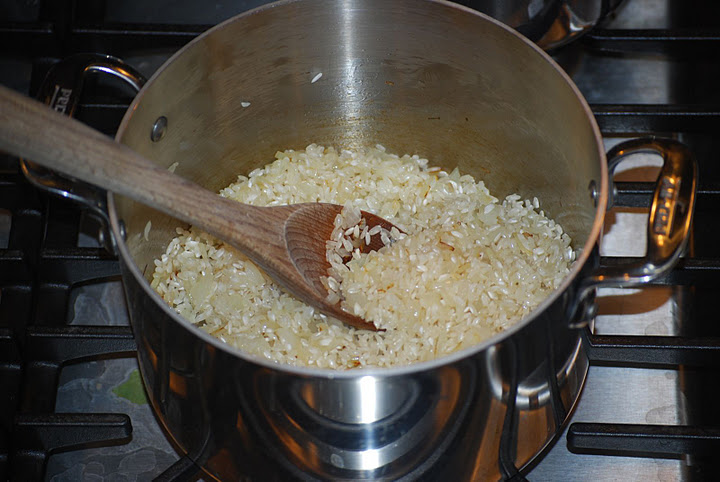
Add the rice and stir with a wooden spoon to coat well with onion and oil.
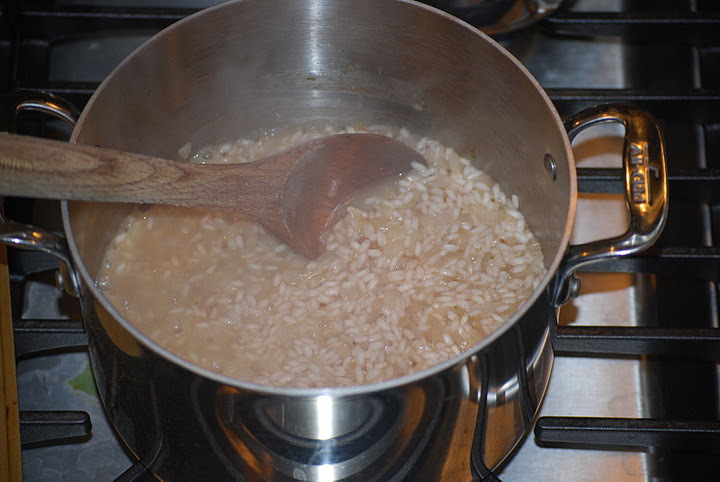
Turn heat up to medium high and add white wine, stirring constantly, then 1/2 cup of the stock. Keep the mixture boiling softly, and add another 1/2 cup of stock as the liquid absorbs into the rice.
Keep stirring and adding 1/2 cup of stock, and sipping your wine : )
You may need to adjust your heat so the rice doesn't stick to the bottom of the pan, yet keeps at a slow boil.
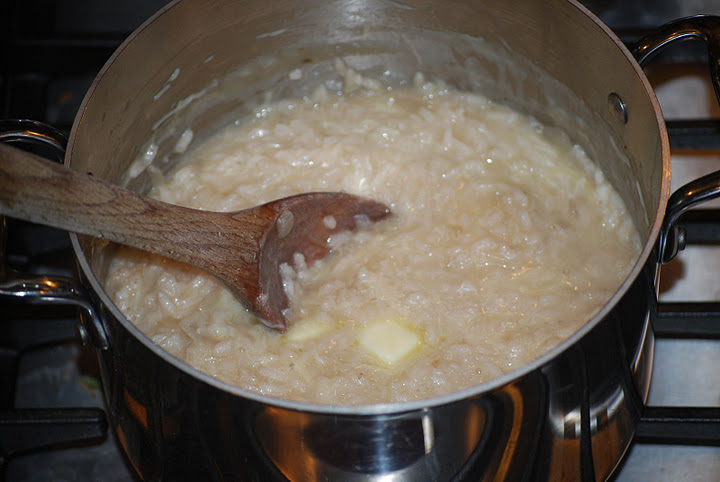
Keep this up for about 20-30 minutes. You know you're finished cooking the risotto when your rice looks creamy and is tender on the outside with each grain still firm on the inside.
Test a bite to be sure it's a little firm inside and then you know your are done. (It's overdone if there is no firm interior, which still tastes good, but not the way risotto is meant to be)
Remove the pan from the heat and vigorously stir in the butter and Parmesan, then taste and season with salt and pepper. If you are using the Peas & Pancetta recipe, here's where you add the cooked peas, or whatever veggie you are using. If it becomes hard to stir, you can also add a little more stock to soften up the texture and make it even creamier. It should not be dry or lumpy, but very creamy like the consistency of cooked oatmeal. Serve immediately and garnish risotto with extra Parmesan, top with crumbled Pancetta if you are using that, and salt & pepper.
Note: you can add pretty much anything to risotto. This is just one variation with Peas & Pancetta, but you can do a mushroom or asparagus risotto, or anything you want to use up in the fridge... We also make the plain parmesan risotto recipe above (with no additions) pretty often to accompany a marinated meat or a more involved dinner that doesn't revolve around the risotto. Also, the fresher and better your ingredients, the better your risotto.
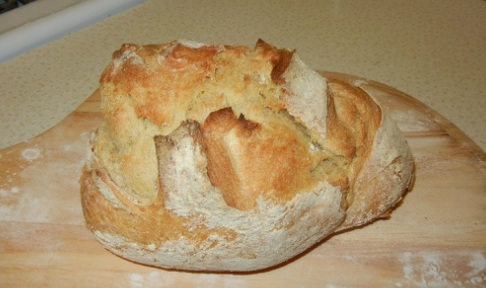
Recipe from Miranda, made this time by Rachel I love semolina bread! This recipe is Miranda's and it's soooo easy to make and really chewy and delish. The recipe makes enough dough for 4 small loaves or 2 large loaves of bread. You can refrigerate the dough for up to 14 days, so you don't have to make it all right away, but can make a small loaf at a time so you always have fresh bread! You will need:
3 cups luke warm water
1 1/2 Tbs yeast
1 1/2 Tbs salt
3 cups semolina flour
3 1/4 cups all purpose flour
1/2 tsp sugar
Directions:
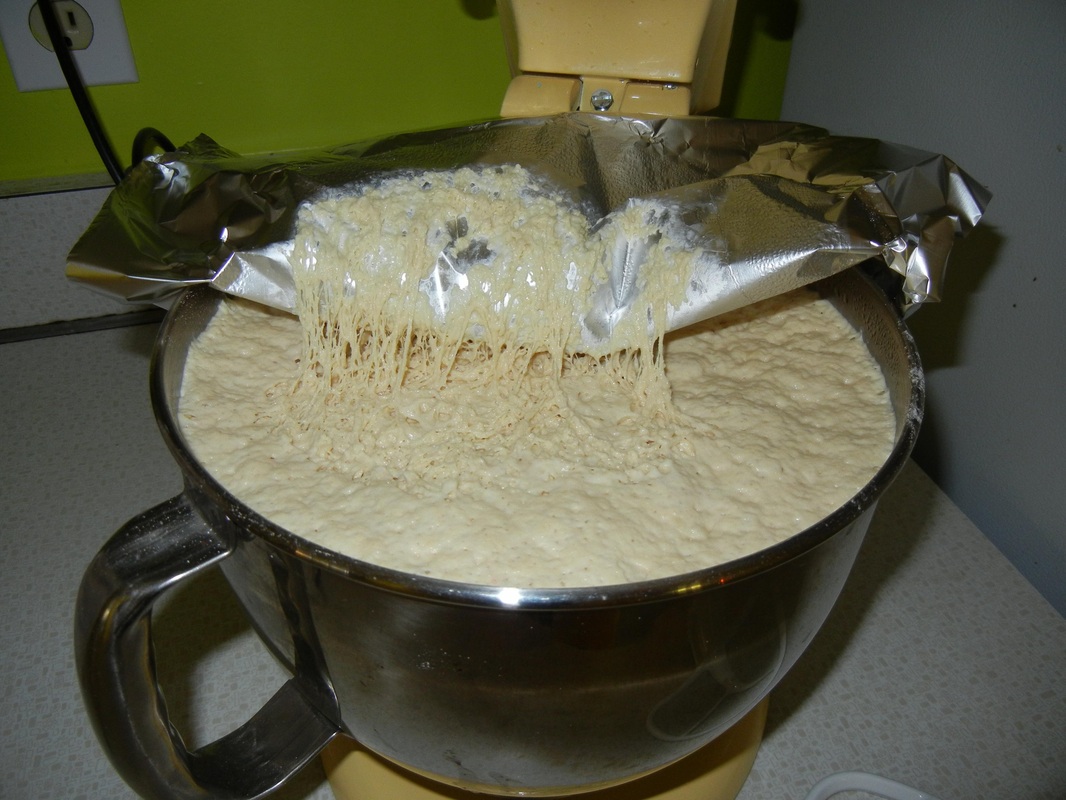
Mix the yeast, salt and water, add sugar and let it sit for 5 minutes. Add flour and stir or knead with a dough hook in an electric mixer. Cover, but not airtight, and let sit at room temperature until the dough rises, about 2 hours. At this point, you can keep the dough in the fridge, or continue to bake it.
Pre-heat the oven to 450F. If you have a pizza stone, put this in the oven while it pre-heats. Dust a surface with flour and shape into a ball. Let this sit for 40 minutes, while the oven gets nice and hot.
After 40 minutes, shape the dough into the loaf by turning the dough into itself, like you are making a brain shape - stretching the top of the ball and folding the sides under and into itself. Slice a few couple inch long slice on the top of the bread to breath while it bakes.
If you are using a pizza stone, sprinkle some cornmeal onto the surface and set the dough on the cornmeal, baking for 30-35 minutes.
If you do not have a pizza stone you can use a baking/cookie sheet. Set the cookie sheet on the middle rack in the oven and put another sheet underneath with a cup of water in it. Bake for 30-35 minutes.
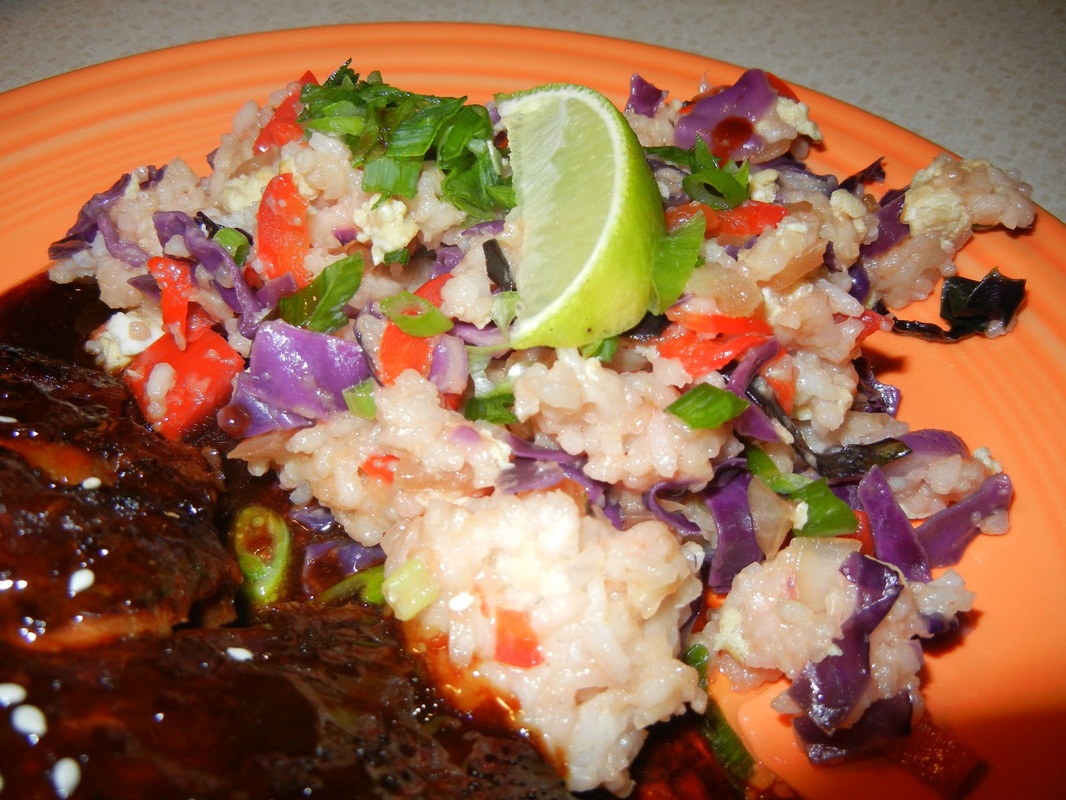
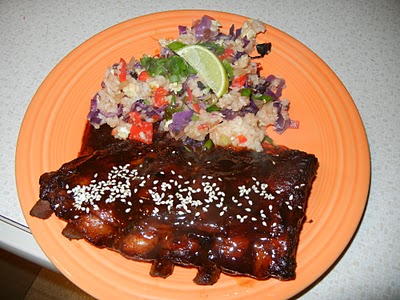
By Rachel After Miranda posted that Asian style rib recipe I just had to try them out for myself. Since there was no official recipe for the fried rice, I combined what she said with a recipe I found online to create this one. It has a hint of spice, is really hearty, and overall went really well with her delicious Ginger Soy Ribs! Here is what you will need:
1 tablespoon brown sugar
1 tablespoon fish sauce
1 tablespoon soy sauce
1 tablespoon fresh lime juice
1 teaspoon sambal oelek (ground fresh chile paste), divided
1/4 teaspoon salt, divided
2 large eggs, lightly beaten
1 bunch scallions
2 tablespoons veggie oil, divided
2 1/2 cups cooked and cooled rice (I used white but I think brown might have tasted even better)
1/4 cup chopped onion
1 cup julienne-cut red bell pepper
1 1/2 teaspoons minced garlic
1 tsp peanut butter
2 cups loosely packed chopped red cabbage
Lime wedges for garnish (optional)
Directions:
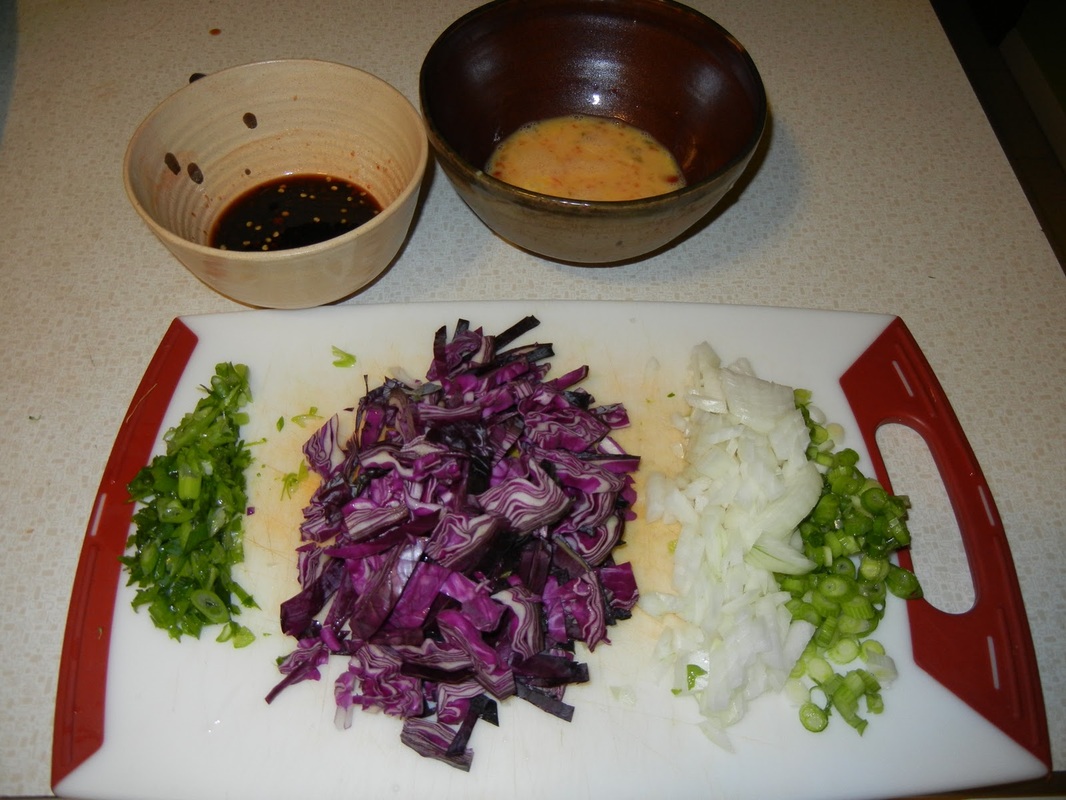
Combine first 4 ingredients, 1/2 teaspoon sambal oelek, and 1/8 teaspoon salt in a small bowl, stirring with a whisk. Combine eggs and remaining 1/2 teaspoon sambal oelek in a bowl. Separate green tops from green onions, and diagonally chop; set aside. Cut green onion bottoms into 1-inch pieces; set aside. Chop up your cabbage and onion as well and set aside. The recipe directions move kind of fast, so I liked having everything chopped and ready to go!
Heat a large nonstick skillet over medium-high heat. Add 2 teaspoons oil to pan and 1 tsp peanut butter, swirling pan to coat evenly. Add rice and stir-fry 1 1/2 minutes, stirring constantly. Transfer rice mixture to a large bowl.
Heat 2 teaspoons oil in pan. Add onions to pan; stir-fry 30 seconds or until tender. Add brown sugar mixture to pan; bring to a boil. Reduce heat, and simmer 1 minute or until liquid thickens slightly, stirring occasionally. Add onion mixture to rice mixture.
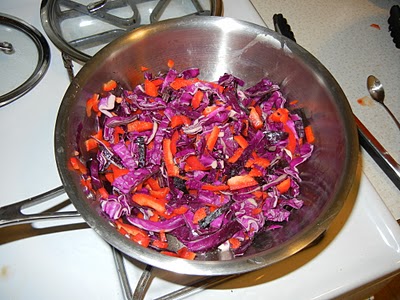
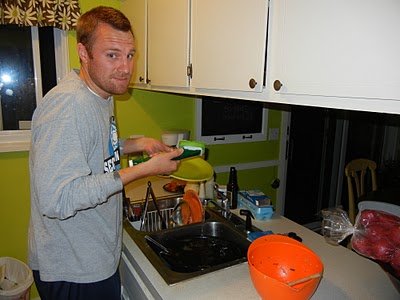
Wipe pan clean or use a new one if anything is left sticking to bottom and sides. Bring pan to medium-high heat. Add remaining 2 teaspoons oil to pan, swirling to coat. Add bell pepper and cabbage; stir-fry 3 minutes or until veggies are tender. Add the remaining 1/8 teaspoon salt, green onion bottoms, and garlic; stir-fry 1 minute or until fragrant. Add to rice mixture, in large bowl. Return pan to medium-high heat. Add egg mixture to pan, swirling to coat pan; cook 30 seconds or just until egg is set. Transfer egg to a cutting board; chop. Stir egg into rice mixture. Plate and top with green onion tops; garnish with lime wedges. Click here for Miranda's Ginger Soy Ribs recipe!This recipe took a lot of pots and bowls because I was making the ribs at the same time...luckily my husband almost always offers to do the dishes after dinner. The poor guy didn't know what was waiting for him after tonight's meal - at least he was still full at the end of his cleaning shift!
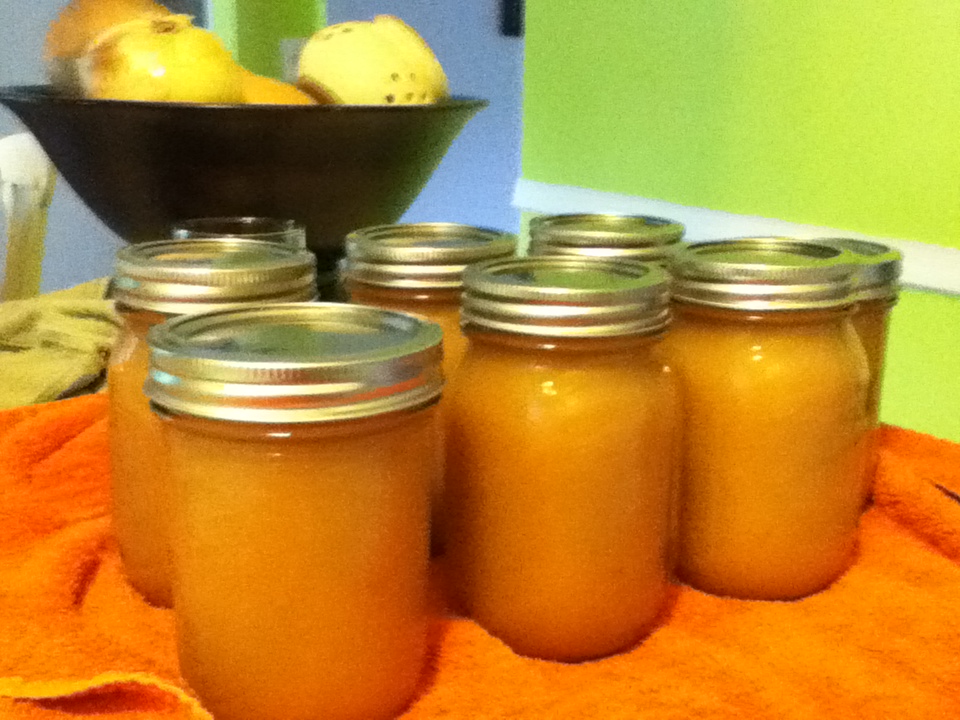
By Rachel You know it's Fall when you can go apple picking! We went this past weekend and got more apples than I know what to do with, so be prepared for lots of apple recipes to come. We are hosting Thanksgiving this year, and in an effort to have things prepared ahead of time, I decided to make a load of applesauce and can it for later. I made enough for 9 pint jars, but ended up canning only 7 and saving the last two to eat now. If you are not used to canning, you can make this recipe and simply freeze it until you need it.
You will need:
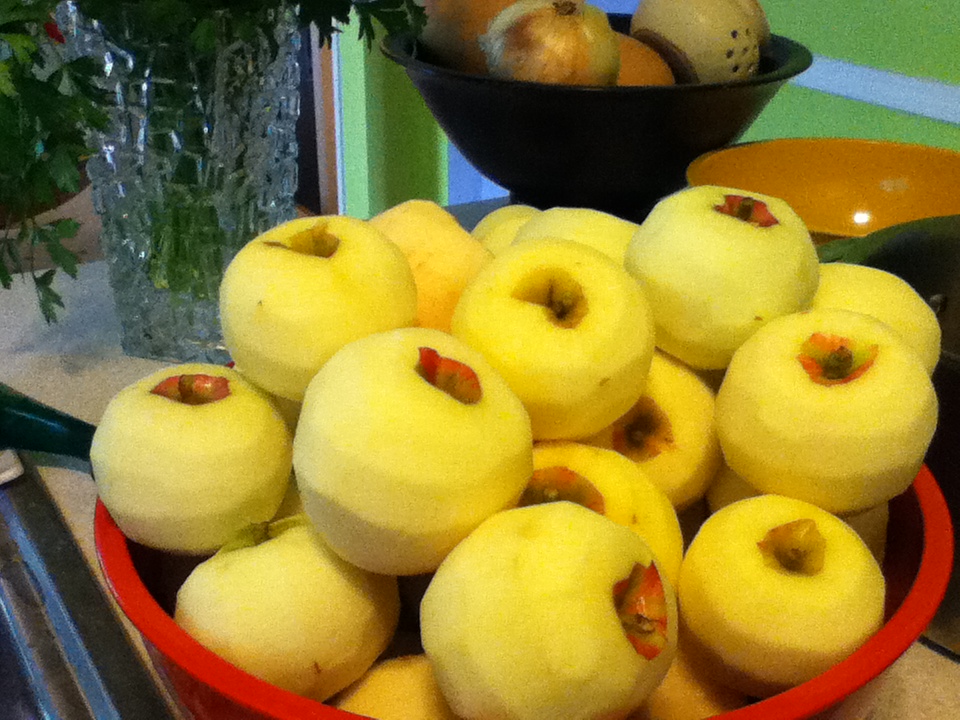
12 pounds of apples (weighed prior to peeling and coring)
2 cups of sugar (added gradually to taste)
4 Tbs fresh lemon juice
3 tsp ground cinnamon
1/2 tsp ground allspice
1/8 tsp ground nutmeg
1/8 tsp ground/dried ginger
1/8 tsp ground cloves
Directions:
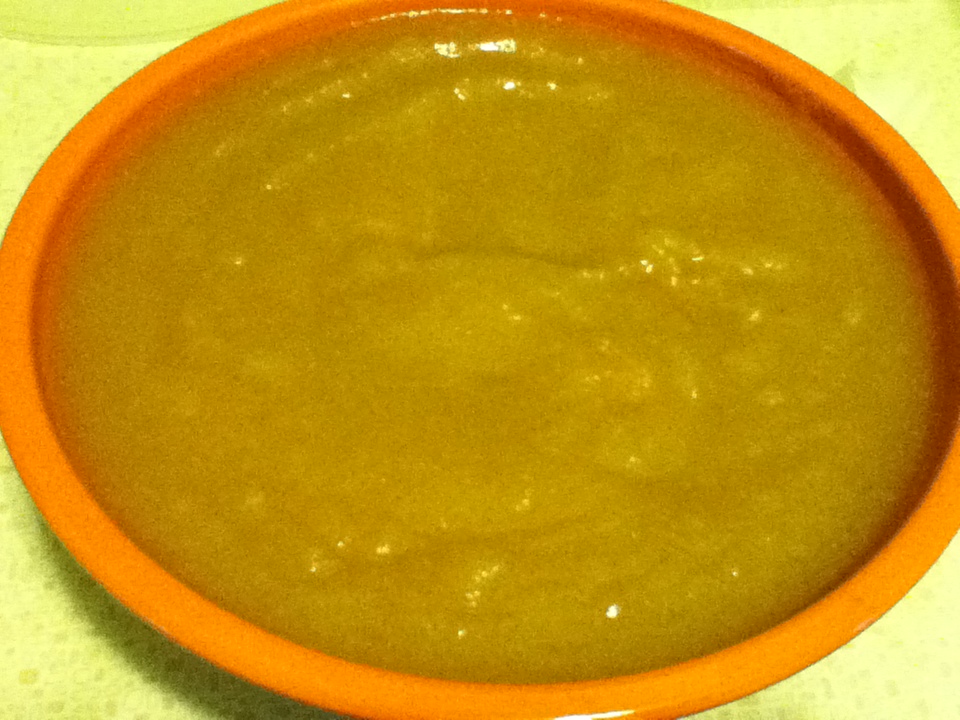
Recruit some help to peel and core all the apples...unless of course you have one of those handy apple peeler/coring machines. Put 16 ounces of water in the bottom of a large pot, fill with pot with the apples and heat covered over medium high heat, stirring and breaking up as you go. Once the apples are soft and breaking apart, work in batches to transfer to your food processor or blender to puree. Once the full batch is pureed, return to the pot and add your sugar, lemon and spices. I like to add the sugar a 1/2 cup at a time until it tastes sweet enough - most recipes I found call for 3 or more cups of sugar, and I find you never need that much. Be sure to stir as you continue cooking so the sugar doesnt burn or stick to the pot. If you are canning, keep the pot on low/warm while you can. If you are freezing, cool the applesauce completely before doing so. You could also cut this recipe in half or quarters for batches small enough to eat right away.
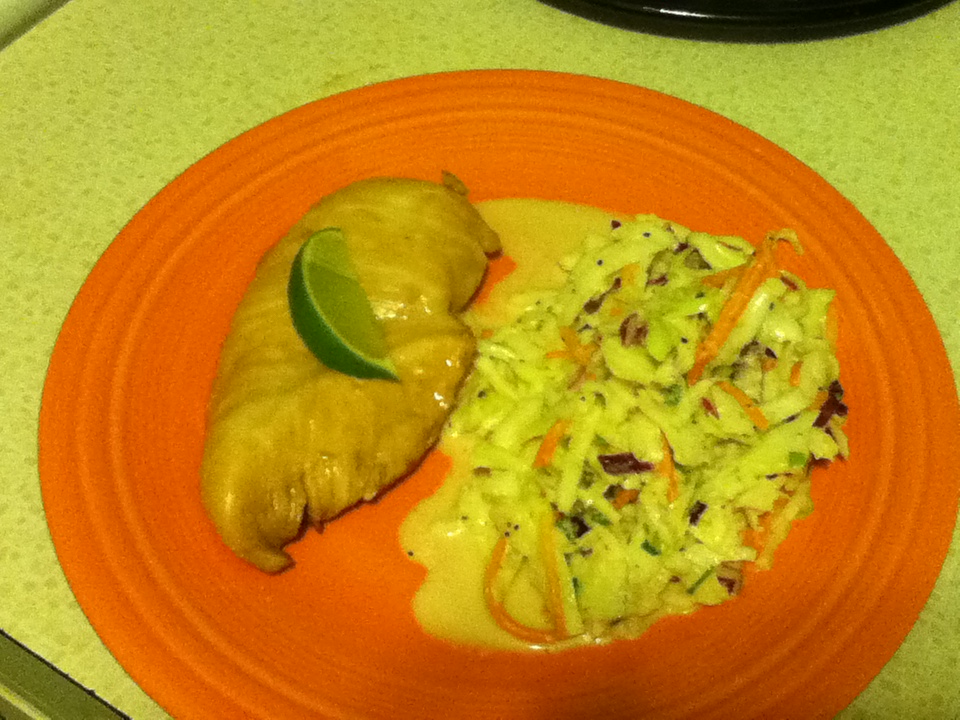
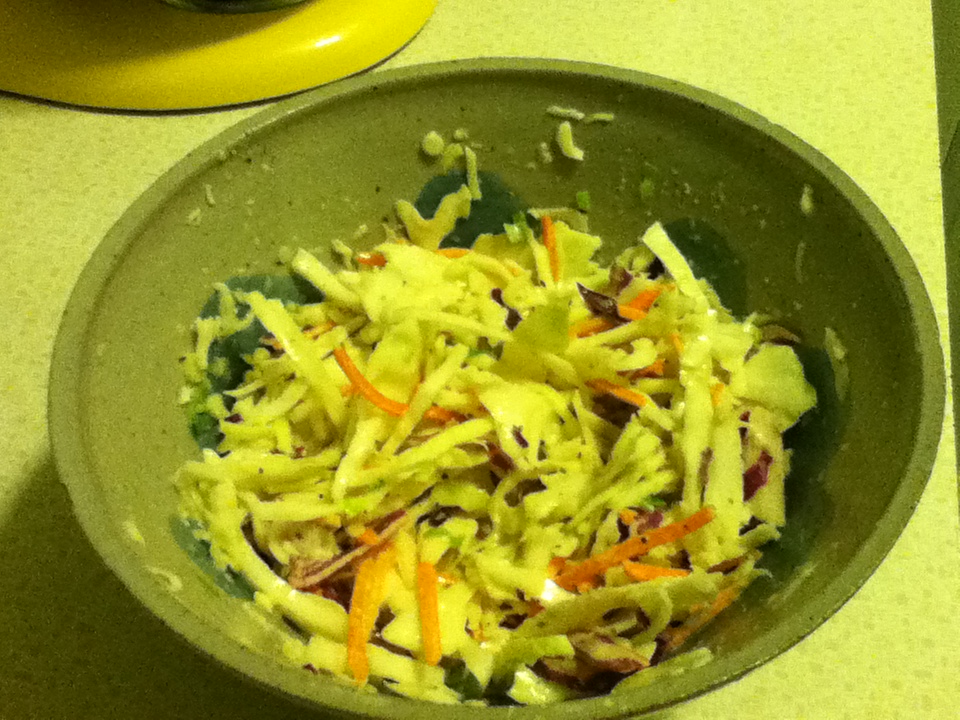
This is a quick, light and relatively healthy recipe I adapted from Real Simple magazine. I used chicken breasts rather than bone-in, skin-on chicken (because my husband as a funny aversion to eating things "with bones") and I modified the cabbage slaw to my taste buds after thinking it had way too much lime in it. Here is my version that we were pretty happy with - enjoy! Here is what you'll need to serve 2-3 people (my husband and I ate plenty and had a little leftover):
3 Tbsp plus 1 tsp brown sugar
2 Tbsp soy sauce
4-6 Tbsp fresh lime juice
2 large chicken breasts, sliced in half (so you have 4 thin fillets)
1 small package of coleslaw mix (or create your own with 1 large shredded carrot and about 1 cup each of shredded red and green cabbage)
2 scallions
1 Tbsp chopped or zested ginger
1 Tbsp canola oil
1 tsp sesame oil
1 Tbsp mayonaise
Salt and Pepper
Directions:
Whisk together 3 Tbsp of brown sugar, soy sauce and 3 Tbsp of the lime juice. Prepare your chicken breasts and marinate in this mixture for at least 30 minutes or up to a few hours, turning occasionally if the liquids so not cover the chicken completely.
Heat oven to 400F. Place chicken in a baking dish, pouring the marinade over the chicken breasts and bake until inside of chicken registers between 170-180 degrees - about 30 minutes. Every 10 minutes, turn the chicken over to make sure each side is evenly cooked and the chicken doesn't dry out. Meanwhile, whisk together the ginger, canola oil, remaining tsp of brown sugar, mayo, and sesame oil in a bowl. Slowly add the remaining lime juice, tasting to make sure you don't add too much like I did! Season with salt and pepper. Chop up the scallions and toss into the liquid mixture with the cabbage mix.
Once the chicken is done, plate and serve with a little of the chicken juices poured over top.
Enjoy!
|